Laying Out Dovetails
Chris Gochnour details the key steps in laying out the basic through-dovetail joint.
Synopsis: Dovetail layout can be a source of frustration for beginning woodworkers. First, one must figure out the size and spacing of the tails and pins, and choose a slope of the tails. Then, one must lay them out correctly. Chris Gochnour takes readers through the anatomy of a strong dovetail joint. He demonstrates how to set the tail spacing, mark the tail board, cut the tail board, and then mark and cut the pin board. He also offers a gallery of different dovetail-layout designs.
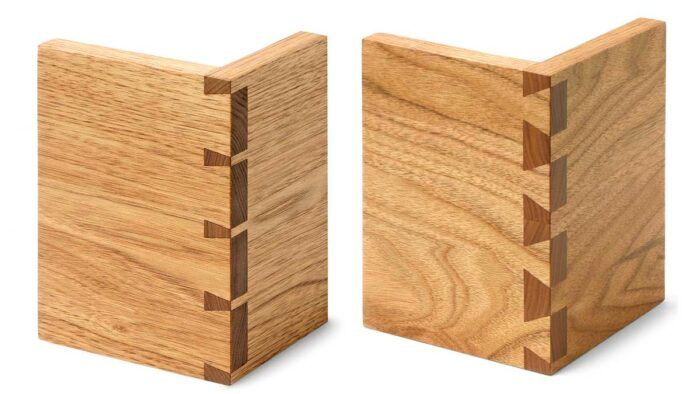
Striking a perfect blend of form and function, dovetail joints add great interest and detail while enhancing the structural integrity of a case, box, or drawer.
Cutting dovetails can become second nature after plenty of practice with saw and chisel. Dovetail layout, on the other hand, is where I see students get frustrated. Here are the key steps in laying out a basic through-dovetail joint, with tips on creating an attractive joint that is sturdy enough to last generations.
How to balance aesthetics and strength
Several factors go into the design of a dovetail joint. These include the size and spacing of the tails and pins, and the slope of the tails (see drawings, below).
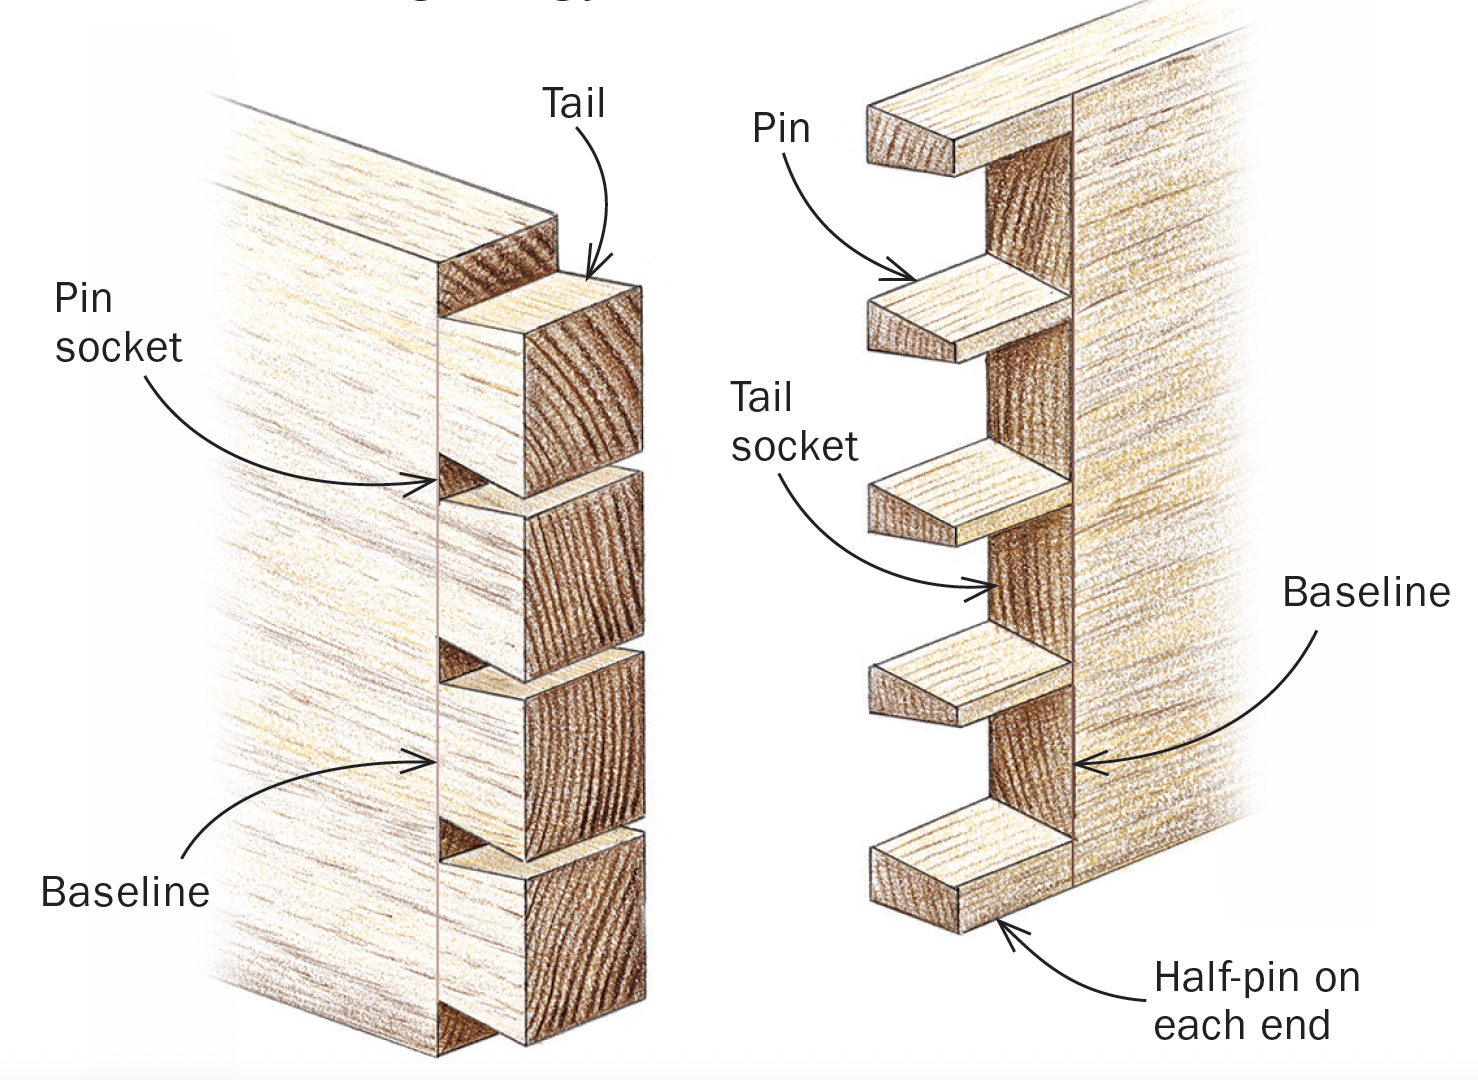
Anatomy of a strong jointDovetails provide not only mechanical strength as the pins and tails interlock, but also plenty of long-grain-to-long-grain glue surfaces for a long-lasting joint. |
Most dovetail joints begin and end with a half-pin on the outside, with the rest of the space subdivided into multiple pins and tails. This creates plenty of long-grain glue surfaces as well as mechanical strength to tie the elements together.
A common practice is to span the joint with pins and tails of equal proportions. Although it’s structurally very sound and typical of machine-cut dovetails, this joint has little design appeal. A better method is to span the joint with tails that are larger than the pins. This is a common practice with hand-cut dovetails and also can be done on the bandsaw or tablesaw, as well as with the better machine-dovetail systems.
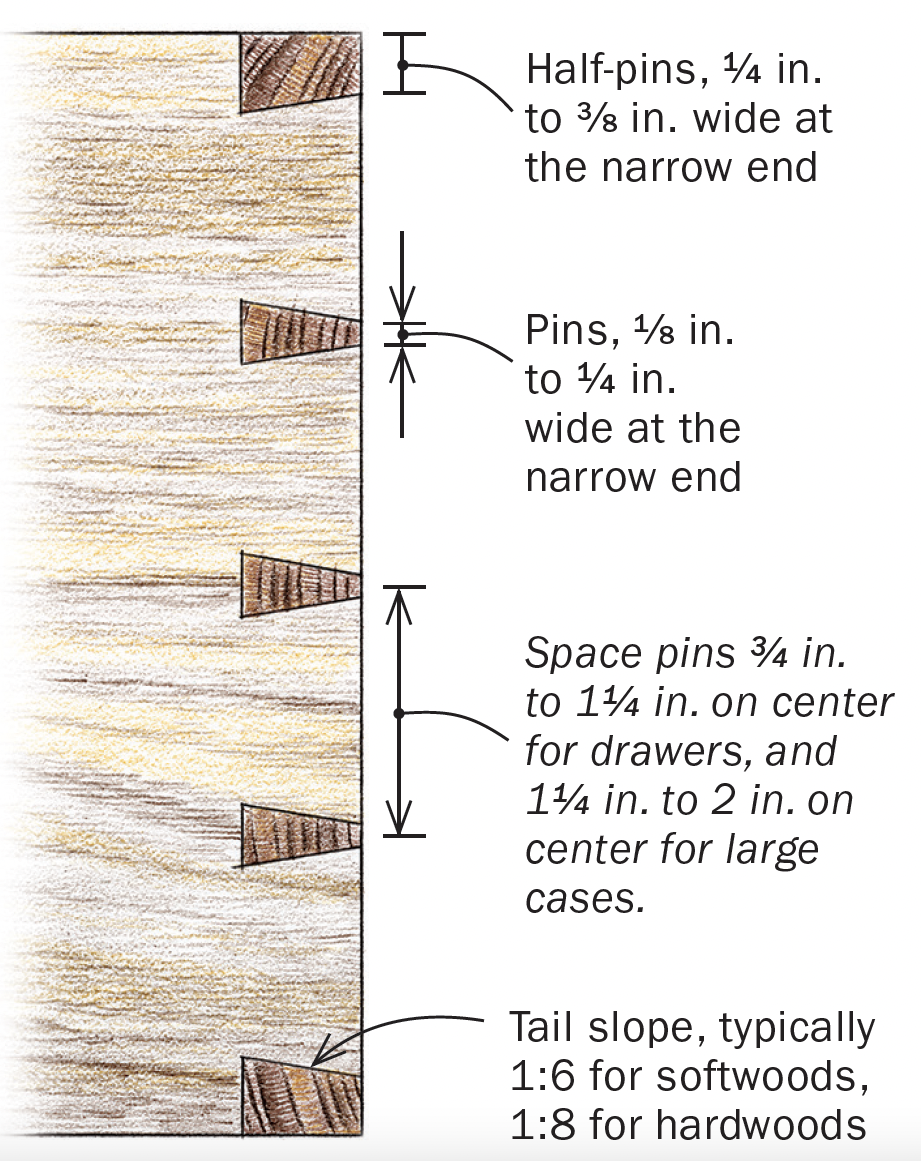
I recommend sizing the half-pins on the outer edges from 1⁄4 in. to 3⁄8 in. at their narrow end. Interior pins range from 1⁄8 in. to 1⁄4 in. wide and can be spaced anywhere from 3⁄4 in. to 2 in. on center, depending on the application.
Last, it’s important to choose an appropriate slope, or angle, for the tails.
That slope is what draws the pin board up tight during assembly. More slope pulls the joint together efficiently; too little slope may require clamps or other aids to pull the joint together, much like a box or finger joint requires clamping pressure in two directions. Partly a matter of preference, the traditional ratio is 1:6 for softwoods and 1:8 for hardwoods; the reason being that the fibers of softwoods can compress more easily and therefore require a bit more angle to ensure that the pins are drawn tight to the tail board.
Keep the layout process simple
When laying out dovetails, use as few steps as possible. Begin by marking out the orientation of the pin and tail boards: inside and outside faces, top and bottom, front and back. Remember that tail boards generally make up the sides of drawers and cases, and the fronts and backs of chests; pin boards are usually the fronts and backs of drawers, tops and bottoms of cases, and ends of chests.
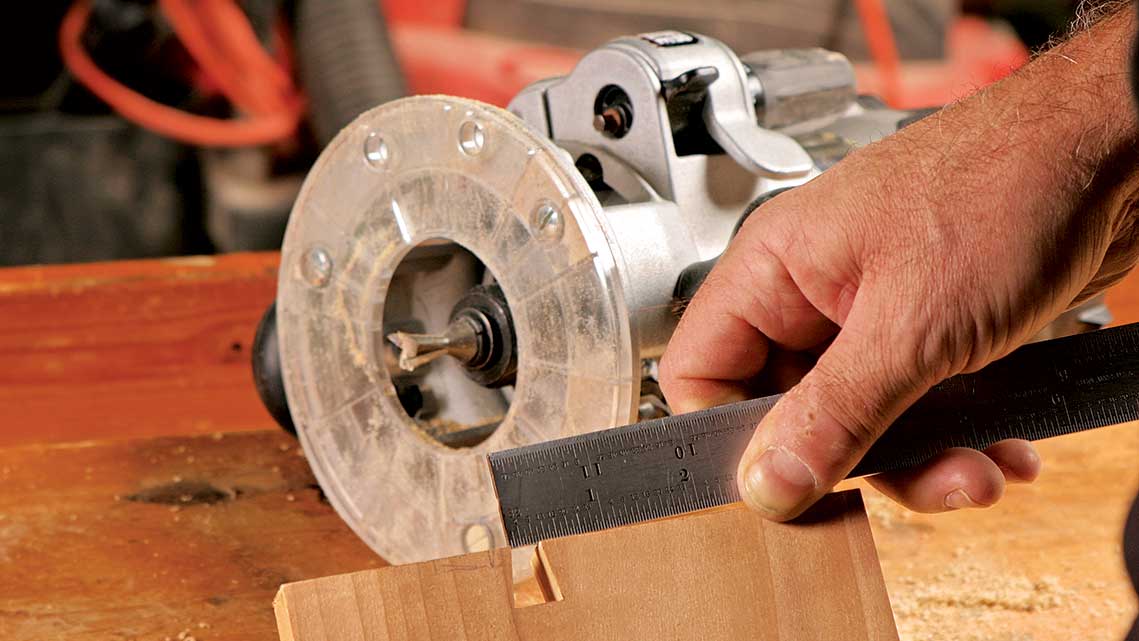
Scribe baselines—With the orientation of the tail board and the pin board established, scribe the baselines on both using a marking gauge. Set the gauge to the exact thickness of the pin board and scribe the tail board on both faces and edges. Setting the gauge to the pin board’s exact thickness means there are no proud pins to interfere with clamping and leaves little to trim flush after glue-up. After scribing the tail board, scribe the inside and outside faces of the pin board in the same way.
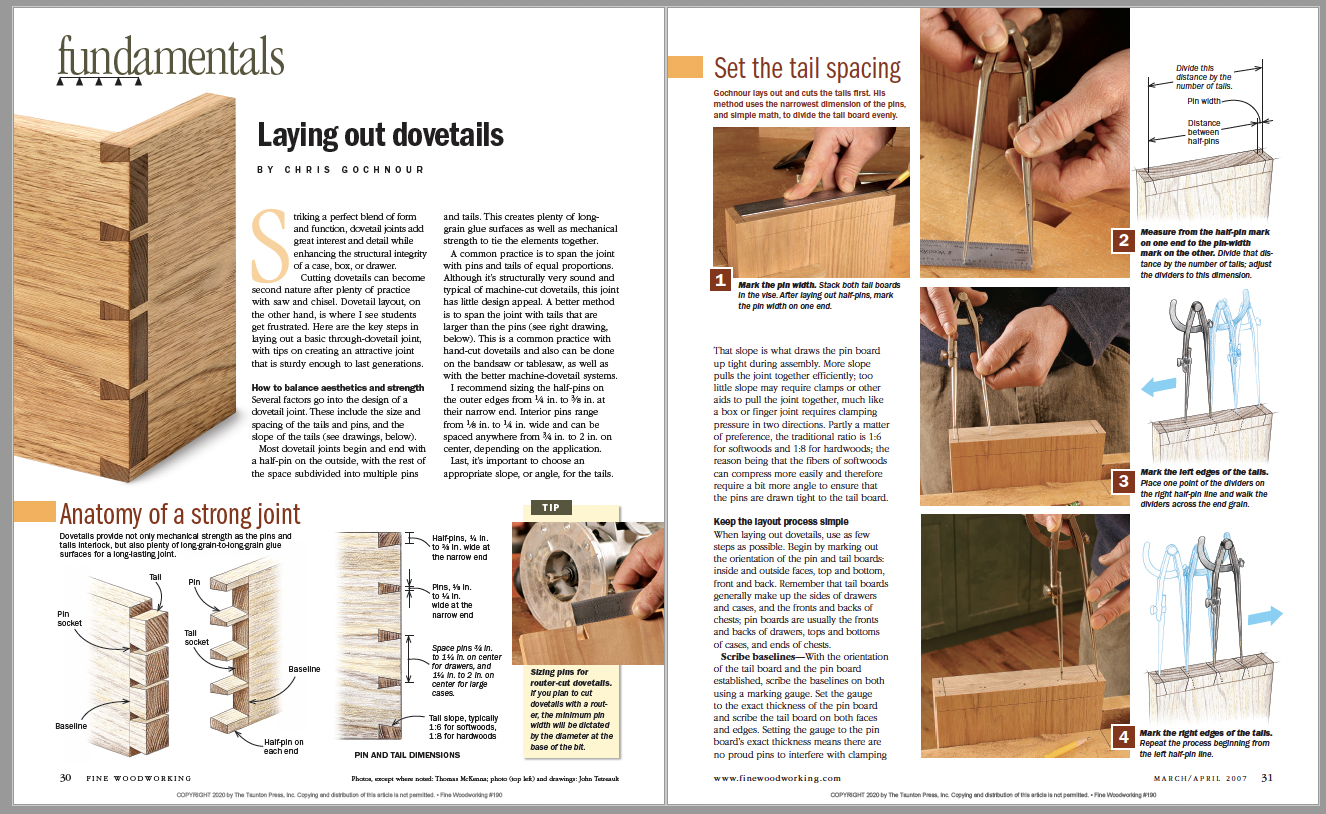 From Fine Woodworking #190
For the full article, download the PDF below:



Log in or create an account to post a comment.
Sign up Log in