Strong and Stylish Dovetailed Dividers
Will Neptune pairs dadoes with dovetails in three joinery options for attaching horizontal dividers to a case.
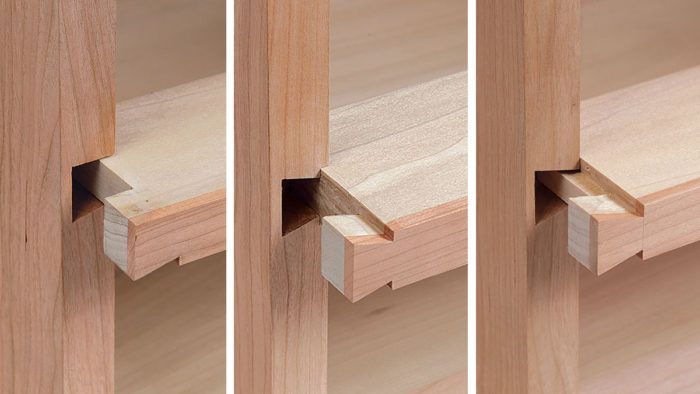
Synopsis: Will Neptune pairs dadoes with dovetails in three joinery options for attaching horizontal dividers to a case. These traditional joints combine the ease of through-dadoes with the strength of dovetails, and will keep case fronts from bowing or deforming. Neptune uses paring blocks to form the dovetail and stub tenons for easy and repeatable results. The first and simplest joint employs a half dovetail in front. It’s quick and secure. The second is a stepped full dovetail, a good option for lipped drawers. The third option is a full dovetail, recommended for inset drawers.
When installing horizontal dividers in a case, I like to use a combination of dovetails at the front with dadoes across the case sides. A traditional solution, this method combines the ease and efficiency of dadoes with the strength of dovetails. But just because this joint is traditional doesn’t mean it isn’t equally useful today. Whether you cut them by hand or machine, dadoes are easy to cut, and the dovetails do a great job keeping case fronts from bowing or deforming because of wood movement or someone racking a drawer.
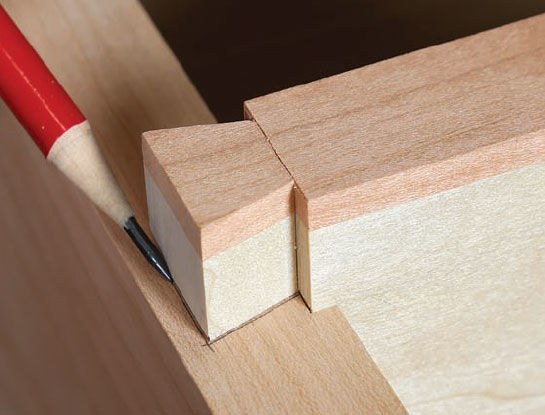 The key to cutting this joint efficiently is using simple wood paring blocks. Used to form the dovetail—and, in two varieties of the joint, the stub tenon that fits in the dado—these blocks simplify layout and allow for easily repeatable results.
Watch Matt Wajda, one of Will’s former
students go through the process in this video
I’ll cover three variations of the joint here. The first, the half dovetail, is the simplest to cut but still plenty strong. The second, the stepped dovetail, pairs a dovetail housing—what some call a socket—with a wide dado that accepts the full thickness of the divider. These are great for lipped drawers. For inset drawers, I like the third option, the full dovetail, with its shoulder aligned with the inside of the case. The steps used to cut each of these are similar. They all start with cutting dadoes in the case and trimming the dividers to length. Then, after making the dovetails (and, if necessary, tenons), you’ll tap in the dividers and trace the tail onto the front edge of the case side. From there, it’s a matter of using a saw, chisels, and a router plane to form the dovetail housing.
By the way, I typically install dovetailed dividers only in the front of a case. They’re not as vital in the back, as the drawer opening back there is less critical. So unless a case is taller than 32 in., I don’t worry about dovetailed dividers in the rear, and even then, a single one installed halfway up does the job.
You’ll need dovetail paring blocks
While the flat paring blocks that I use to size the stub tenons are simply small blocks of wood—albeit carefully thicknessed—the dovetail paring blocks involve a bit more work. To start, it helps to have an idea of the dovetails’ scale, so pencil the dovetail on the case or create a full-size drawing. Set a bevel gauge to the dovetail angle and tilt the blade on your tablesaw to it. The block should be about 2 in. wide and 8 in. long, with the ramped surface about 1-1⁄4 in. wide. The thin edge of the ramp should be the thickness of your divider stock. If you overshoot it, simply plane the front edge of the block. I cut a flat on each end of the block so I can clamp it to the bench.
Half dovetails are simple and strong
The half dovetail is the simplest divider joint to cut and offers most of the holding power of the other, more complex variations. The main advantage of this version is that it relies on a single reference face, so variations in divider thickness don’t affect the fit of the joint. This can simplify milling. You’ll need a ramped paring block for the dovetail and a flat one for the stub tenon. The flat one should fit snugly in the dado.
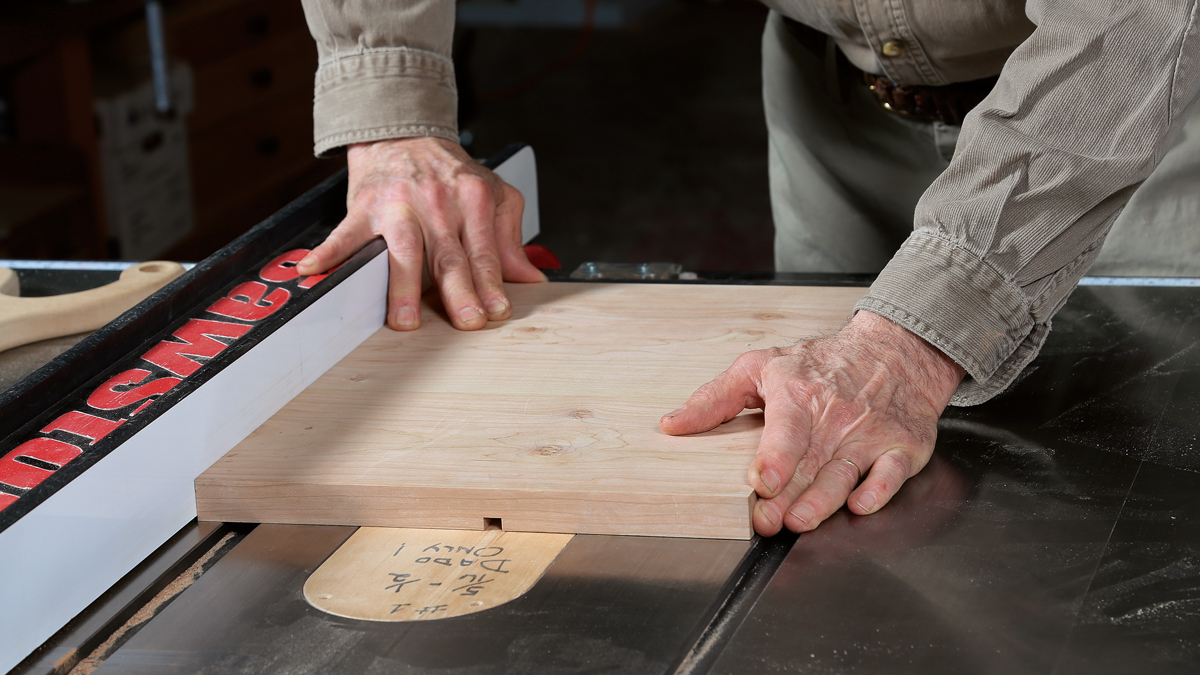
Getting startedAll three variations of the joint start with cutting dadoes in the case side and trimming the dividers to size. Dado the case
|
From Fine Woodworking #276
To view the entire article, please click the View PDF button below.
More on FineWoodworking.com
- Make cock beading by machine or by hand
- Going the hand-tool route? Learn how to make your own scratch stock here
- Cock beading is a great way to dress up drawers, adding sophistication while hiding gaps.



Log in or create an account to post a comment.
Sign up Log in