A Woodworker’s Layout Tools: Measuring
Tom McLaughlin discusses the tape measure, rules, and squares he uses every day in the shop.
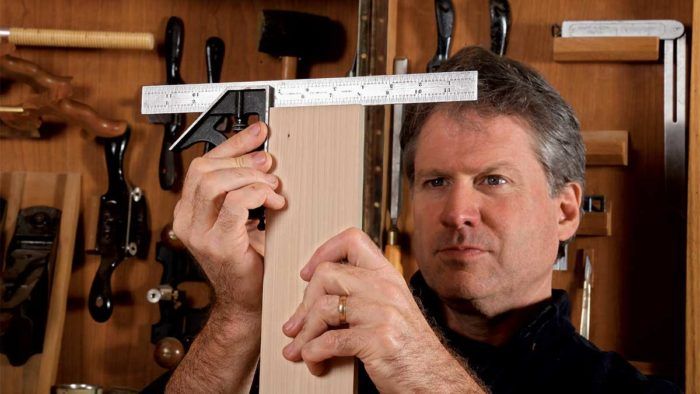
Synopsis: The first essential step in becoming a competent woodworker is skillful layout. You may have exceptional skills with a saw, chisel, handplane, and spokeshave, but if you haven’t mastered accurate layout, you won’t hit the mark. Tom McLaughlin discusses the layout tools he turns to every day: tape measure, rules, squares, gauges, knives, and markers.
Good marking and measuring tools are essential to fine work. The hand tools that cut and shave—planes, chisels, saws, and spokeshaves— tend to get all the glamour and attention. But even the most precise work with those tools is only as good as the layout that precedes them. After all, of what use is it to skillfully saw and chisel to a line if the line itself is not accurate?
Like many, I enjoy checking out the latest marking gadget or gizmo, but sometimes simple is best. Either because it’s difficult to improve on traditional, time-tested designs, or perhaps because old habits are hard to change, I usually reach for a trusty handful of classic layout tools, many of which look the same today as they did centuries ago. Other times, newer is better, although none of these tools has a ton of bells and whistles. Here are a few of my favorites.
 Tape Measure
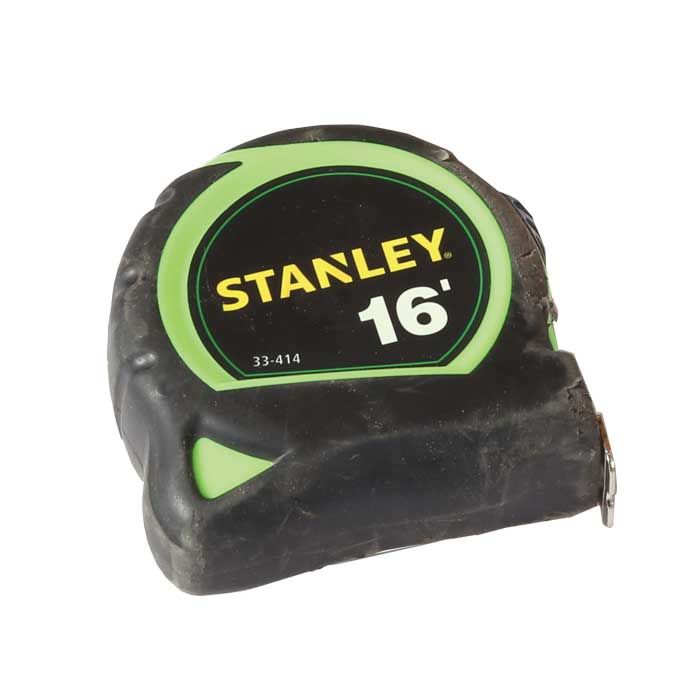
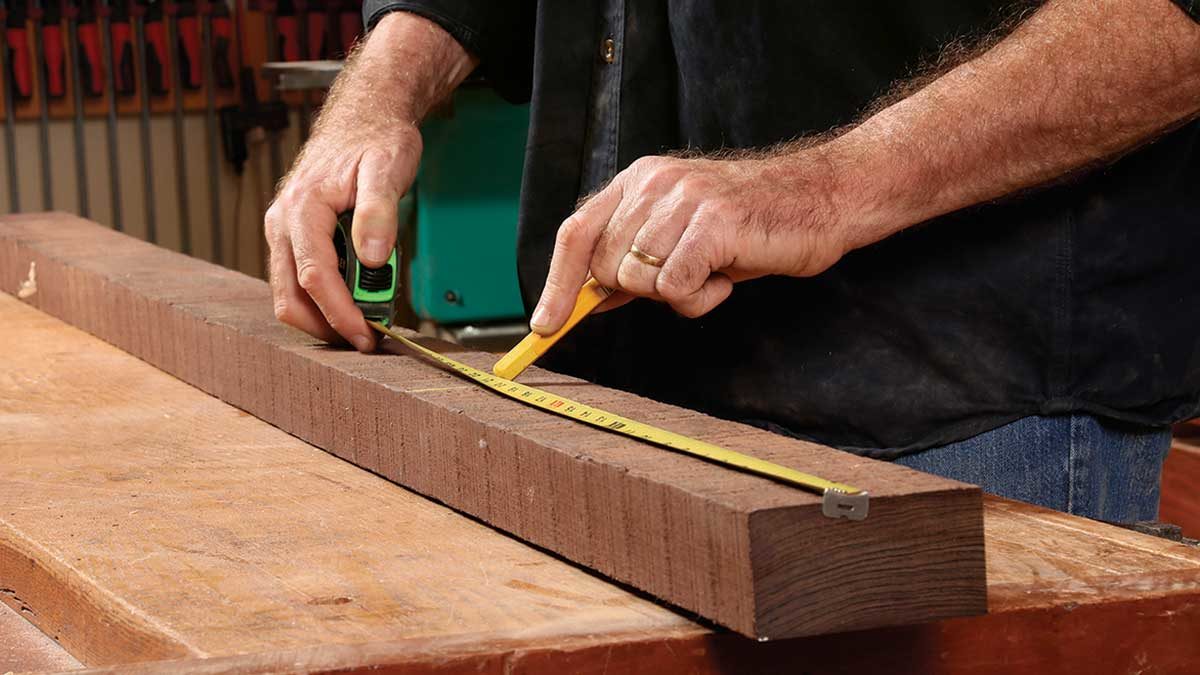
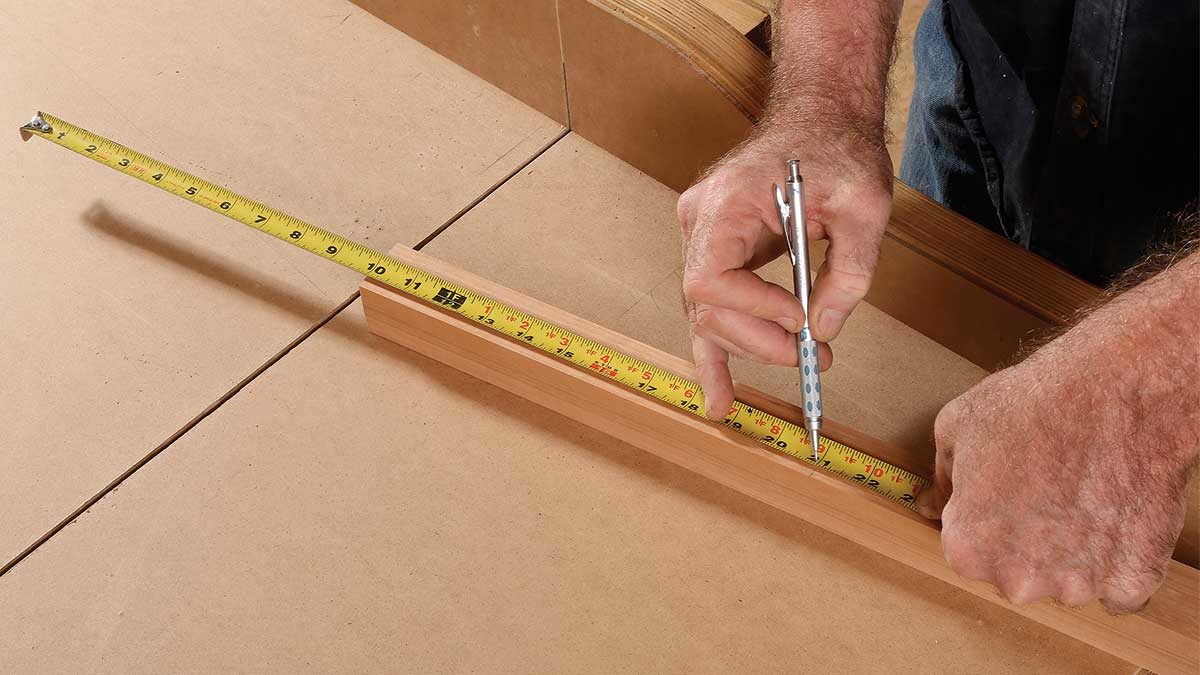
When I was a kid I used wooden folding rules, the type that tried your patience and were good for pinching fingers every now and then. But these days I like the speed and convenience of a 16-ft. tape measure on my hip. It’s always at the ready to pull a quick measurement. As for the length, while the 25-ft. tapes are great for house building, they’re rarely needed in the shop, so I recommend something more nimble—even if your builder neighbor makes fun of your small tape when you show up on a job site to help out.
As opposed to my other measuring tools, where I buy high-quality brands, I take a different route with my 16-ft. tapes. They never seem to last long, often getting broken or lost. For that reason, I usually have an extra ready in the drawer and I don’t buy the most expensive ones at the box store. Currently, I like the 16-ft. Stanley tape, whose bright green casing makes it easy to see and find.
Rules
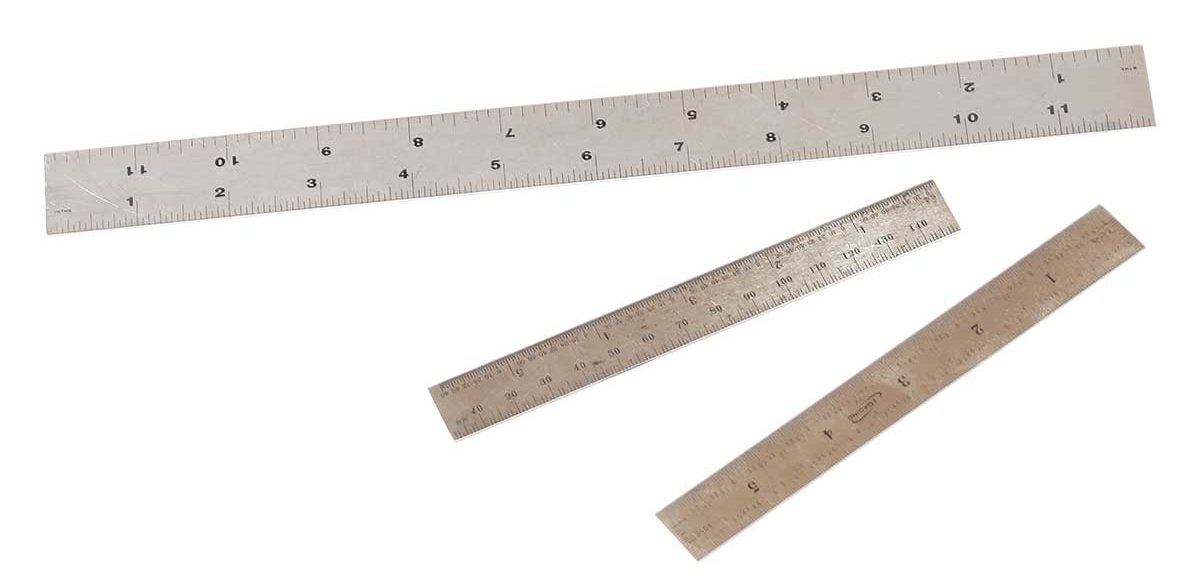
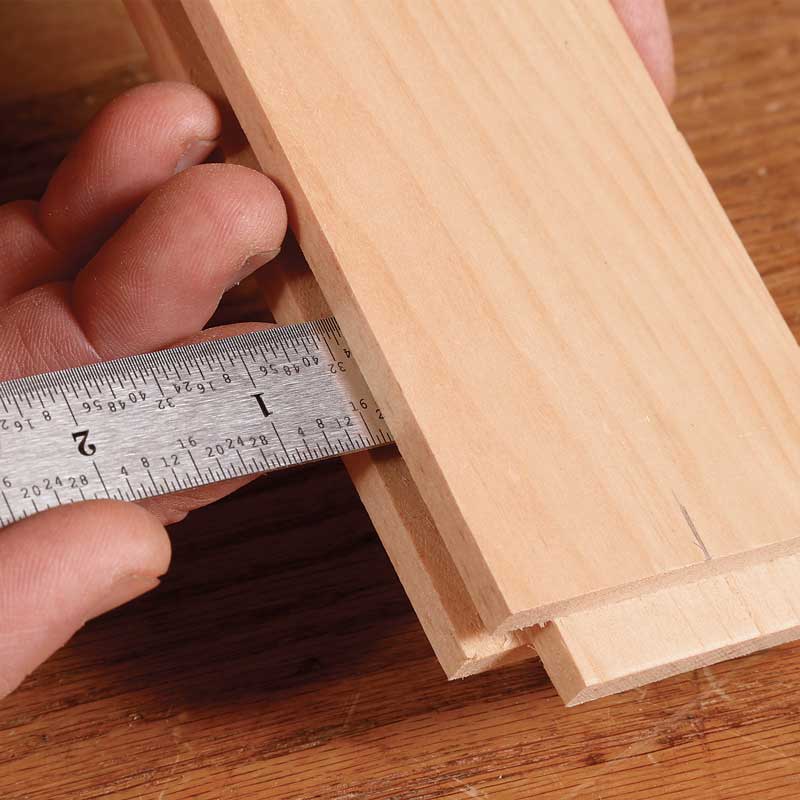
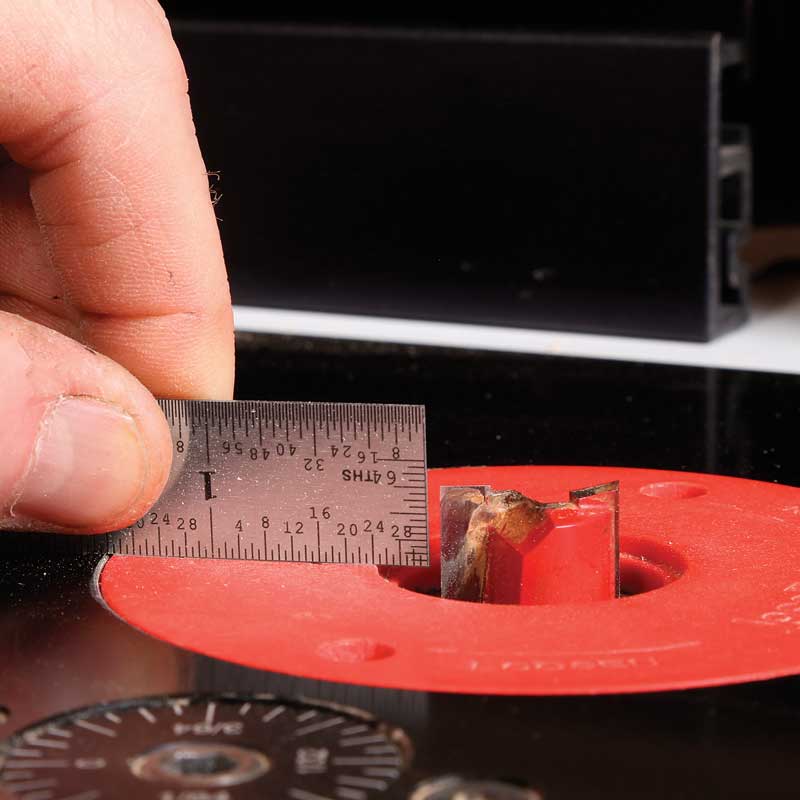
In addition to the tape measure, my most frequently used measuring tools are steel rules, especially the 6-in. one I keep in my apron or pants pocket for quick access. I use this inexpensive rule frequently, checking dimensions of all kinds, such as stock thickness, tenon length, and dado depth. I keep 12-in. and 24-in. steel rules close at hand in the tool cabinet to use when the situation calls for them, as well as another 6-in. rule with metric markings on the reverse side. Look for rules that are satin chrome and have the increments etched, as these are easier to read.
|
|
|
Squares
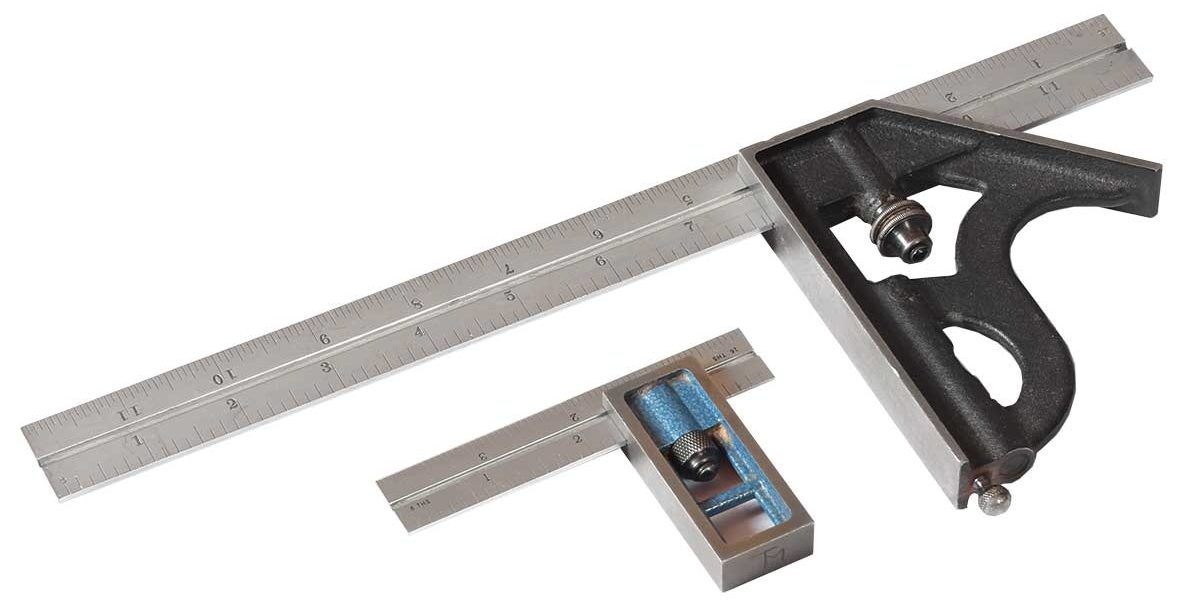 With some tools, like chisels, you can get by early on with less expensive versions. But when it comes to a combination square, you should spend the money to get a first-rate model right from the start. A furniture maker needs a true and trustworthy square. While there are probably a few other options available, my personal preference is the Starrett brand.
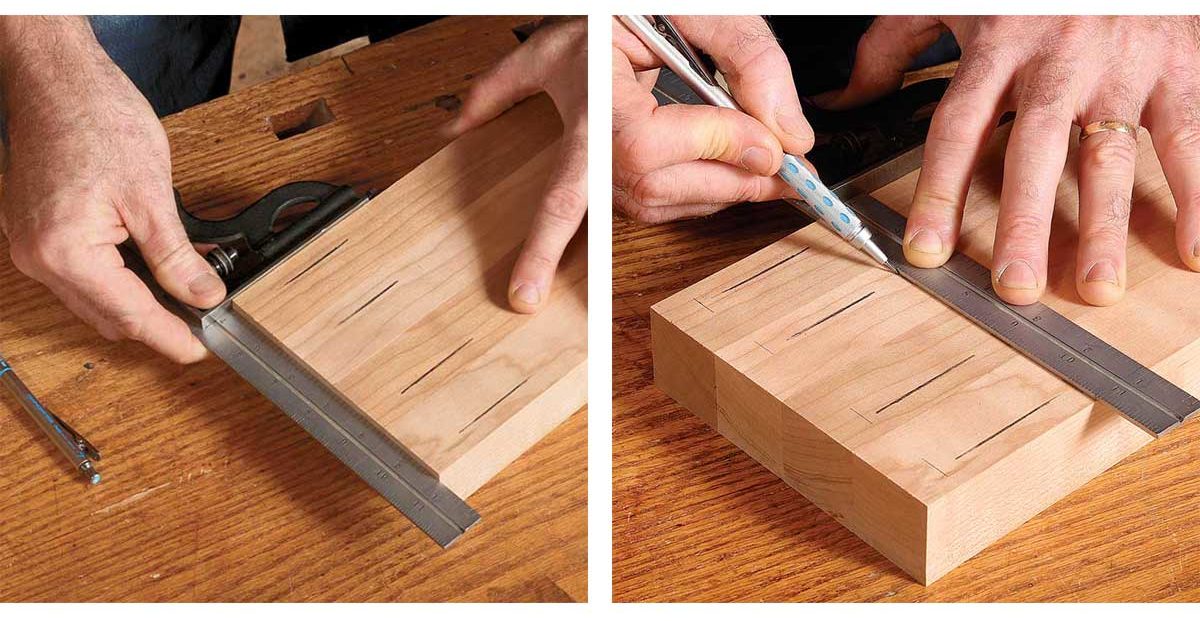
An essential everyday tool, the combination square is primarily used to verify that a corner is 90° and to draw a line square from an edge. The combination square is also frequently used to mark out joinery, such as mortises. A line can easily be drawn parallel to an edge by bearing a pencil against the end of the rule, which should lock reliably in place at the desired length. The head also has a 45° face for verifying miters.
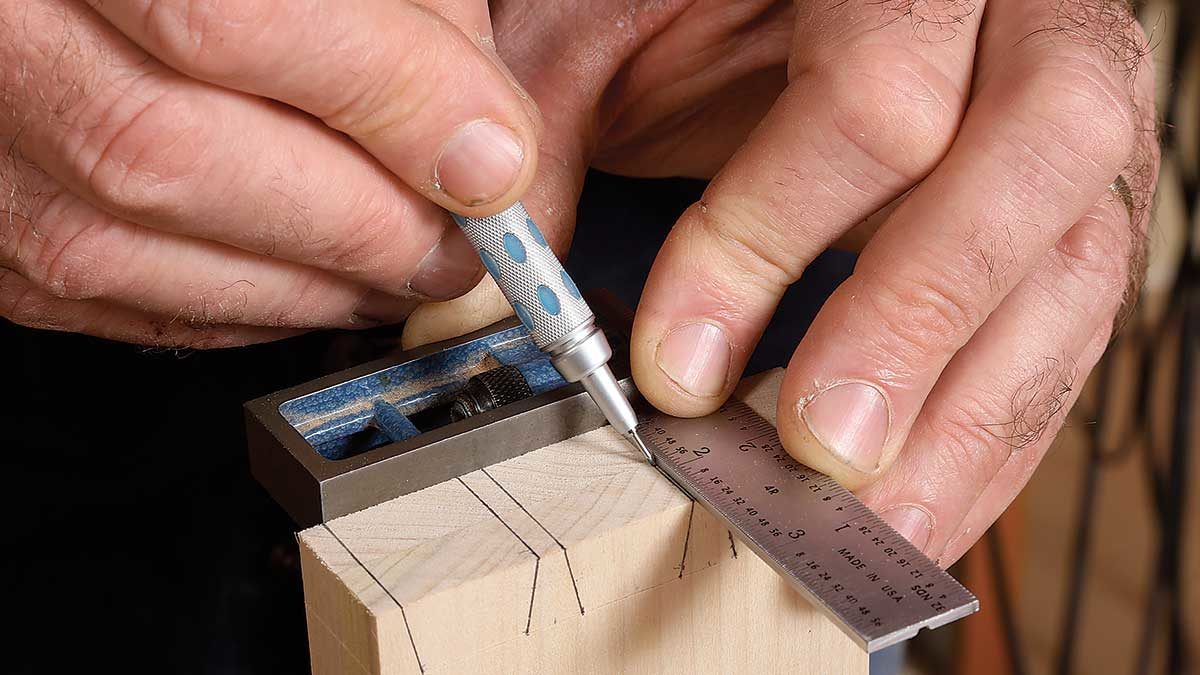
The little sibling of the 12-in. combination square, a 4-in. or 6-in. double square, excels on smaller marking jobs. (I prefer the 4 in.) This is one of those tools I had wondered if I really needed, but it quickly became an everyday tool, and now I can’t imagine working without it. It’s very well machined and balanced, making layout easy. The head is square on both sides, and nearly every use I have for it relates to 90°. When I do need to check 45°, I just use my standard combination square.
Bevel Gauge
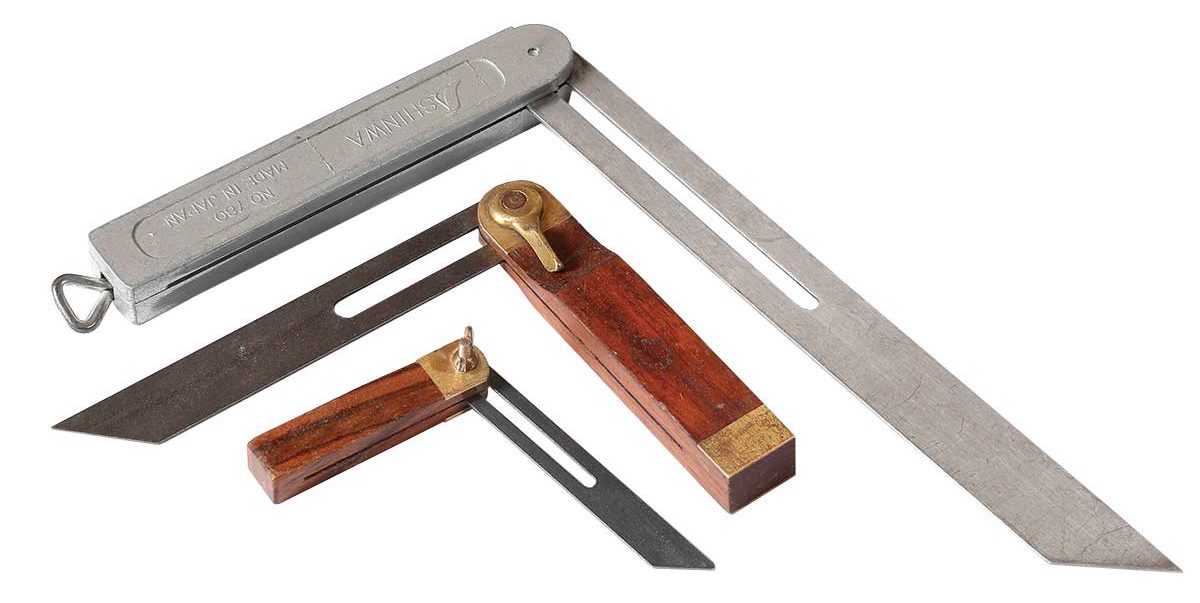
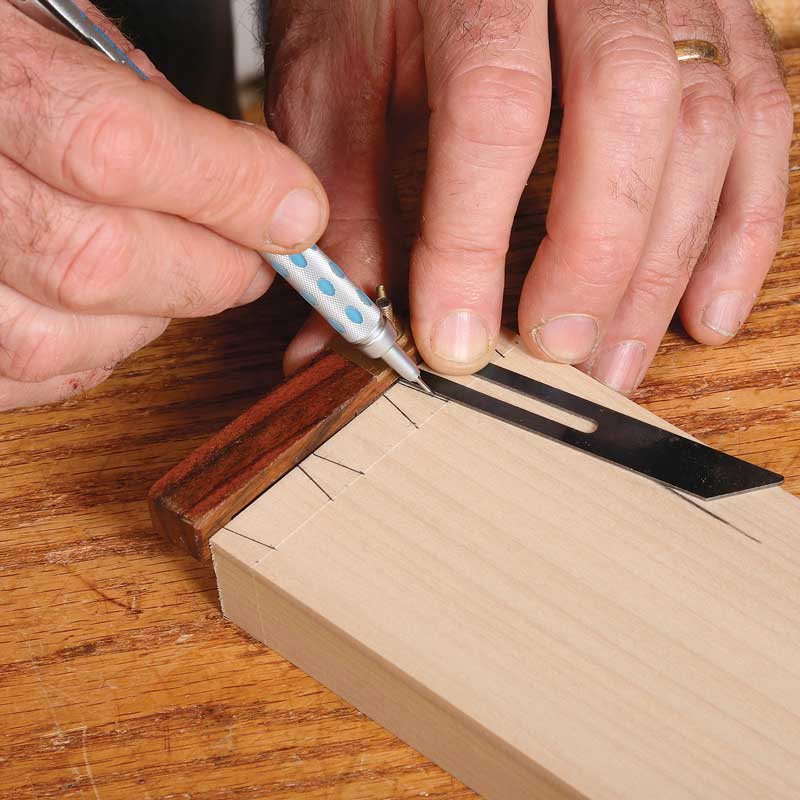
The bevel gauge is used to transfer angles. The tool consists of a handle, a sliding blade, and a locking mechanism that’s either a screw, lever, or nut on the side or bottom end of the handle. I prefer it on the end, where it’s out of the way, allowing the gauge to lie flat on either face. Still, the side mounted locking mechanism works fine in most situations.
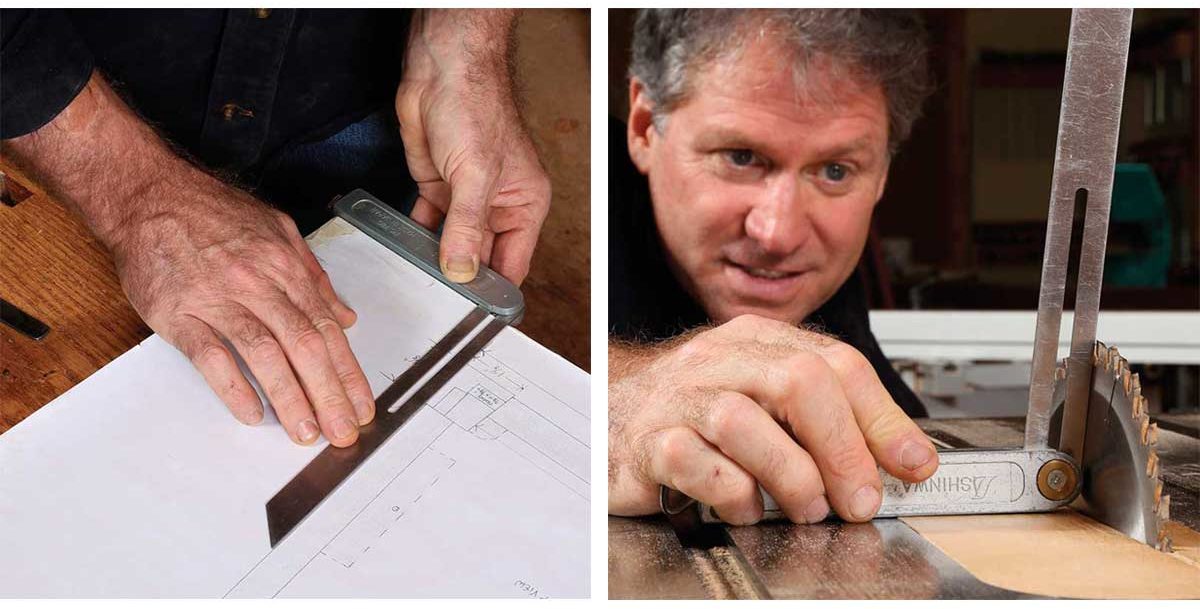
When copying an angle from an existing piece, the bevel gauge is simply adjusted against the angle. When working from a drawing, lay the bevel gauge on the drawing, capture the angle, and then use that setting at the tablesaw to tilt the blade or angle the fence on your crosscut sled. I have three bevel gauges, a 10-in., a 6-in., and a 4-in. that I use mostly for setting and laying out custom dovetails.
Dovetail Gauge
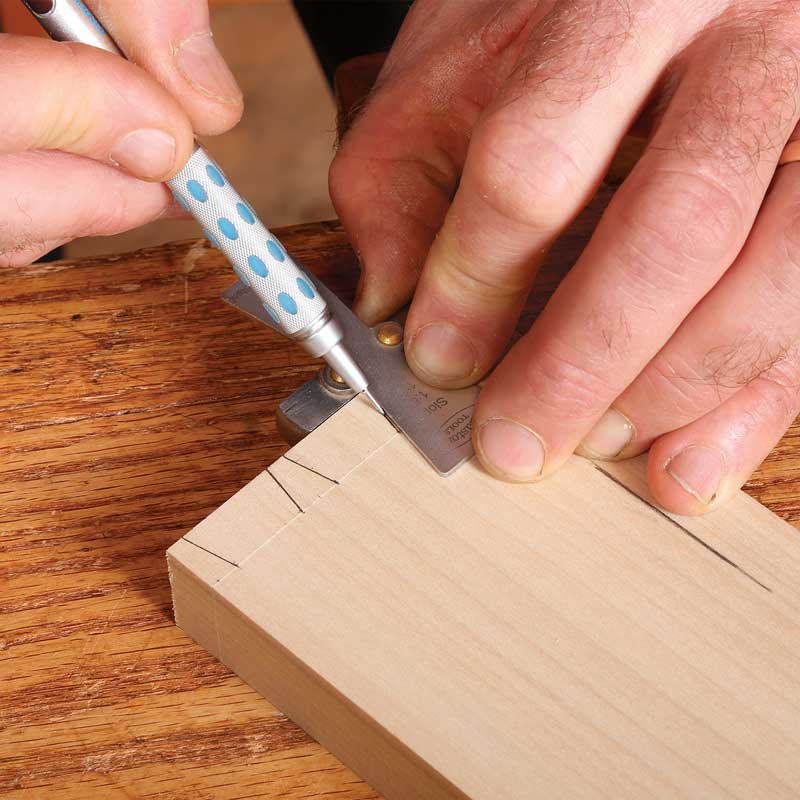
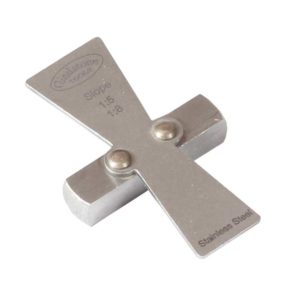 This little gauge is one of those tools that just feels good in your hand—not to mention that it makes laying out dovetails fast and easy. It has two options for slope angles and a center rail to reference against the workpiece. My jig’s angles are 1:5 and 1:8, meaning the slope rises 1 in. over 5 in. length or 8 in., respectively.
Convention says the stronger-angled 1:5 slope is for softwoods, while the gentler 1:8 is for hardwoods or when cutting thin, decorative pins. However, I prefer using the stronger 1:5 regardless of the wood to give the joint a bolder aesthetic punch.
|
|
|
Tom McLaughin is a furniture maker and teacher in Concord, N.H. (epicwoodworking.com).
Photos: Barry NM Dima
From Fine Woodworking #280

Comments
Thanks for the info. Just curious if I am the only one who finds measure lines finer than a 1/16th to be annoying on the engineering squares or rules. I know the 4 "sides" have different ones showing but I don't want to see anything finer than a 1/16th as I just annoys my eyes.
In all honesty, I could probably even get by with just 1/8th showing as I could guestimate the 16ths.
Log in or create an account to post a comment.
Sign up Log in