Veneered Boxes Made Easy
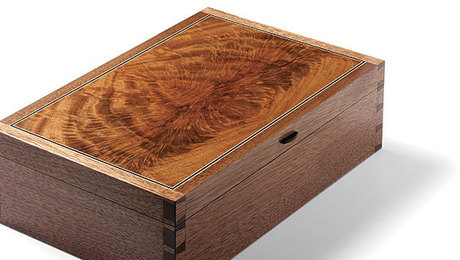
Veneering pro Craig Thibodeau shows how to make a mitered, veneered box that he describes as simple but that looks anything but.
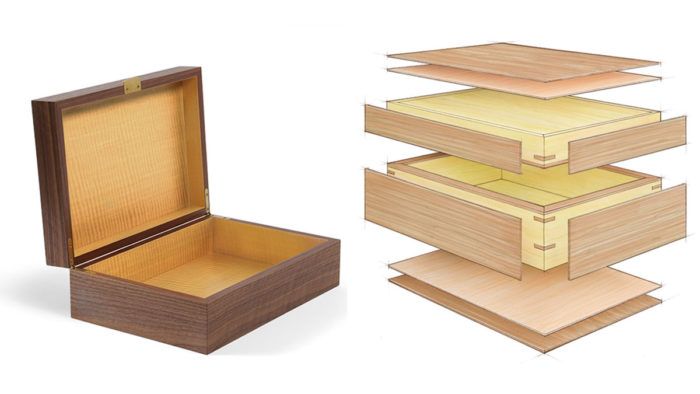
Synopsis: If there’s a single thing to be learned from this article it’s that veneered boxes are fun to make. You can decorate them with inlay, marquetry, beading, and more. And you can make the inside with a contrasting veneer for an element of surprise. Craig Thibodeau has worked with veneer for years, and he has clever techniques that make it easier to achieve high-end results. Here he’ll show you how to make a mitered, veneered box that he describes as simple but that looks anything but.
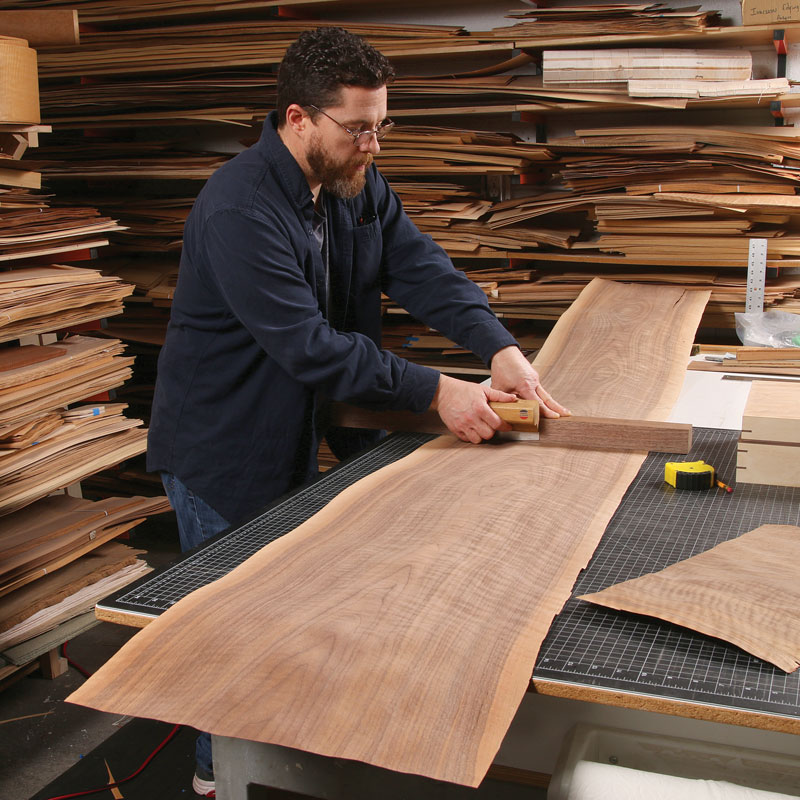 I built my first boxes from solid wood. Then I started playing with veneer, discovering a new world of wood species, colors, and amazing grain patterns. I used veneer for box-making, then for furniture, and I never looked back.
Using veneer makes it easy to decorate a box with inlays, marquetry, corner beading, and more. And the outside of the box is just the beginning of the fun. With veneer, you can feature a different material on the inside. The box in this article is a good example. Outside you get beautiful brown walnut. Open the lid and you discover a bright, golden interior of curly anigré, which lightens the look and adds an element of surprise.
Over many years working with veneer, I’ve developed techniques that make high-end results easier to achieve. On boxes, I veneer the inside before assembly and the outside afterward. That not only delivers a flawless interior but also lets you use whatever joinery method you like to build the box—miters, half-laps, dovetails, or whatever—and then simply veneer over it, creating invisible joinery, a perfect grain match, and a seamless exterior.
My joinery method for veneered boxes is a combination of miters and rabbets that are easy to cut and even easier to assemble, as you’ll see.
Another critical move is assembling the parts into a closed six-sided box, and then ripping off the lid on the tablesaw. You might think this would leave the edges of the plywood substrate exposed at the seams, but I have a trick for that. Before I veneer the sides and assemble the box, I figure out where the seam will be, rip apart the plywood pieces at that line, and glue a strip of solid wood between them—one that matches the exterior veneer. That way, when I cut off the lid later on, I end up with a solid edge on both lid and box, which blends in beautifully.

The first thing to do when making any box is to decide on its size. Maybe it needs to hold specific items, or maybe you’re just making a well-proportioned box with no plans for its cargo. This box is 9 in. deep by 13 in. wide by 4 in. tall, a pleasing shape that’s just large enough to store something special.
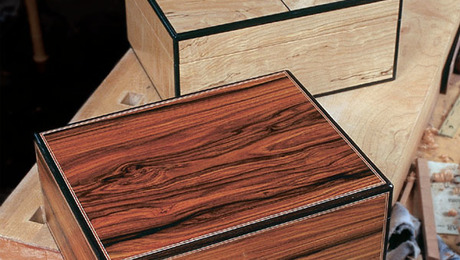
To keep the focus on the fundamentals, from joinery to veneering, I’ve kept this box simple. But the same veneer approach makes it easy to take a box to another level with decorative inlays and borders. There are any number of ways to do this, everything from small, matching inlays inside and out, to adding a lock and an inlaid escutcheon plate. Another great touch is a solid-wood bead around the perimeter of the box to protect the corners and frame the exterior veneer.
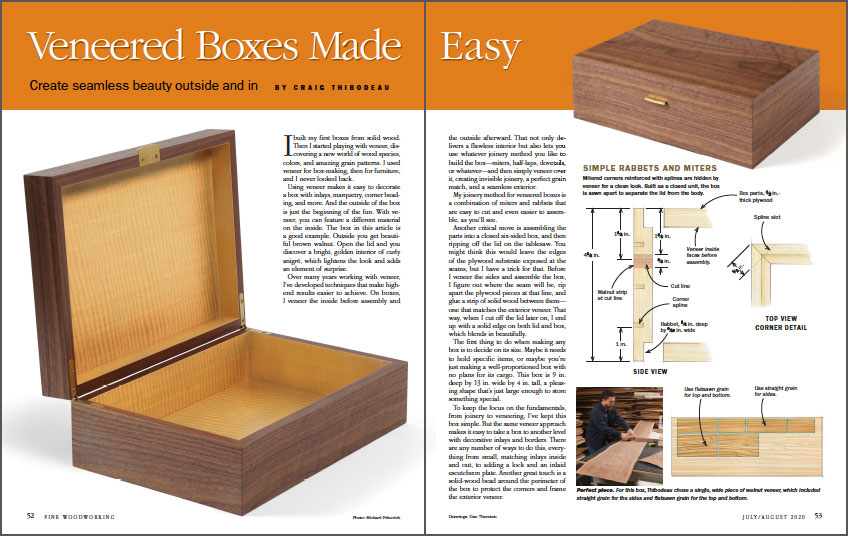 From Fine Woodworking #283
To view the entire article, please click the View PDF button below.
 |
|
 |
|
 |


Comments
When this article first appeared in the magazine I thought it was worth this month's few dollars for FWW access, all by itself. Ten pages of detailed expert guidance with top class photos and text.
Admittedly veneering small boxes is a currently near the top of my to-do list as yet another new (to me) and exciting foray in the land of WW .... but surely any woodworker can see the value in this quality of information?
Lataxe, blowing a blast on the approval-trumpet for FWW.
Agree with Lataxe - fantastic article and timely for me.
Why does the author place the exterior veneers after assembly rather than before in a vacuum bag, which seems like it would be much more convenient. Is it because the edges are likely to be damaged during the assembly process?
I believe he did it that way to hide the splines. If he veneered it, cut the miters, assembled, and then cut the splines you would see them.
Log in or create an account to post a comment.
Sign up Log in