Uzukuri finish
Similar in appearance to wood worn by prolonged exposure to the elements, uzukuri finish is created by rubbing a stiff brush back and forth along the wood, gradually removing the softer areas of early wood.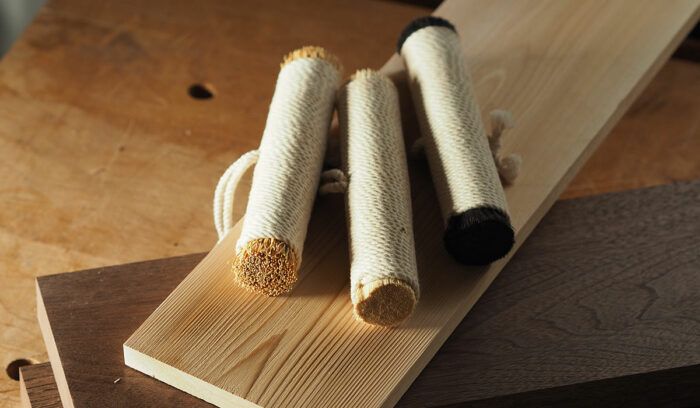
Synopsis: Similar in appearance to wood worn by prolonged exposure to the elements, uzukuri finish is created by rubbing a stiff brush back and forth along the wood, gradually removing the softer areas of early wood. This enables the hard grain to stand out. This is a completely different finishing process than modern woodworkers are used to, and the results are both durable and beautiful.
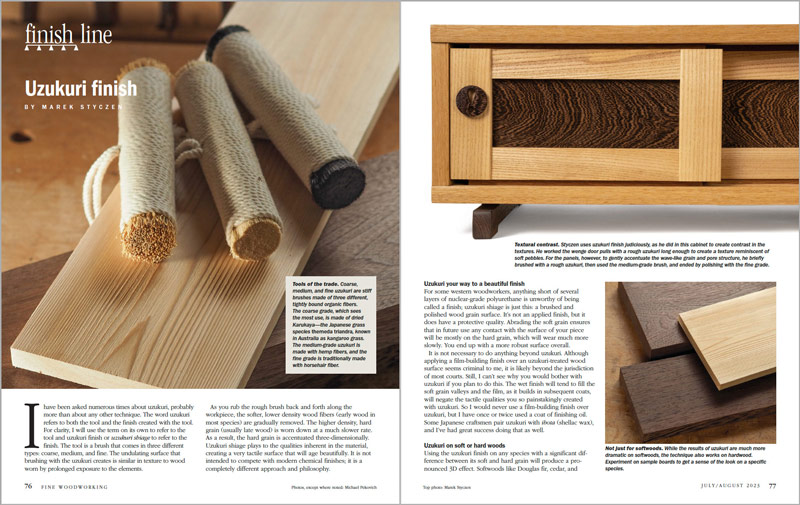
I have been asked numerous times about uzukuri, probably more than about any other technique. The word uzukuri refers to both the tool and the finish created with the tool. For clarity, I will use the term on its own to refer to the tool and uzukuri finish or uzukuri shiage to refer to the finish. The tool is a brush that comes in three different types: coarse, medium, and fine. The undulating surface that brushing with the uzukuri creates is similar in texture to wood worn by prolonged exposure to the elements.
As you rub the rough brush back and forth along the workpiece, the softer, lower density wood fibers (early wood in most species) are gradually removed. The higher density, hard grain (usually late wood) is worn down at a much slower rate. As a result, the hard grain is accentuated three-dimensionally. Uzukuri shiage plays to the qualities inherent in the material, creating a very tactile surface that will age beautifully. It is not intended to compete with modern chemical finishes; it is a completely different approach and philosophy.
Uzukuri your way to a beautiful finish
For some western woodworkers, anything short of several layers of nuclear-grade polyurethane is unworthy of being called a finish; uzukuri shiage is just this: a brushed and polished wood grain surface. It’s not an applied finish, but it does have a protective quality. Abrading the soft grain ensures that in future use any contact with the surface of your piece will be mostly on the hard grain, which will wear much more slowly. You end up with a more robust surface overall.
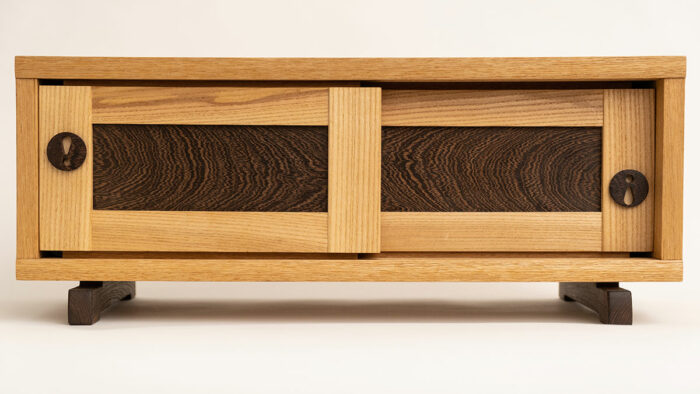
It is not necessary to do anything beyond uzukuri. Although applying a film-building finish over an uzukuri-treated wood surface seems criminal to me, it is likely beyond the jurisdiction of most courts. Still, I can’t see why you would bother with uzukuri if you plan to do this. The wet finish will tend to fill the soft grain valleys and the film, as it builds in subsequent coats, will negate the tactile qualities you so painstakingly created with uzukuri. So I would never use a film-building finish over uzukuri, but I have once or twice used a coat of finishing oil. Some Japanese craftsmen pair uzukuri with ibota (shellac wax), and I’ve had great success doing that as well.
Uzukuri on soft or hard woods
Using the uzukuri finish on any species with a significant difference between its soft and hard grain will produce a pronounced 3D effect. Softwoods like Douglas fir, cedar, and cypress fit this category. However, on softwoods any imperfections in the surface will be more obvious.
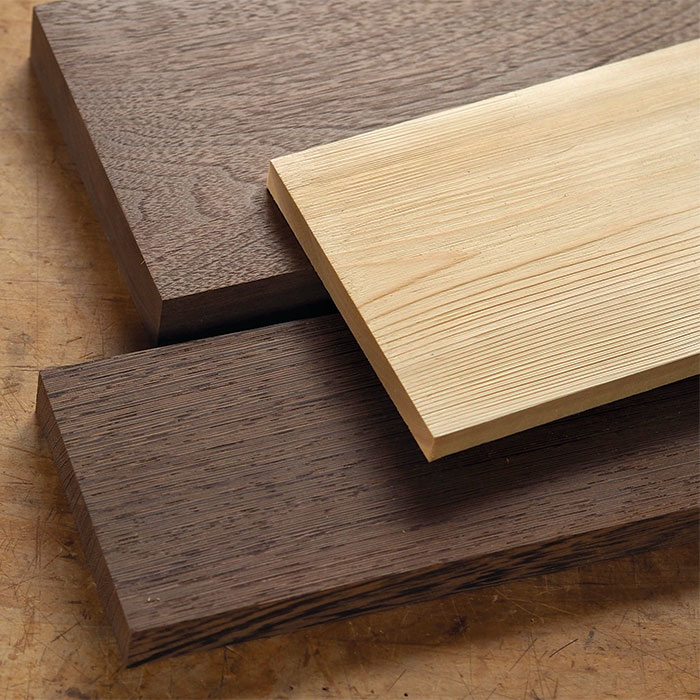
Hardwoods also benefit from the uzukuri finish. The effect is not as dramatically three-dimensional, but the grain and pore structure are accentuated and the resulting surface is pleasantly tactile. My favorite hardwood for this treatment is wenge. The effect emphasizes the coarseness of wenge’s grain and its large pore structure. I’ve also had good but slightly different results with black walnut and iroko. Experimenting on a scrap of your workpiece first is highly recommended before settling on uzukuri as the finish. I would avoid hardwoods with a very striking figure, as they may be more suited to a standard flat surface with an oil or film finish. But that is a matter of taste.
Using the uzukuri
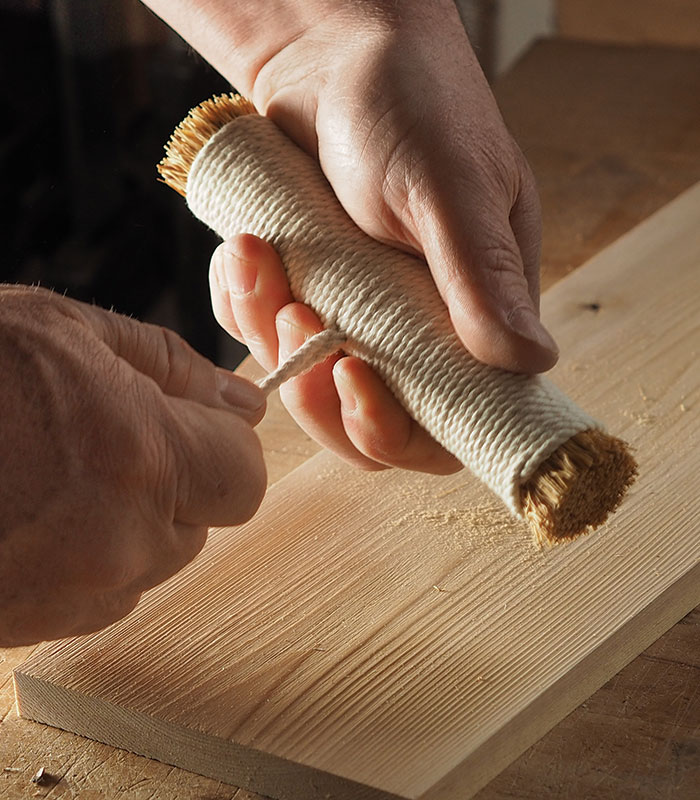
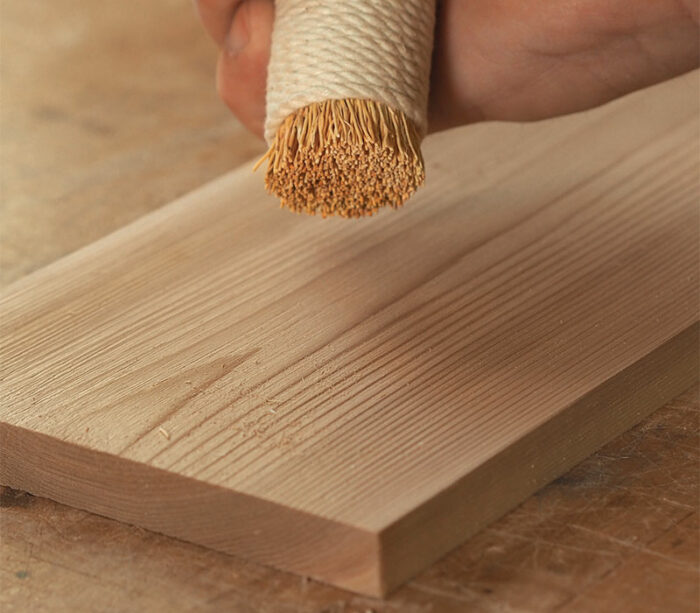
A simple technique
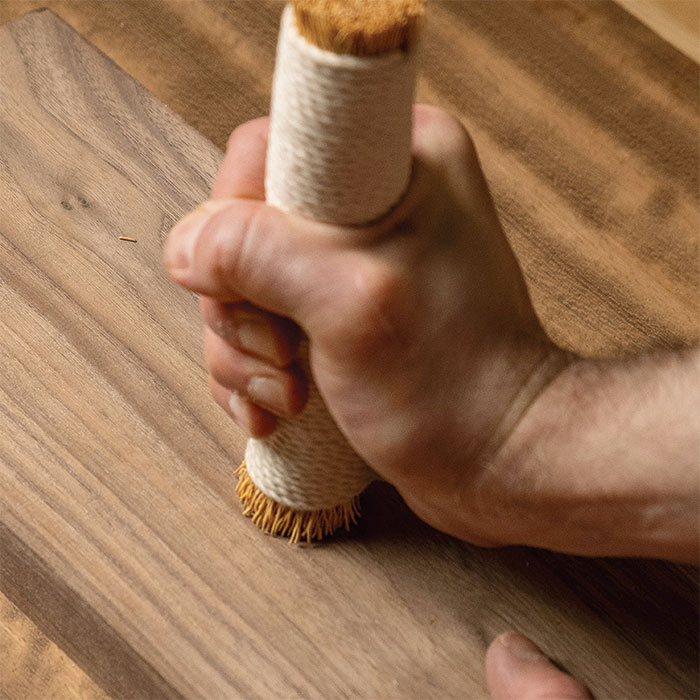
To create the uzukuri finish, begin with the coarse brush and rub forward and back in shortish strokes. Start on one side of the board and make slightly overlapping passes until the full width of the board is covered. Then extend the last stroke to move farther down the length of the board and start making overlapping passes again to cover the width of the board in the next section. Make sure your new strokes overlap the previous section. Find a rhythm and stick with it until you have covered the full board. Check for evenness and depth, then start again at the top. At least three or four passes over the whole surface with the rough brush are needed, and often as many as 10 to 20 passes, depending on the wood species and the desired effect. On softwoods, I follow up with the medium brush when I want to reduce the appearance of deeper scratches from the rough brush. The effect is modest, though. The fine brush does not appreciably alter the surface so I would not use it for that purpose. I also use the medium and fine to polish the surface when I apply wax, and on very hard woods like wenge without wax to polish or burnish the surface on its own.
Pair uzukuri with wax
Although some might balk at the idea of calling wax a finish, the result when combined with heavy brushing into the grain is surprisingly long-lasting, more so than just rubbing on some wax with a cloth.
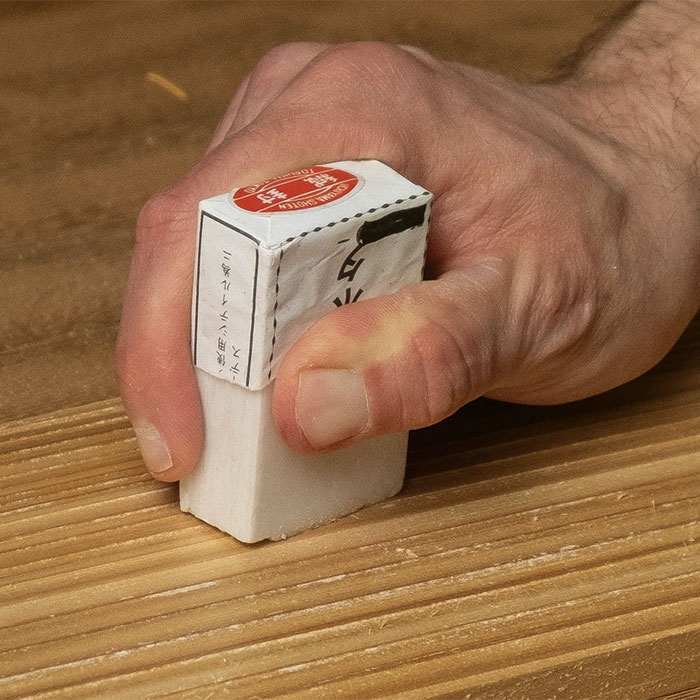
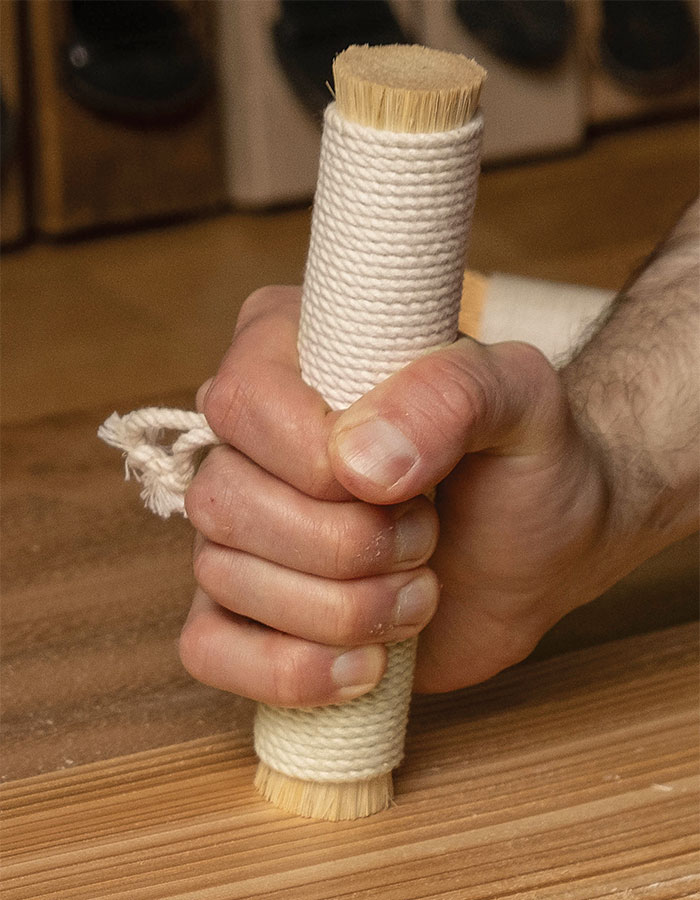
A note to the perfectionist
If you are the kind of person who is used to checking their kanna shiage (hand-planed surface) with raking light (as you should be!), and you are new to uzukuri finish, knicker-twisting shocks may await as you inspect the wood surface. As you start applying rough uzukuri on softwoods or very soft hardwoods, you will notice that the brush leaves more or less obvious scratch marks that stand out from the undulating grain surface. A fork in the road ahead will form. Either embrace these marks as part of the process, or do your sweatiest best to blend them in as the whole surface is worked through. It may be a comforting thought that further treatment of the surface with medium and fine uzukuri would allow you to refine the surface to some degree, but true perfection will likely prove elusive.
This is a very different finish from an immaculate kanna shiage, or even from any flat-sanded film finish. That is the whole point. How much evidence of the tool will remain is partly up to you, and partly down to the wood species.
—Marek Styczen designs and makes furniture in Perthshire, Scotland.
Photos, except where noted: Michael Pekovich.
Sources of supply:
- Uzukuri Brushes, japanesetools.com.au and fine-tools.com
- Shellac Wax, shellac.net
 |
A unique collection of Japanese hand toolsJay Speetjens explains how these used Japanese carpentry tools came into his care. |
 |
The power of the pull strokeA custom furniture maker shares his passion for Japanese handsaws. |
 |
Video: How to mill lumber with handplanesLearn how to mill lumber by hand, and you’ll never be limited by your milling machinery |










Log in or create an account to post a comment.
Sign up Log in