Turn a Lidded Canister
With a few basic turning tools, you can create beautiful storage for the kitchen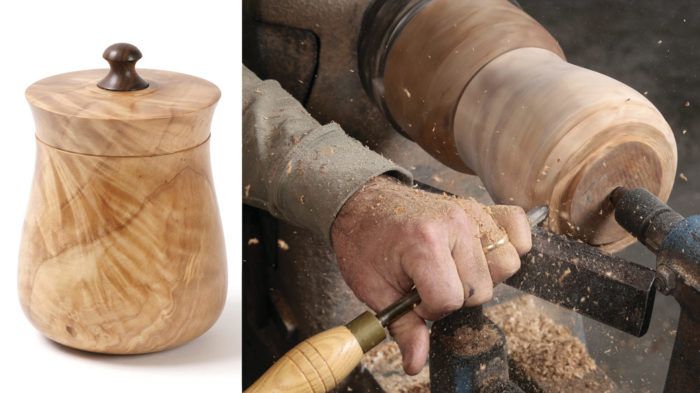
Synopsis: Make a wooden canister to hold flour, sugar, spices, or coffee. It’s not difficult, and you don’t need special turning tools. All it takes is a roughing gouge, bowl gouge, spindle gouge, skew, parting tool, and round-nose scraper. Follow along as turner Mike Mahoney guides you through the steps.
Perhaps I’m biased, but I think every kitchen should have at least one wooden canister. In my own kitchen, there are wooden canisters that hold sugar, spices, flour, and even spaghetti. I prefer these canisters over store-bought ones because they have more character, and it’s nice to have the kitchen counter decorated with beautiful and useful storage containers that I made.
Lidded canisters aren’t difficult to make, and you don’t need special turning tools. I’ll show you how to make one with just a roughing gouge, bowl gouge, spindle gouge, skew, parting tool, and round-nose scraper. At my wife’s request, this canister is sized for coffee grounds. It’s made from highly figured cottonwood with a walnut pull. However, you can use any hardwood species you’d like.
Rough out the body and lid
You need a fairly large blank, 6 in. square by 9 in. long, for this canister. The best source for blanks this size is a log still in the round, but working with green wood requires that you allow the body and lid of the canister to dry for a while after roughing them out, so it doesn’t warp out of shape.
To rough them out, mount the blank between centers (I use a 4-prong spur drive in the headstock), and turn the blank round with a 1-in. roughing gouge. Next, use a skew to turn a tenon on each end of the blank.
are complete, use a narrow parting tool to separate the lid from the body. I make the lid’s height onefifth of the canister’s overall length.
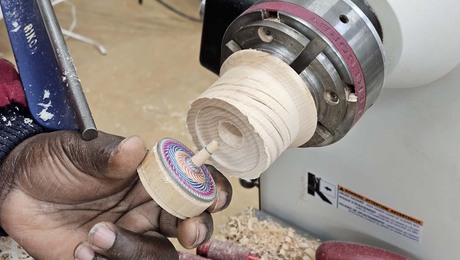
Now secure the lid in the chuck using the tenon you just turned, and slightly hollow the inside of the lid with a 1⁄2-in. bowl gouge. Take the lid out of the chuck and mount the canister’s body. Drill a hole in the center of the blank, stopping 1⁄2 in. above the final depth. Then, use the 1⁄2-in. bowl gouge to hollow the interior. When hollowing, work in stages. Hollow the top third, then the middle third, and finally the bottom third, stopping at the bottom of the drilled hole.
After taking the body from the chuck, tape the lid and body together with the open ends facing out. This helps speed up the drying. Write the date on the tape joining them and set the parts aside to dry. It takes between 30 and 120 days.
For the full article, download the PDF below:







Log in or create an account to post a comment.
Sign up Log in