How to Design a Tool Cabinet
Every shop has specific needs, but the strategies for storing hand tools are universal.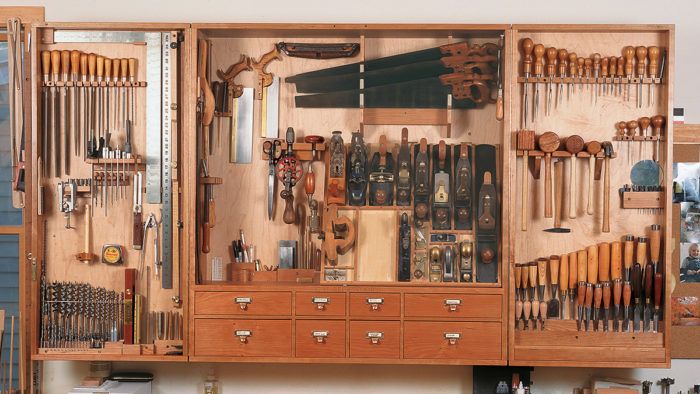
Synopsis: Those who need a new hand-tool storage system but have particular preferences should see what Chris Becksvoort chose to build. He wanted something wall-hung, simple, accessible, open, and totally utilitarian. The process of planning and layout are key, and Becksvoort details every step. Specifics on groups of tools address issues like clearance for lifting chisels from a slotted block. You’ll find solutions for storing planes, chisels, layout tools, handsaws, and screwdrivers, files, and awls.
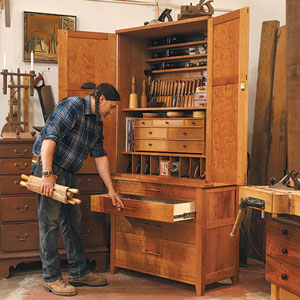
I built my toolboxes right when I got out of high school, with only the materials at hand, no thought to joinery and little thought to layout. So for years I’d worked out of boxes made of fir plywood and knotty pine and held together with nails, glue and barn hinges. Over the years, my tool collection had grown until I had planes, chisels and saws sitting on top of, next to and underneath the boxes. I needed a new toolbox.
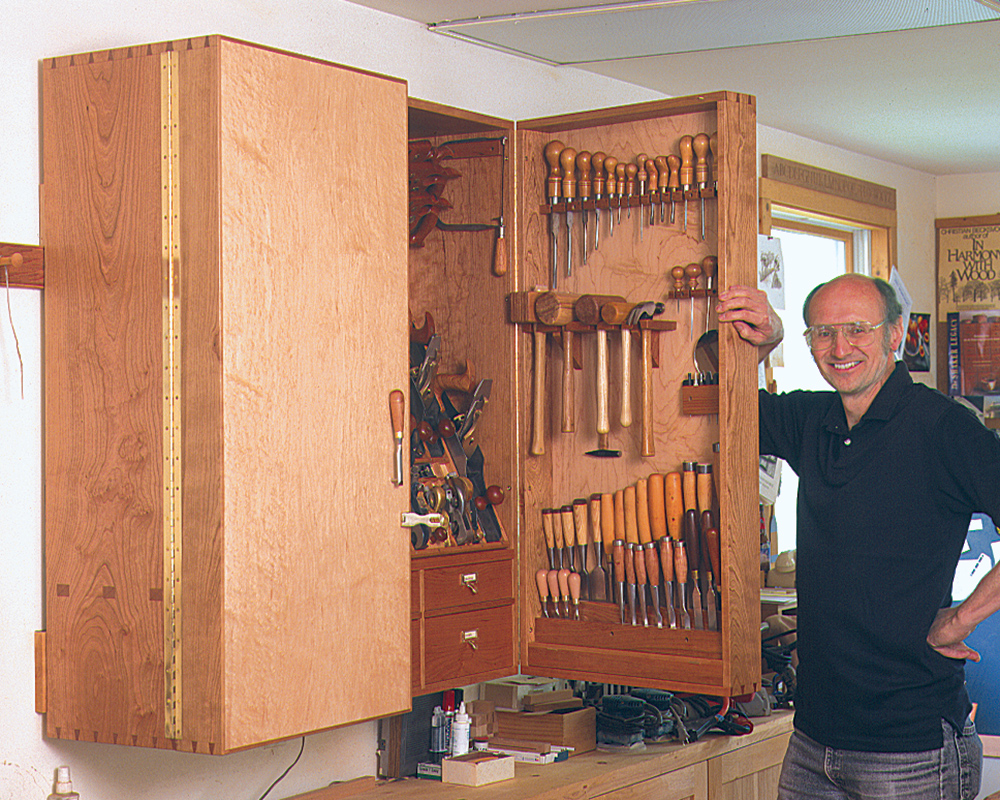
Having 30 years’ experience, I knew what I wanted and didn’t want. Like most woodworkers, I’d developed habits and preferences, I am a furniture maker, not an itinerant carpenter. I don’t take tools to job sites, and I’m definitely not going to sea. For my purposes a tool chest was useless, I didn’t want to take out three trays to reach the fourth. Like a chest freezer, the items in the bottom get lost and forgotten. I wanted to see my tools and be able to reach them with a minimum of contortions and movement of other tools. I didn’t want a rolling tool cabinet, nor did I want one that looks like a piece of furniture or a building. I wanted a wall-hung box behind my workbench: simple, accessible, open and totally utilitarian.
Your needs and preferences are likely to be different, but the process of planning and layout will be similar to what I went through when building the cabinet shown here. My point in this article is to help you through the planning process and layout. The actual dimensions and building decisions— such as materials and joinery— are yours to make as you see fit.
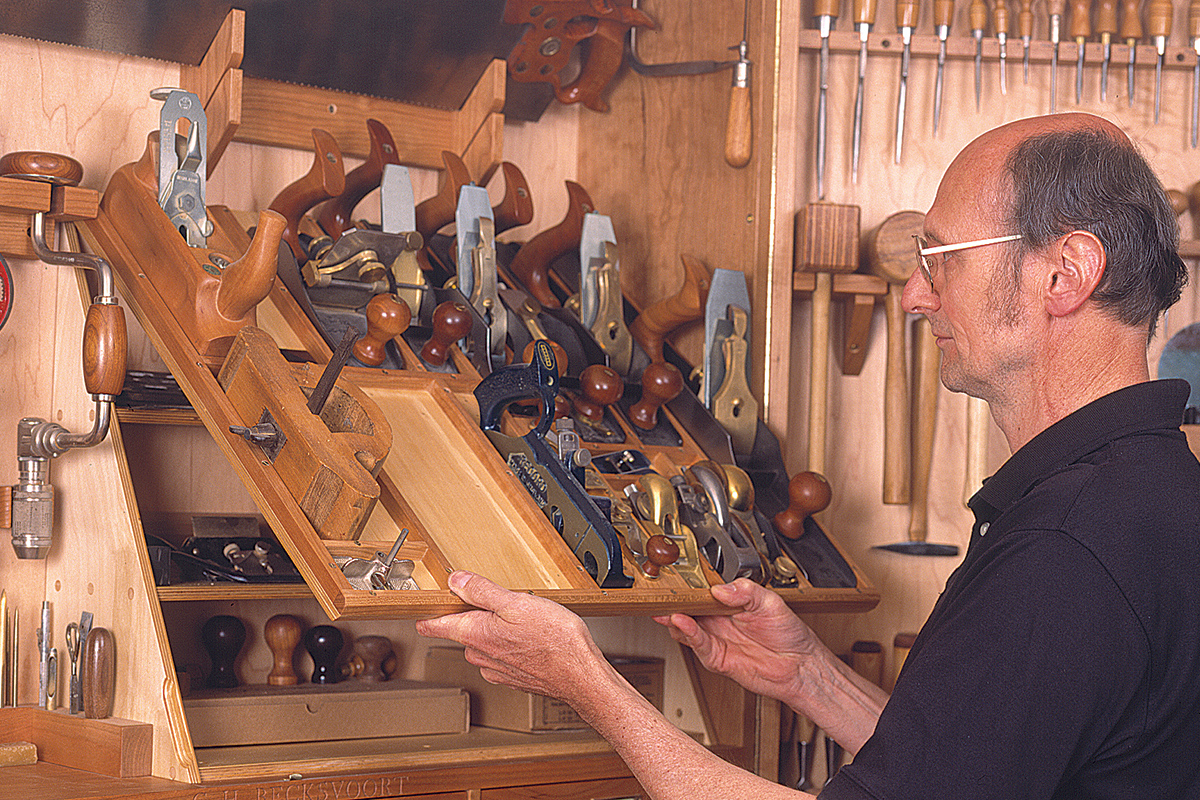
My design is based on a Shaker toolbox at Sabbathday Lake, Maine. It’s a large, relatively shallow, wall-mounted box with framed doors for additional storage. With the design in mind, the first order of business was to determine the layout of the tools for the most efficient use of space and size. I could have placed my tools all over the shop floor and regrouped them until I found the most efficient layout. That would have been pretty time-consuming, so I opted for graph paper instead (1/4 in. = 1 in.). When possible, I grouped the tools into a single cutout. Drill and brace bits fit into a 10-in. by 12-in. area, while my multitudes of chisels required a space 18 in. by 21 in. For the cutouts to be accurate, I had to start thinking about methods of hanging or storing the tools.
For example, if the chisels were to sit on a rail and be held with magnets, they could be removed straight out. However, if they were to fit in a slotted block, I would need 2 in. to 3 in. of clearance above the chisels so that I could remove them from the block. So the cutouts had to include clearance space above the tools, where needed.
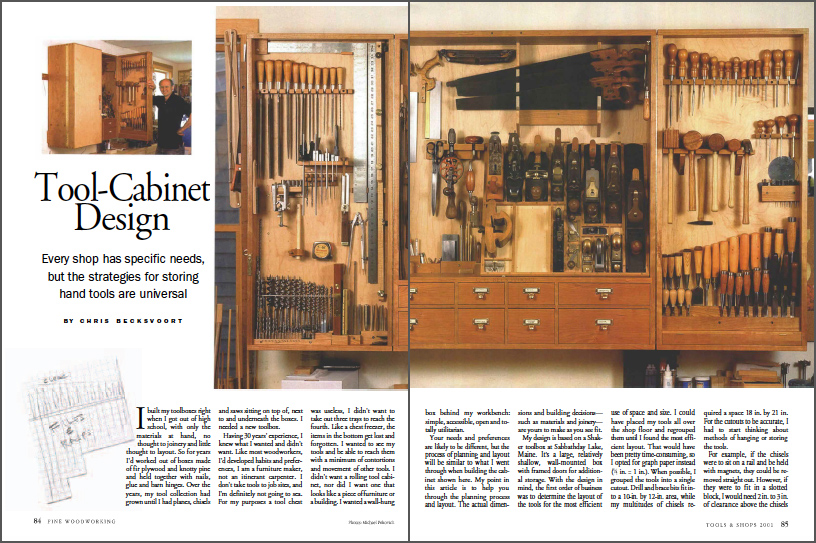
From Fine Woodworking #153
To view the entire article, please click the View PDF button below.







Comments
I am in the process of building a tool cabinet very similar to Chris Becksvoort, but I'm concerned about the placement of the piano hinge shown in the article. What is the reason Chris chose to place the hinge on the outside of the case as opposed to the inside edge. Thanks for your time.
I think if you put the hinge on the inside you would need to inset the hinge so the doors close flush to the cabinet. Not an issue if mounted on the outside.
Log in or create an account to post a comment.
Sign up Log in