Tips for drop-leaf tables
With Steve Latta's proven directions, rule and knuckle joints add class with little hassle.

Synopsis: Steve Latta looks to a favorite Pembroke table to teach his methods for perfect rule and knuckle joints. This is traditional construction, where a swing arm with a knuckle joint extends to hold the drop-leaf portion of the table, and the drop leaves are connected to the stationary tabletop with a hinged rule joint. Follow Latta’s proven directions for a superior fit.
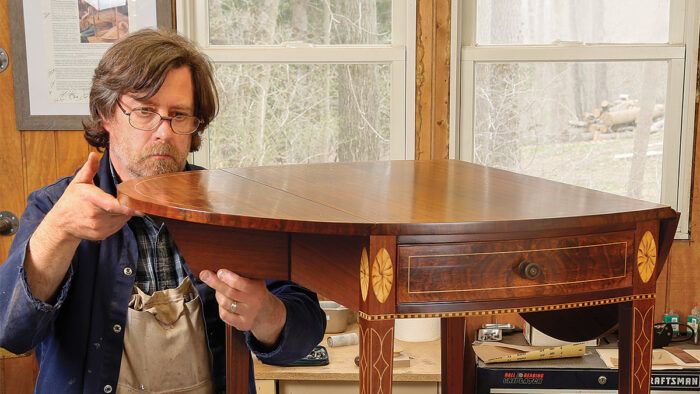
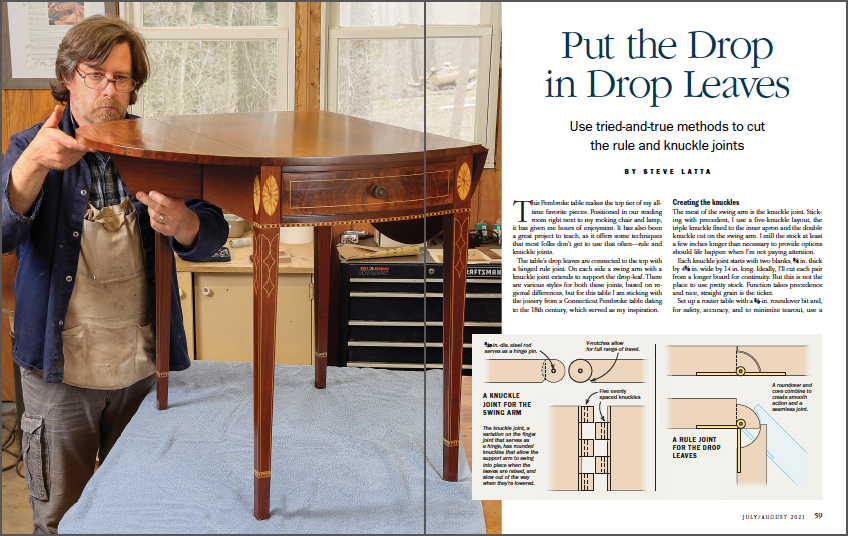
This Pembroke table makes the top tier of my all-time favorite pieces. Positioned in our reading room right next to my rocking chair and lamp, it has given me hours of enjoyment. It has also been a great project to teach, as it offers some techniques that most folks don’t get to use that often—rule and knuckle joints.
The table’s drop leaves are connected to the top with a hinged rule joint. On each side a swing arm with a knuckle joint extends to support the drop-leaf. There are various styles for both these joints, based on regional differences, but for this table I am sticking with the joinery from a Connecticut Pembroke table dating to the 18th century, which served as my inspiration.

Creating the knuckles
The meat of the swing arm is the knuckle joint. Sticking with precedent, I use a five-knuckle layout, the triple knuckle fixed to the inner apron and the double knuckle cut on the swing arm. I mill the stock at least a few inches longer than necessary to provide options should life happen when I’m not paying attention.
Video: How to make a knuckle joint
Steve Latta demonstrates how to create a
knuckle joint, the heart of a period drop leaf table.

Each knuckle joint starts with two blanks, 3/4 in. thick by 4-5/8 in. wide by 14 in. long. Ideally, I’ll cut each pair from a longer board for continuity. But this is not the place to use pretty stock. Function takes precedence and nice, straight grain is the ticket.
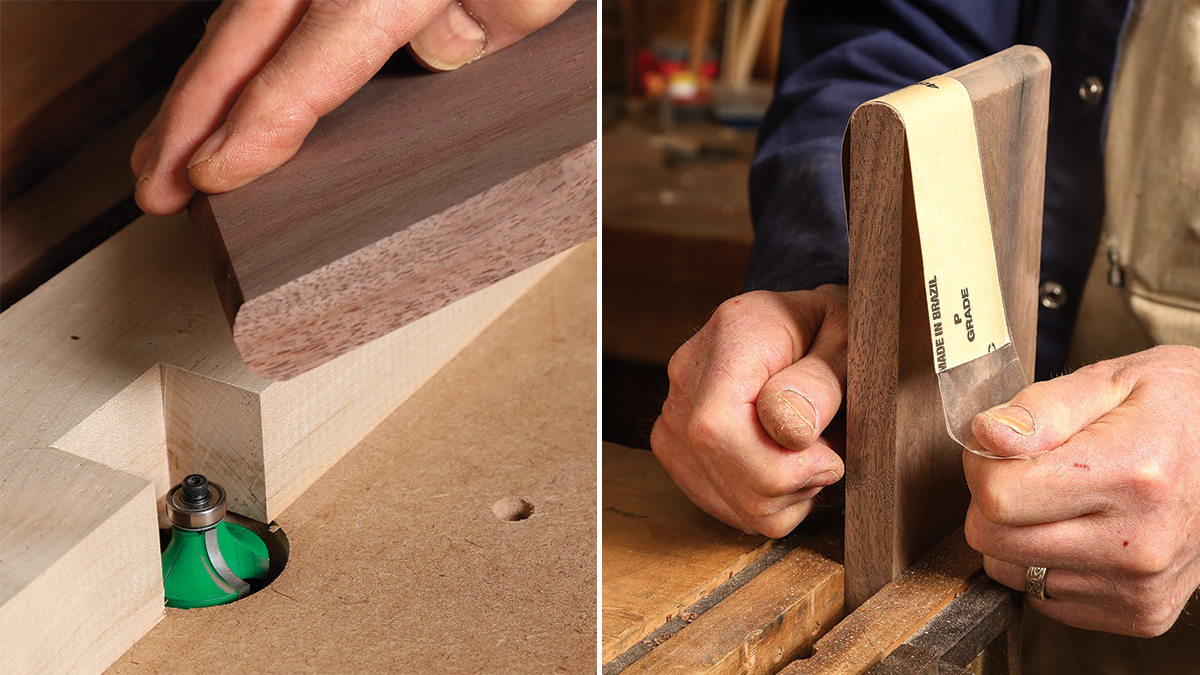
Set up a router table with a 3/8-in. roundover bit and, for safety, accuracy, and to minimize tearout, use a fence and a push block. I rout the profile on both ends of each workpiece, using a four-to-get-two approach: I’ll cut knuckles on all four ends and pick the best two when they are fitted together. By “best” I mean both tight and clean.
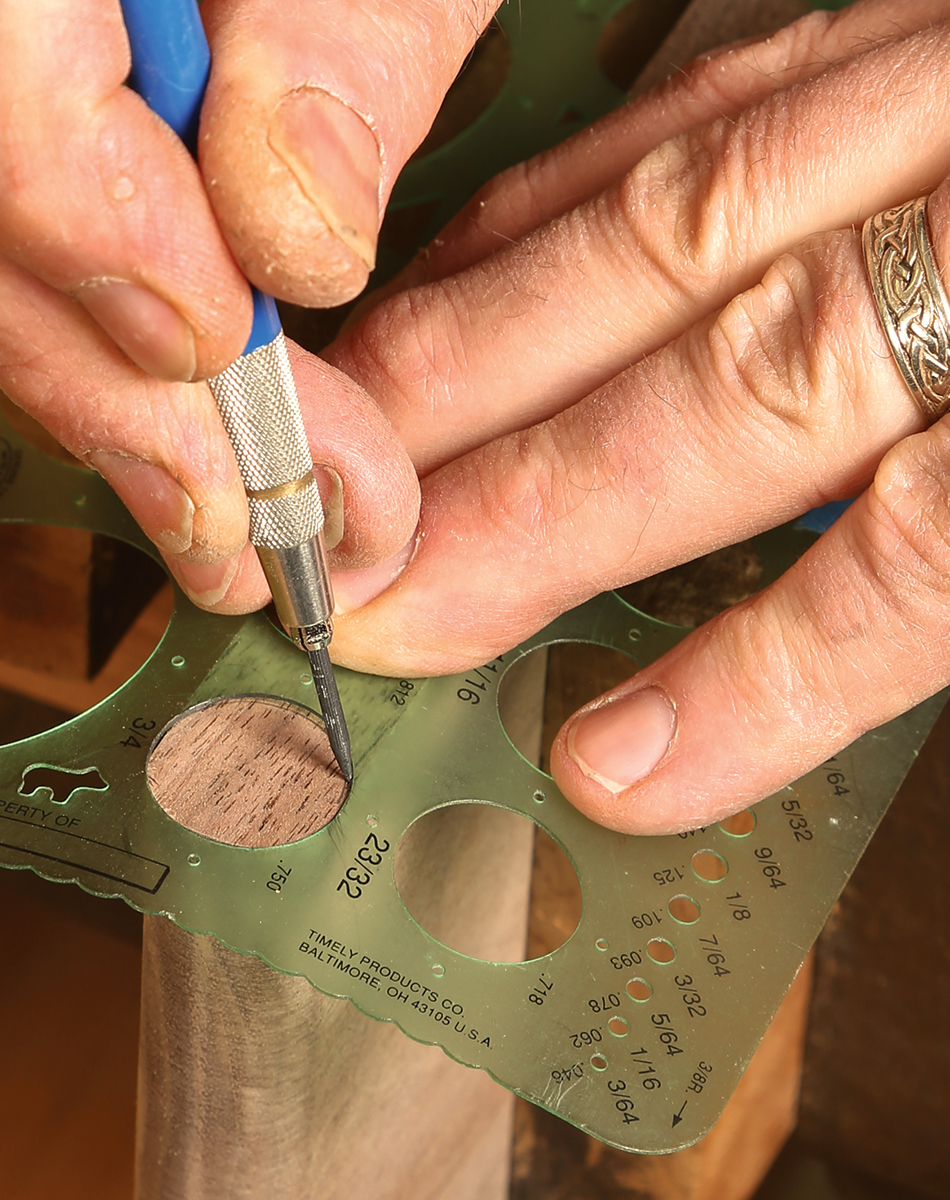
After sanding the roundover, put a 3/4-in.-dia. circle template at the end of the board and trace the circle, locating the center point within it. Then run a 45° line through the center out to the show face. Doing so creates a small triangular area that you’ll remove on the router table with a 90° V-bit. After routing, fair one side of the V-groove to a curve with a chisel and sandpaper.
I made a pair of gauge blocks for laying out the knuckles. Once those lines are scored, excavate between the knuckles on the tablesaw using a carriage jig and a 1/2-in. dado set. Mounted to two miter gauges, the carriage both secures the work and provides a positive reference for both sides of each notch. Having notched all the pieces, try all combinations until you get two sets with the tightest fit free of gaps.

From Fine Woodworking #290
To view the entire article, please click the View PDF button below.


Log in or create an account to post a comment.
Sign up Log in