Throwback: Making Ogee Bracket Feet Another Way
Glue up first, shape afterward.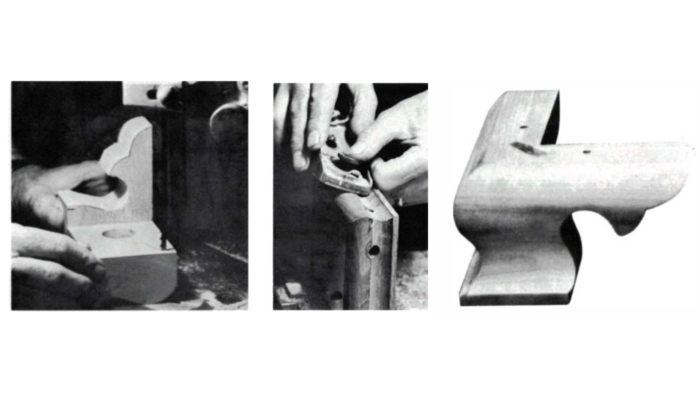
—This article is from FWW #21–Mar/April 1980.
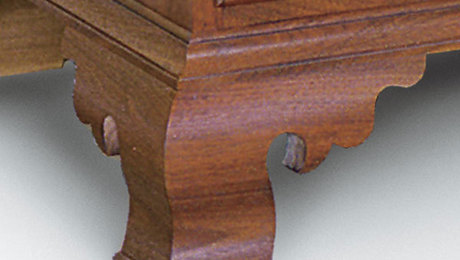
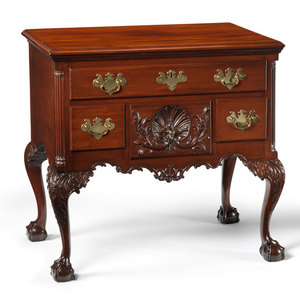
Ogee bracket feet, widely used during the Chippendale period of the early to middle 18th century, form a beautiful base for chests, tall clocks, desks, and many other pieces. However, to many beginning woodworkers, they appear difficult to construct. The traditional way involves shaping a long board of the required thickness, using molding planes. The instructions I have found for making ogee bracket feet have the ogee molding cut on the table saw. The ogee shape is laid out on the end of the stock to serve as a guide for adjusting the sawblade to the correct depth of cut.
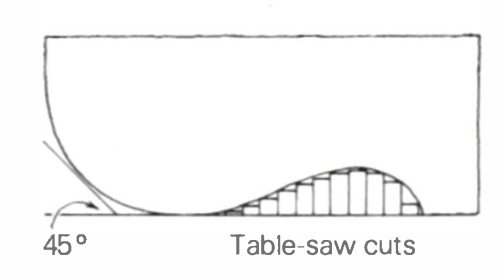
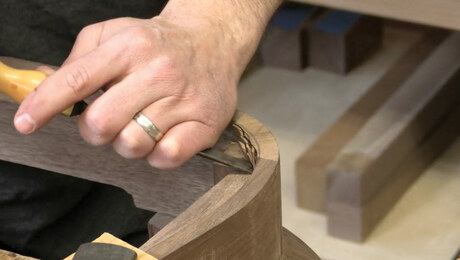
Then repeated cuts at various heights rough out the shape. After cutting on the saw comes the laborious task of cleaning up the molding with carving gouges, gooseneck scrapers, and various grits of sandpaper (FWW #12). After cleanup, the molding is cut to the desired length, mitered, dadoed across the miter for the spline, assembled, and finally cut to shape. For most home craftsmen or small shops, this is the way to make continuous ogee molding bases. But there is another method, based on the bandsaw, for making ogee bracket feet up to 6 in. or 7 in. long. It is faster, and I think simpler, than the usual methods.
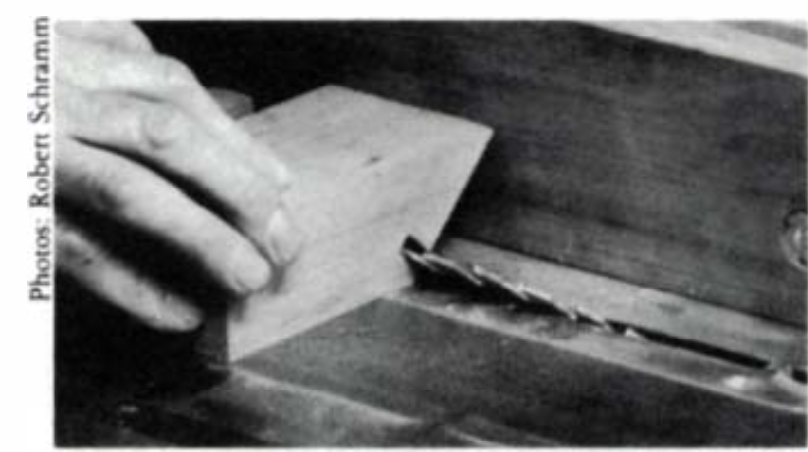
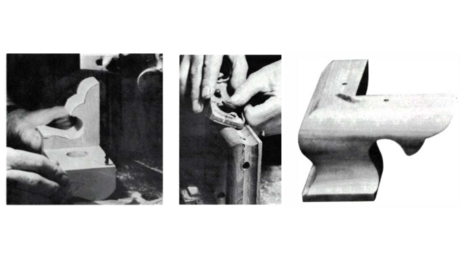
Begin by cutting blocks 1-3/4 in. thick by 3 in. wide by 6 in. long, mitered at one end. With the sawblade set at 45°, move the rip fence to the left of the blade and set the fence so that the blade will cut a slot for the spline close to the heel of the miter. Set the blade to cut 1/2 in. deep across the miter. After making the cut on all the blocks, move the fence 1/8 in. farther to the left, raise the blade a fraction, and make the second cut to provide a 1/4-in.-wide dado. The spline may be made of 1/4-in. hardwood plywood with the face and back veneer grain running lengthwise for maximum strength, or from the same material used for the feet. The grain of a solid spline should cross the line of the miter, also for maximum strength. Cut the spline 1/4 in. thick by 3 in. wide by 1 in. long.
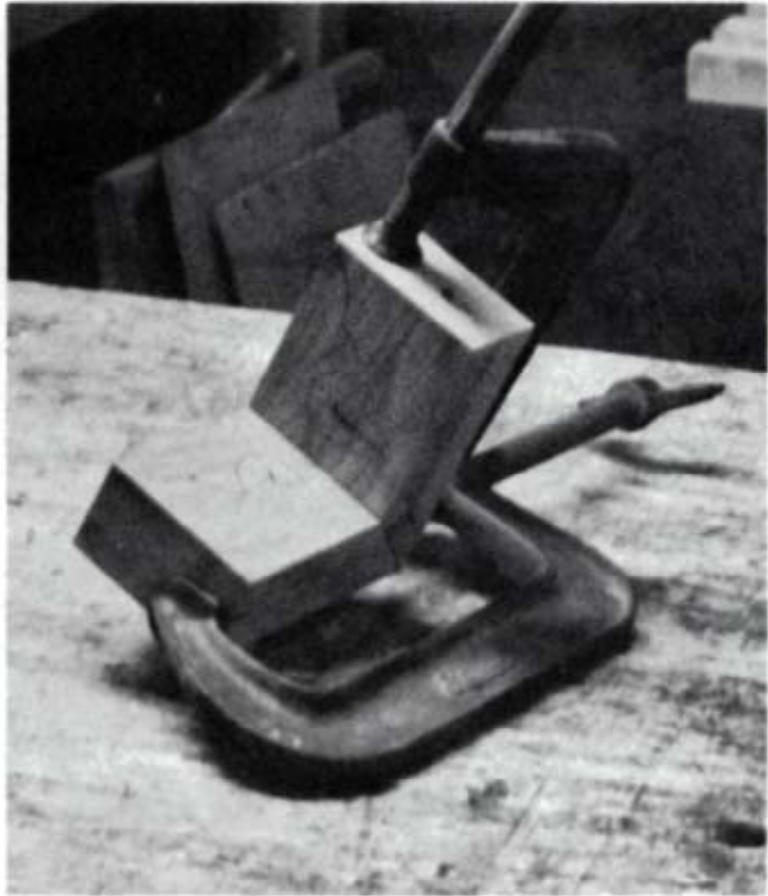
In preparation for assembling the blocks, I glue-size the end grain first with a thin coating of glue. This will preclude a starved joint by keeping the glue from being forced into the pores of the wood under clamping pressure. After the glue size has dried, apply more glue and assemble, positioning clamps to bring pressure from both directions.
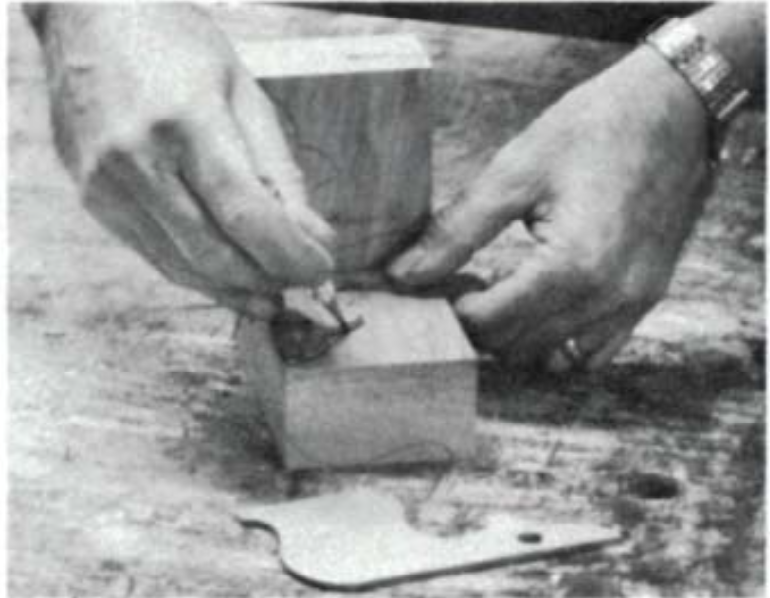
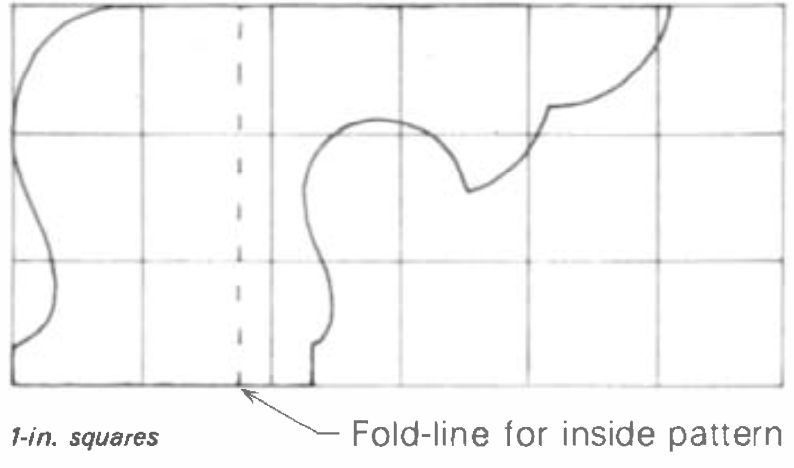
Using templates made from a pattern, lay out the ogee shape on the ends and inside faces of the assembled bracket.
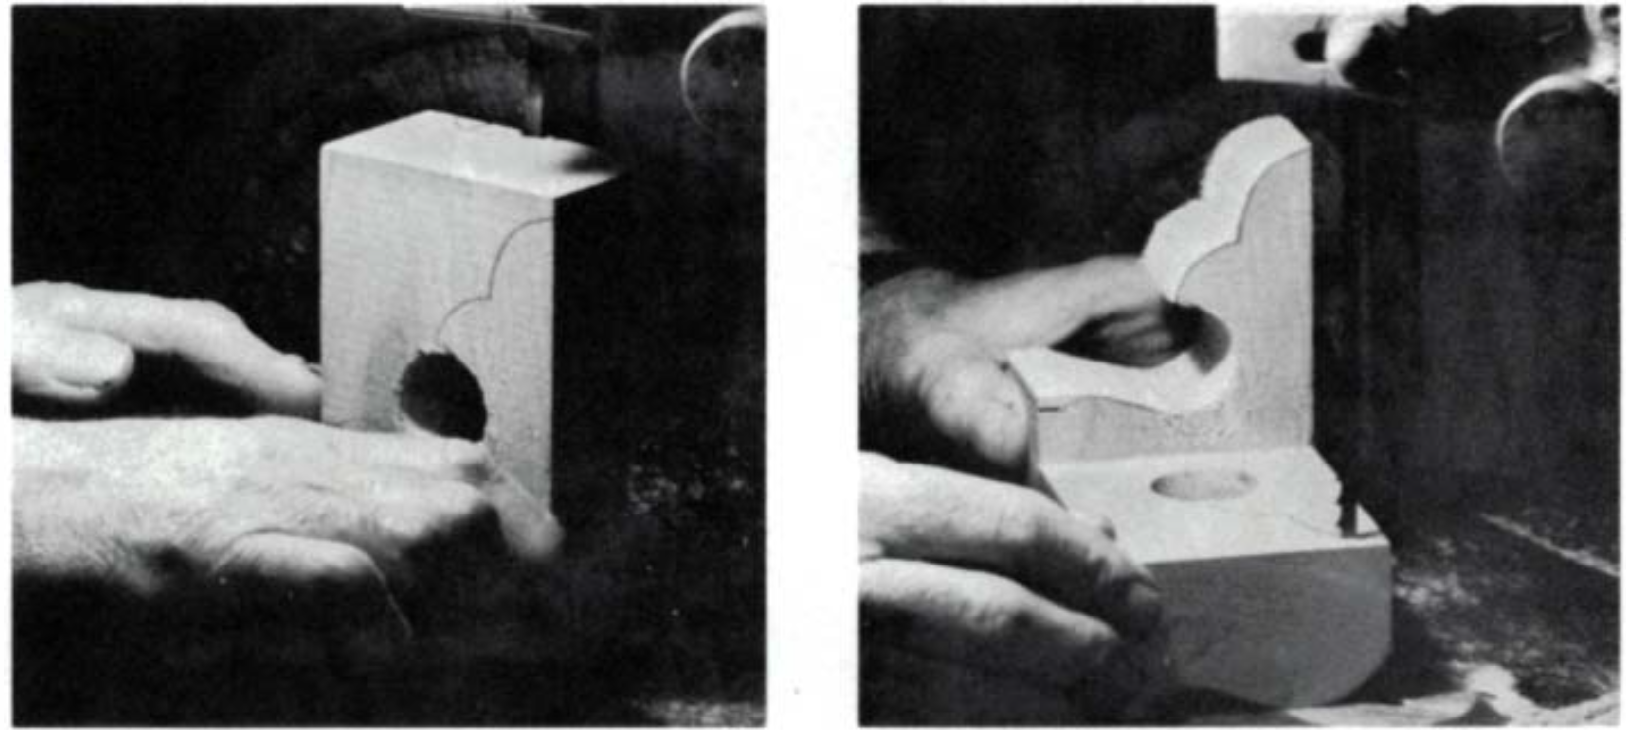
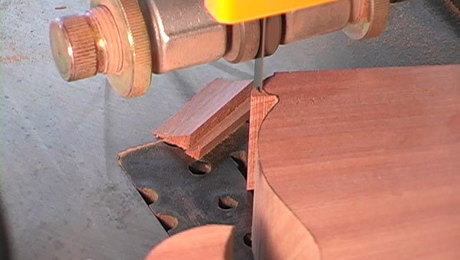
Drill a 1-1/4-in. hole at the tightest part of the curve. This should be done before cutting the ogee shape to prevent any splintering on the face side of the foot. Then, to cut the ogee shape, a sharp 1/4-in. or 3/8-in. bandsaw blade, properly adjusted, will ensure a straight cut with no drifting. Set the upper guide about 1/4 in. above the work. If you use a 3/8-in. blade, make one or two relief cuts in the concave part of the ogee shape to prevent the blade from binding. Cut the second side of the bracket in the same manner. Now cut the outlined shape.
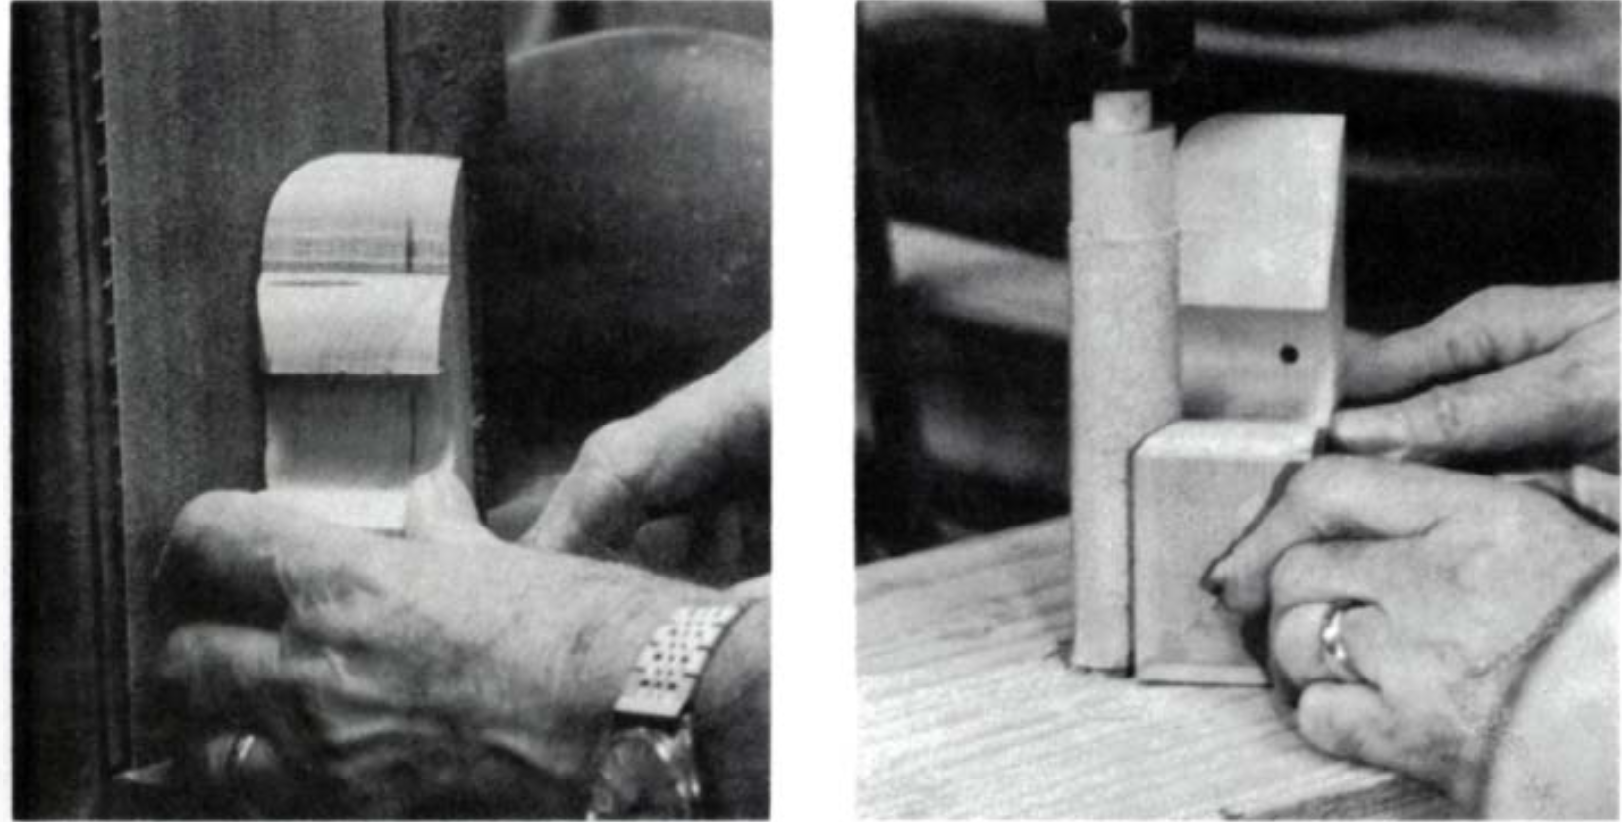
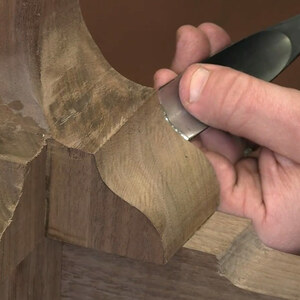
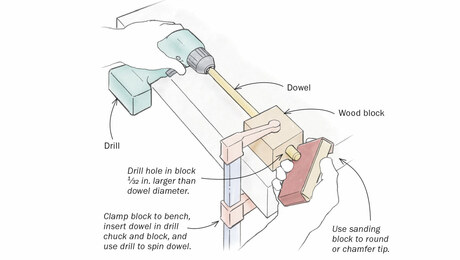
Sand the convex part of the ogee on a belt or disc sander or by hand using 60-grit sandpaper. The concavity can be sanded easily with a shop-made spindle on the drill press, or on the lathe. Final sanding is done by hand with 100-grit sandpaper, followed by 220. Drill 3/16-in. holes, countersunk for flat-head screws, to mount the completed foot.
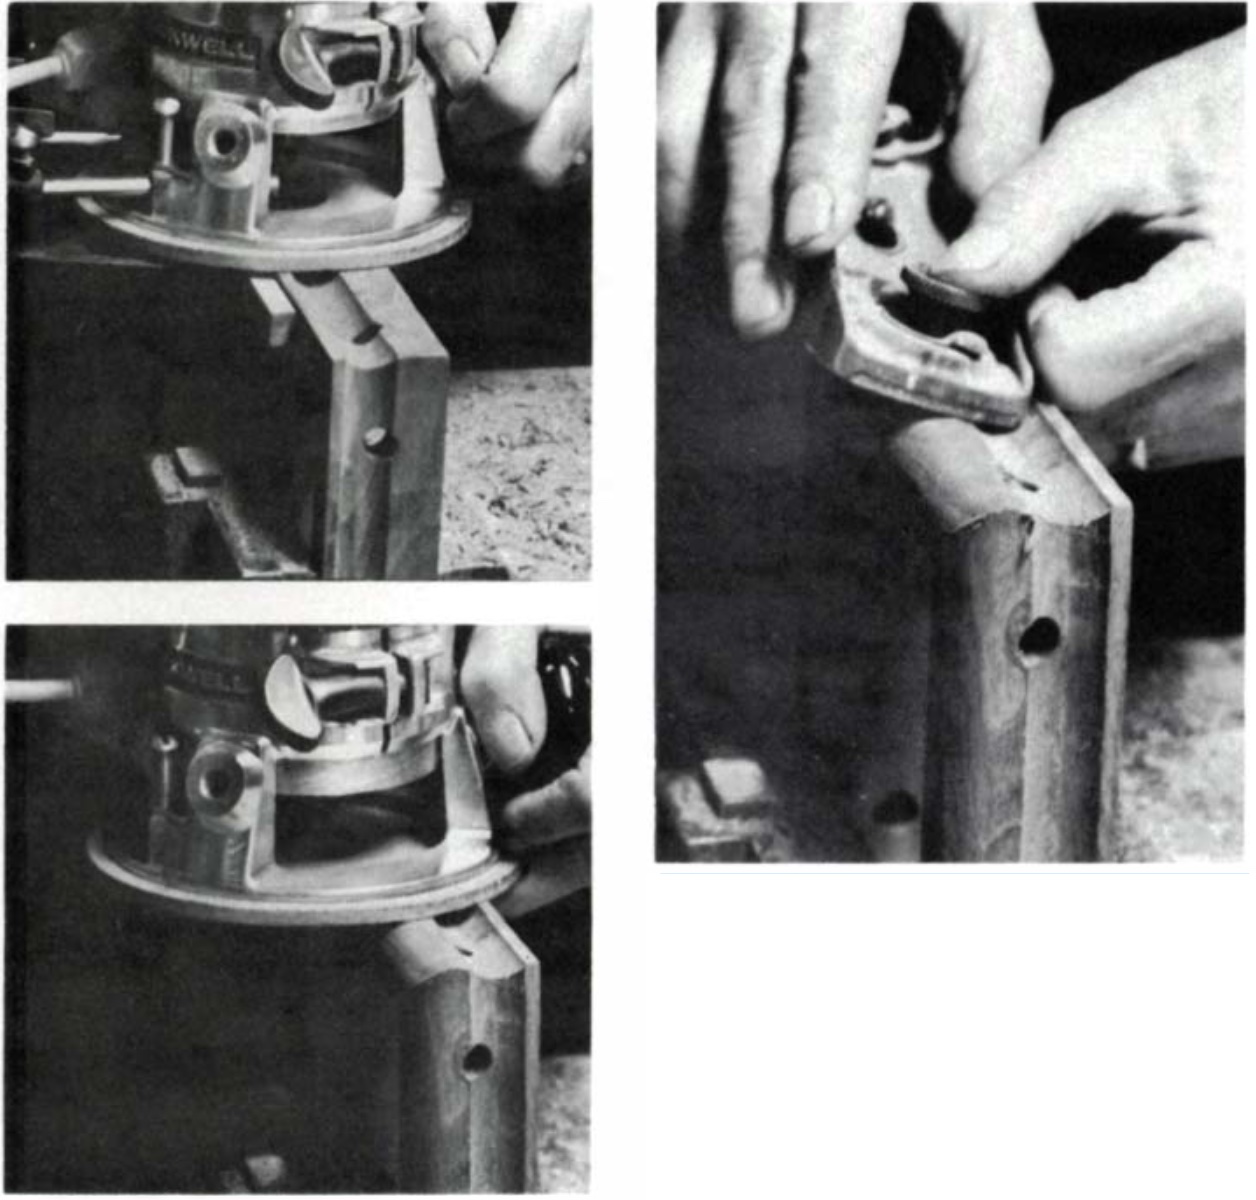
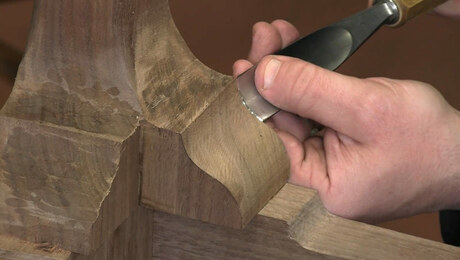
After the frame has been assembled, a router with a 3/4-in. core box bit cuts the concave part of the ogee. Be careful not to cut too deep. Next, rout the convex shape with a 3/8-in. roundover bit. The ridge left by the core box bit can be removed with a block plane. The feet are then cut out on the bandsaw, sanded, and drilled for mounting.
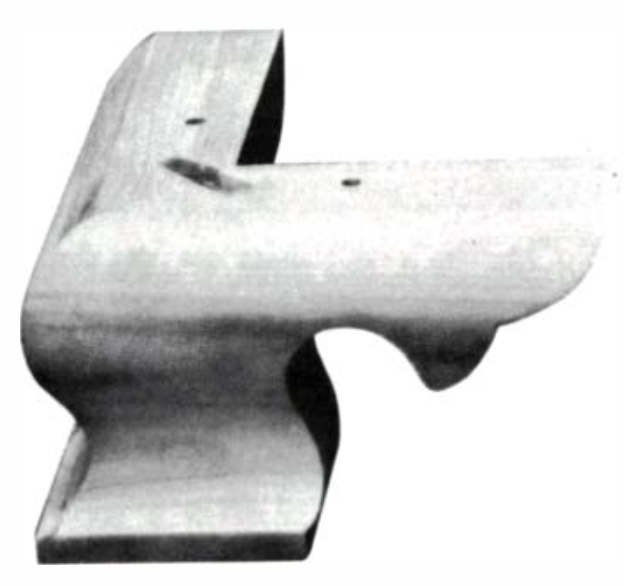
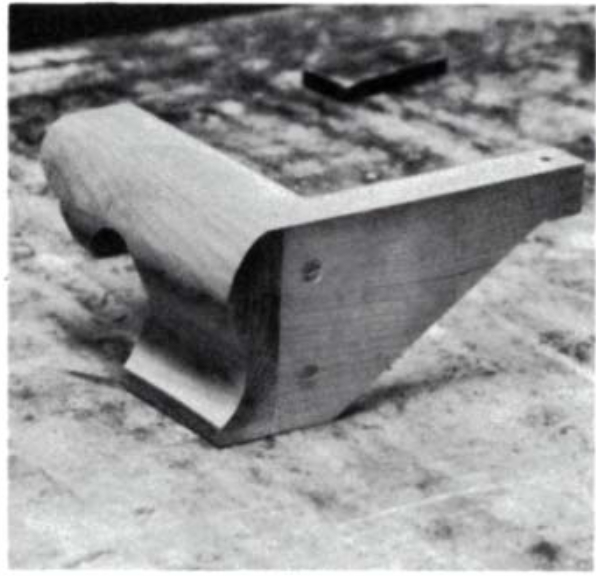
Furniture that will stand against a wall does not require the ogee shaping on the back. In such cases, it’s necessary to shape only the side of the foot. A plain wooden brace, cut on the diagonal and attached with glue and screws, will provide the necessary support.







Log in or create an account to post a comment.
Sign up Log in