The invaluable cabinet scraper
A well-sharpened scraper cuts equally well with, against, or across the grain. Tim Coleman shows you how to sharpen them, tune them, and use them to smooth surfaces.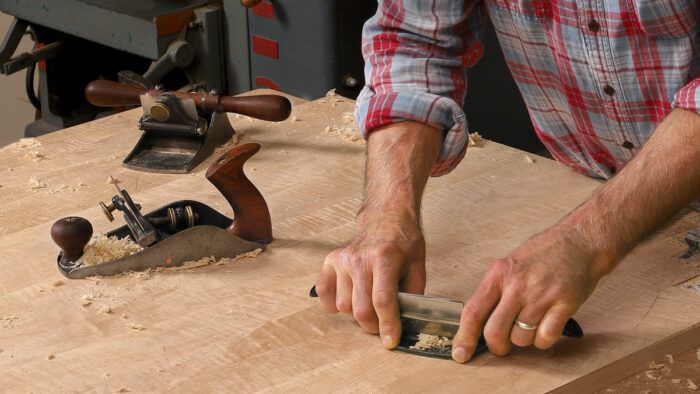
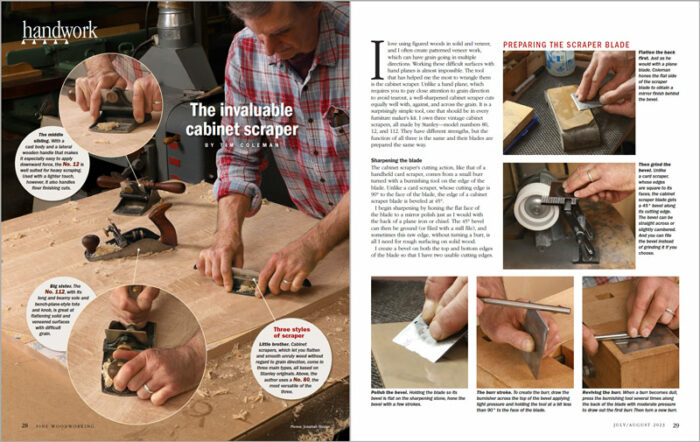
Synopsis: Figured wood, veneer work, or any other surface where grain lines can run in a variety of directions, can be difficult to smooth with hand planes. This is when a cabinet scraper comes in handy. A well-sharpened scraper cuts equally well with, against, or across the grain. Tim Coleman relies on three to round out his kit: Stanley models 80, 12, and 112. He shows you how to sharpen them, tune them, and use them to smooth surfaces.
I love using figured woods in solid and veneer, and I often create patterned veneer work, which can have grain going in multiple directions. Working these difficult surfaces with hand planes is almost impossible. The tool that has helped me the most to wrangle them is the cabinet scraper. Unlike a hand plane, which requires you to pay close attention to grain direction to avoid tearout, a well-sharpened cabinet scraper cuts equally well with, against, and across the grain. It is a surprisingly simple tool, one that should be in every furniture maker’s kit. I own three vintage cabinet scrapers, all made by Stanley—model numbers 80, 12, and 112. They have different strengths, but the function of all three is the same and their blades are prepared the same way.
Sharpening the blade
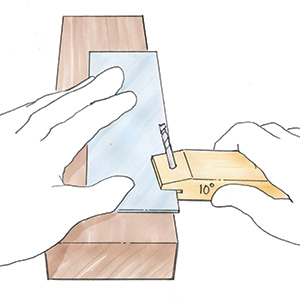
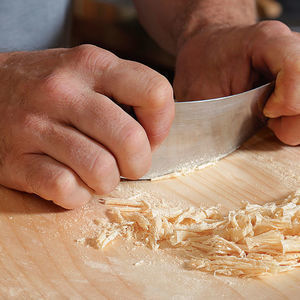
The cabinet scraper’s cutting action, like that of a handheld card scraper, comes from a small burr turned with a burnishing tool on the edge of the blade. Unlike a card scraper, whose cutting edge is 90° to the face of the blade, the edge of a cabinet scraper blade is beveled at 45°.
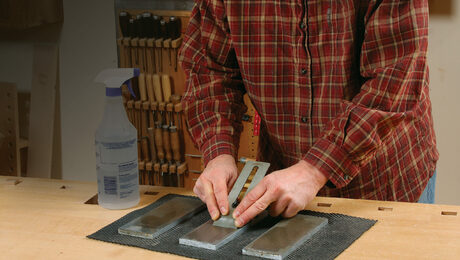
I begin sharpening by honing the flat face of the blade to a mirror polish just as I would with the back of a plane iron or chisel. The 45° bevel can then be ground (or filed with a mill file), and sometimes this raw edge, without turning a burr, is all I need for rough surfacing on solid wood.
I create a bevel on both the top and bottom edges of the blade so that I have two usable cutting edges.
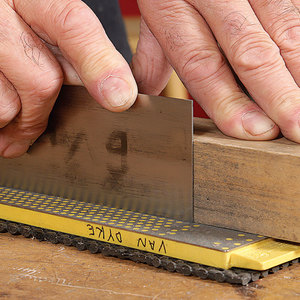
The bevel can be ground straight across the edge or with a slight camber. In use the blade wears most in the center and a camber helps mitigate this. To avoid cutting myself on the exposed top edge while using the tool, I slightly round the corners of the blade at the grinder. For fine work, I hone the bevel to a mirror polish before turning a burr.
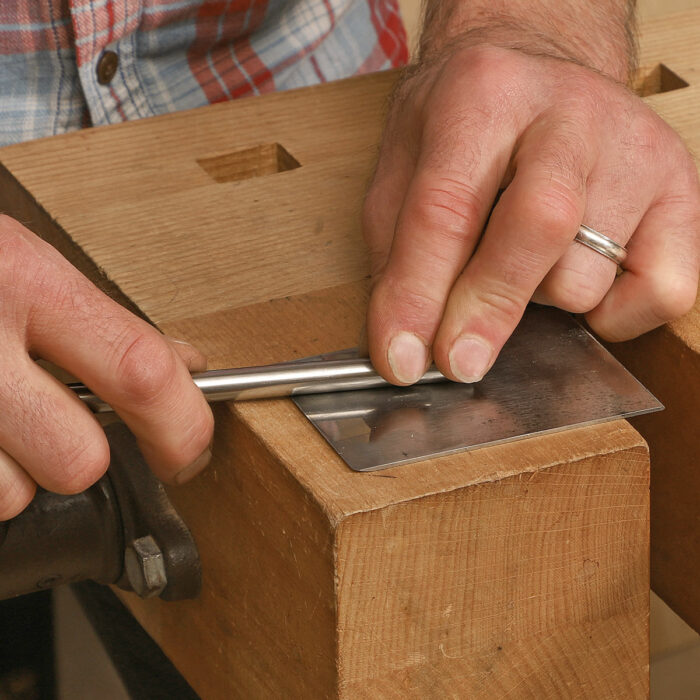
To create the burr, I hold the blade vertical and the burnisher nearly horizontal. For a freshly sharpened blade, I use very light pressure to turn the initial burr, not much more than the weight of the burnisher. The burr will be almost imperceptible but will produce an extremely fine shaving.
Preparing the scraper blade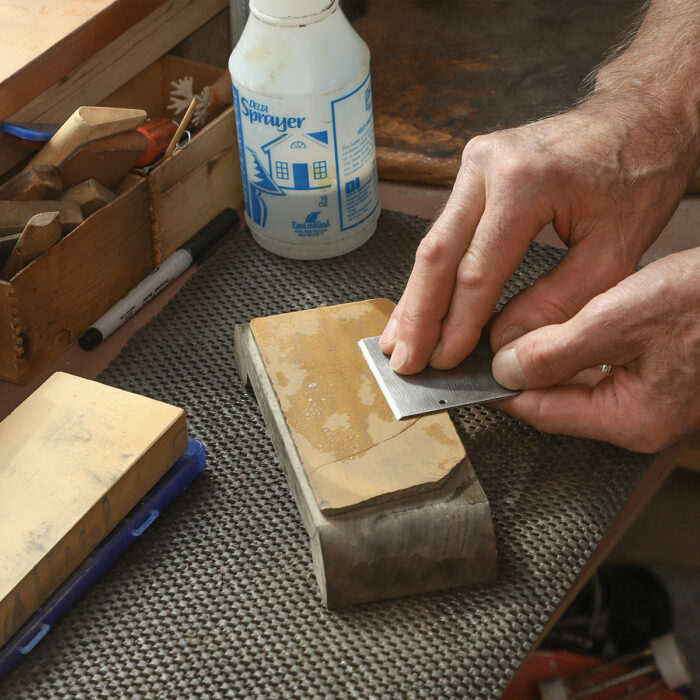 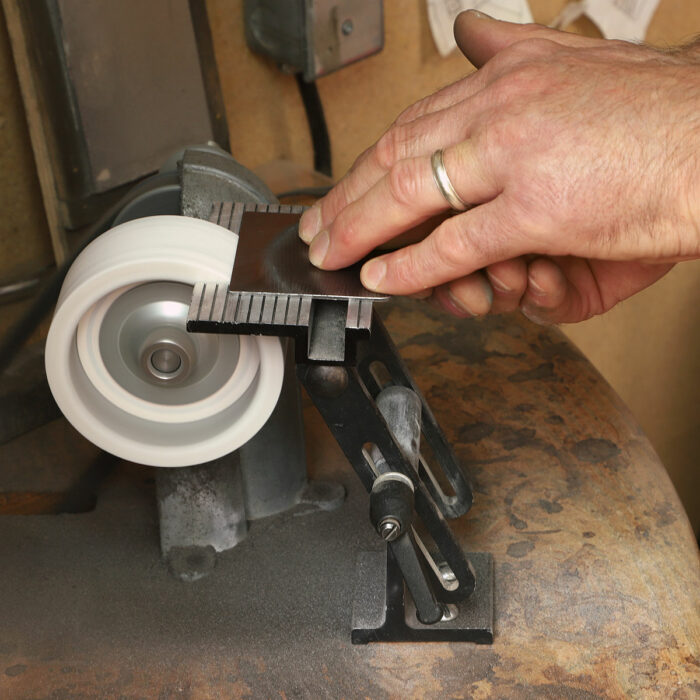 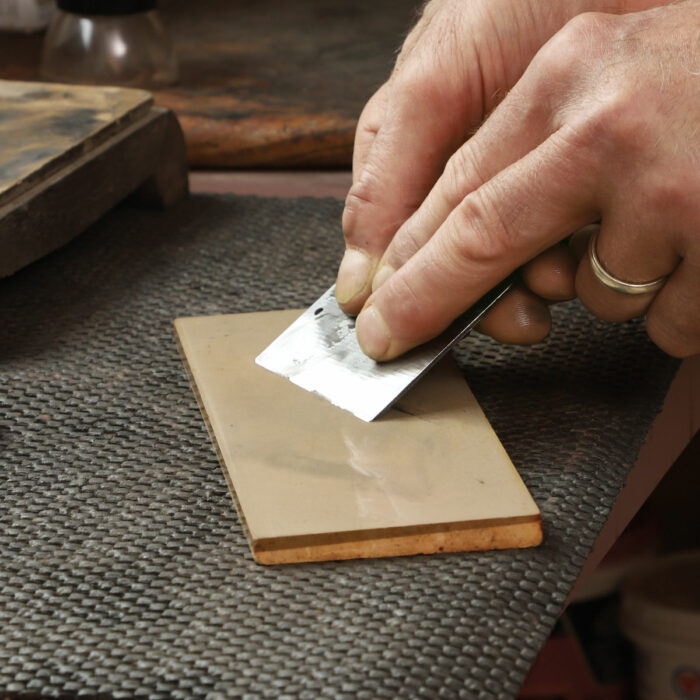 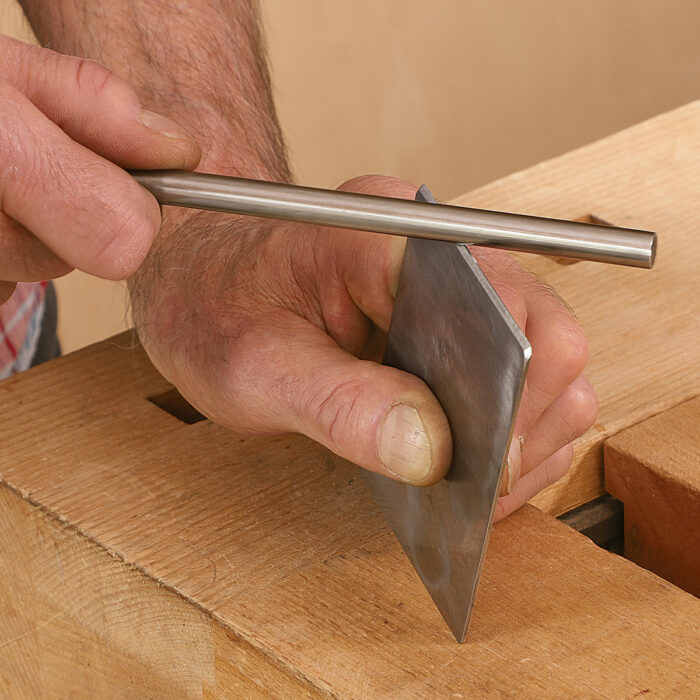
|
Tim Coleman builds furniture in Shelburne Falls, Mass.
To view the entire article, please click the View PDF button below.
 |
Beyond the basic scraperFor a flat, flawless surface on tricky woods, reach for a cabinet scraper or a scraper plane. |
 |
Scrapers refine turned surfacesSome experts say don’t use them, but scrapers clean up ridges left by gouges and greatly reduce sanding time |
 |
Why you need a cabinet scraperIt’s the best tool for cleaning up tearout before final smoothing. Here’s how to set up a cabinet scraper perfectly. |









Comments
A simple diagram of the edge of the scraper making clear the position of the burr in relation to the back and bevel would have been useful for beginners.
Log in or create an account to post a comment.
Sign up Log in