The essential table saw crosscut sled
Bob Van Dyke's crosscut sled delivers accuracy and versatility without bells, whistles, or lots of measuring and fussing.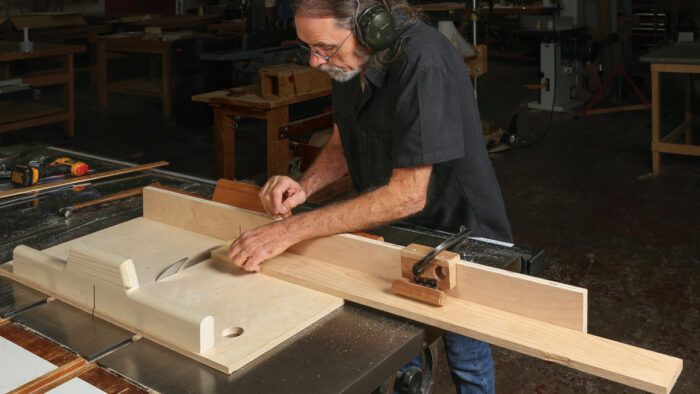
Synopsis: A well-made, accurate crosscut sled is the most valuable table-saw accessory. Since much of the work done on the sled falls within 4 in. to 8 in. wide, it makes sense to build a small, lightweight sled that is easy to handle for most of your table-saw cuts. This one fits that bill, and it’s simple and straightforward to make.
As far as accessories for my table saw go, I cannot imagine anything more useful and versatile than a well-made and accurate crosscut sled. Call it what you will, a boat, a carriage jig, or a sled, it is well worth taking a few hours to make at least one for your saw.
Most people think of a sled for cutting large parts like plywood panels, and they make the sleds correspondingly massive. Considering that most of the work you typically cut is within the 4-in. to 8-in. width, isn’t it more sensible to make a small, lightweight sled that is easy to put on and take off the saw while giving you enough capacity so you can crosscut almost all the pieces you typically handle? In my school, each saw has its dedicated small sled with a 12-in. crosscut capacity, and then a larger sled that accommodates up to 20 in. One saw even has a sled that cuts 36 in. easily.
A well-made sled should be simple, relatively lightweight, dead accurate, and built to stay that way.
I have seen countless sled articles over the years, so why am I subjecting the world to yet another? Because this method is so simple and straightforward, and there are no gadgets or adjustments waiting to go out of square.
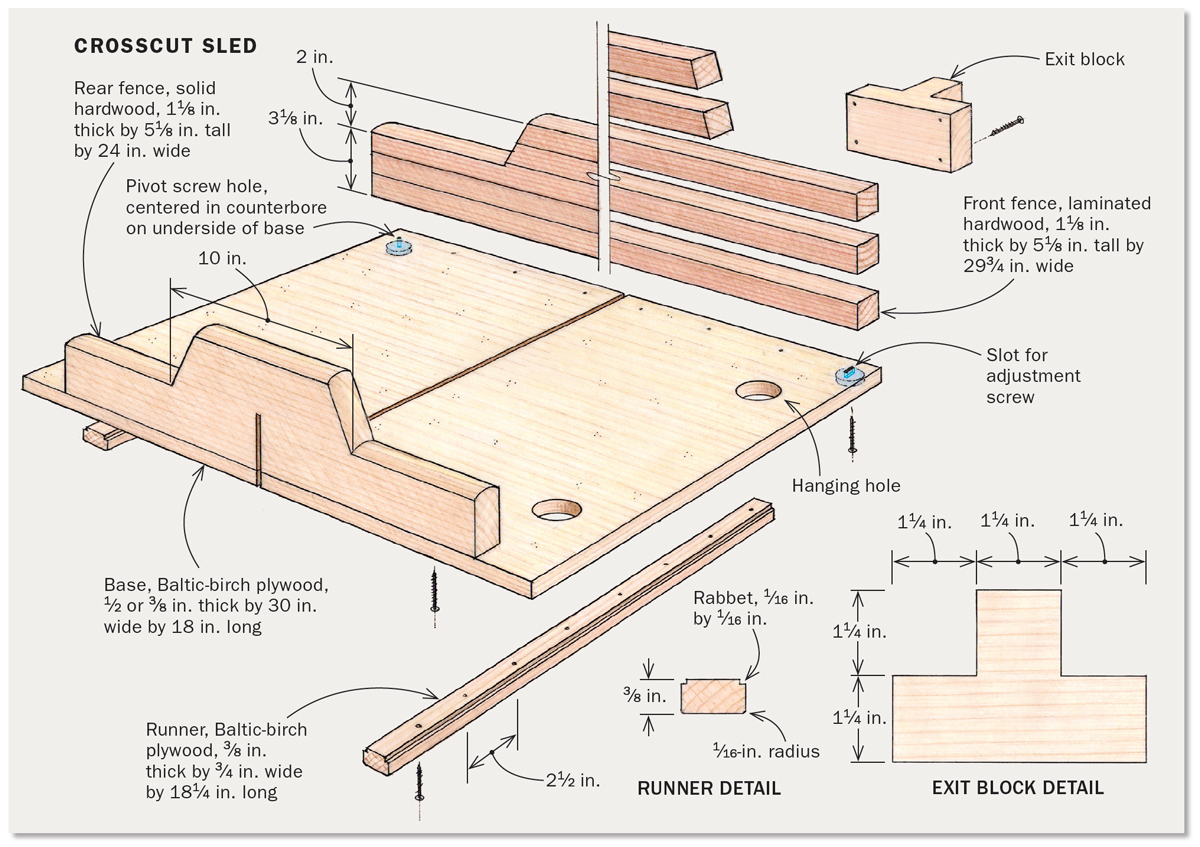
Start with the fences
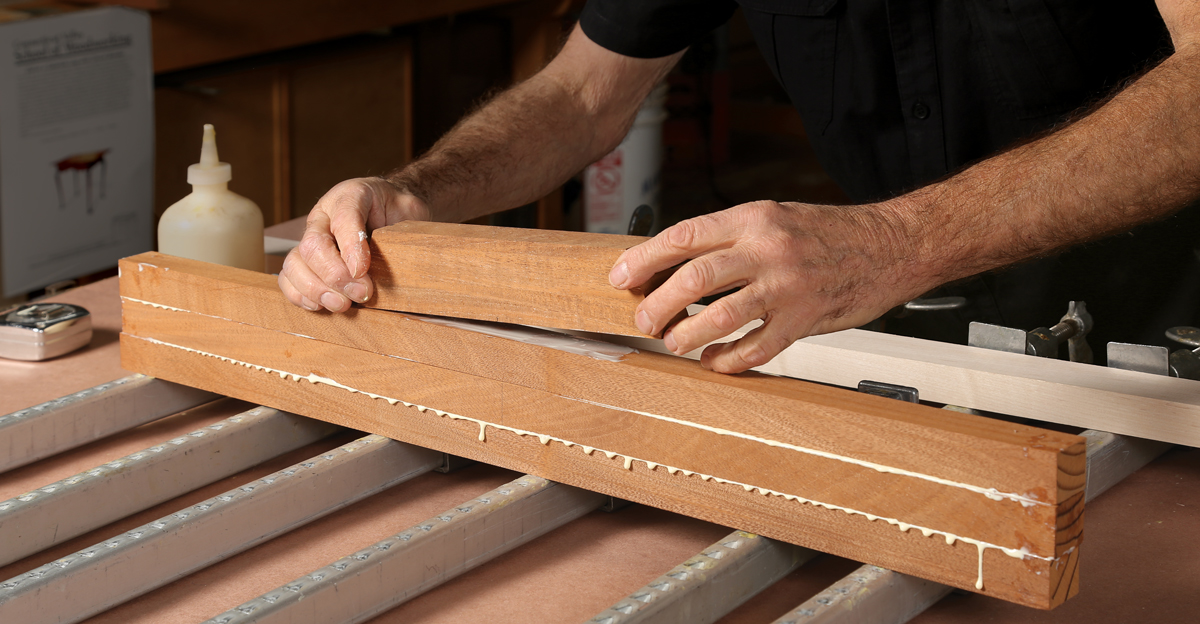
A perfectly straight and stable front fence and strong, easy-gliding runners make this sled superb at what it does. Because riftsawn mahogany is extremely dimensionally stable and is lightweight, I make the front fence from flatsawn mahogany scraps, ripped into strips and laminated to form a riftsawn board.
After allowing the glue on the front fence to dry, joint one face flat and straight and plane the other face parallel. Set this piece on edge to rest overnight. The next day re-flatten one face, plane it to 1-1⁄8 in. thick, and joint the bottom edge perfectly square to the face. Cut it to length and mark the centerpoint on the bottom edge of both faces.
Make a simple fence for the back of the sled from 6/4 or 8/4 poplar. The back fence doesn’t need to span the entire width of the base.
Move on to the runners
Most people make the runners from hardwood, but I have had much more success using 3⁄8-in. or 1⁄2-in Baltic-birch plywood. I rip strips to a strong 13⁄16 in. wide and then, holding two strips together side by side, run them on edge through the planer. A carbide-knife planer holds up better when planing plywood. Run the strips at the edge of the bed if you are using high-speed steel knives. Plane both edges until the strip fits the miter-gauge slot with absolutely no slop and is just loose enough to slide freely. It is vital to get the fit just right, and edge-planing will yield a more consistent width than the table saw.
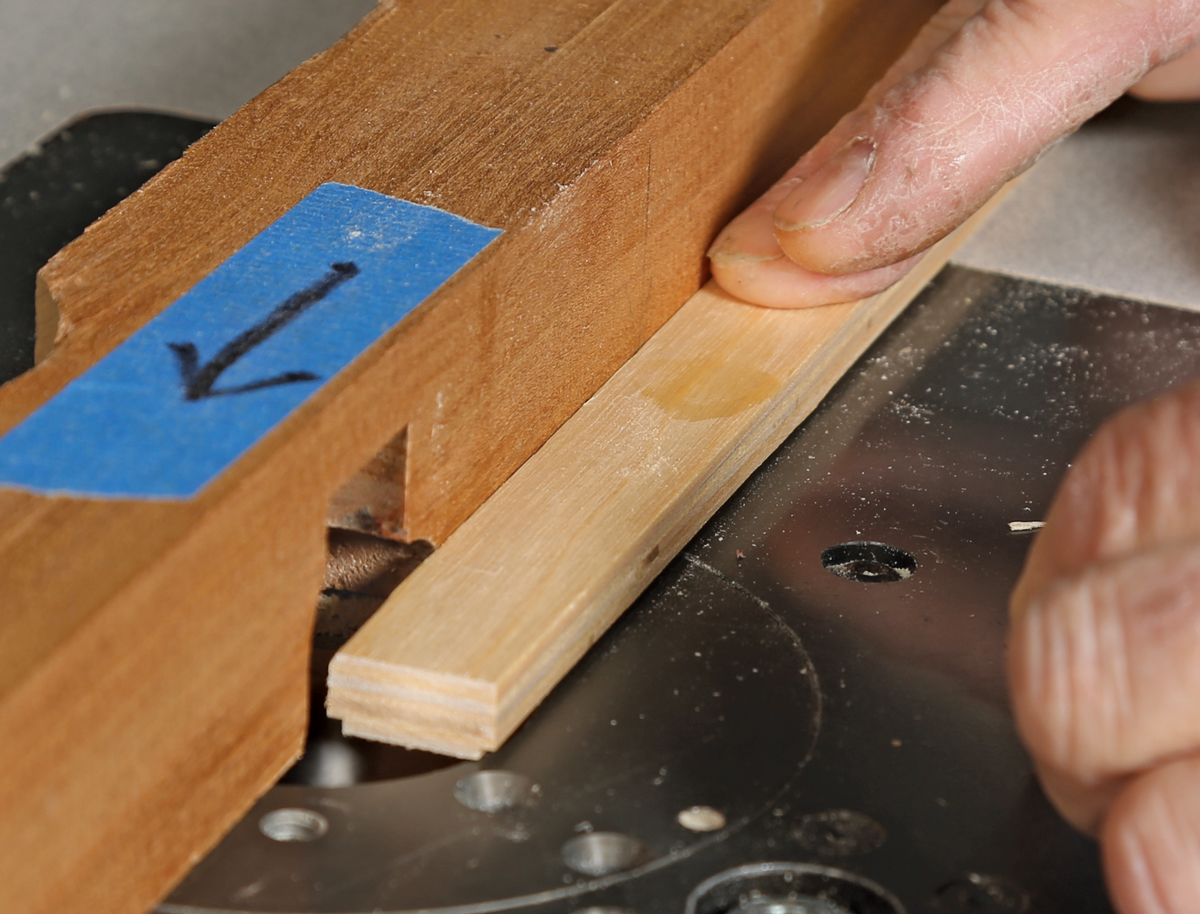
At the router table, run a 1⁄16-in. radius roundover bit along the edges of one face of the strip and cut a small rabbet along the edges of the opposite face. The rabbeted face will go against the bottom of the sled, making it easier to trim the width of the runner should it end up feeling too tight in the miter-gauge slot.
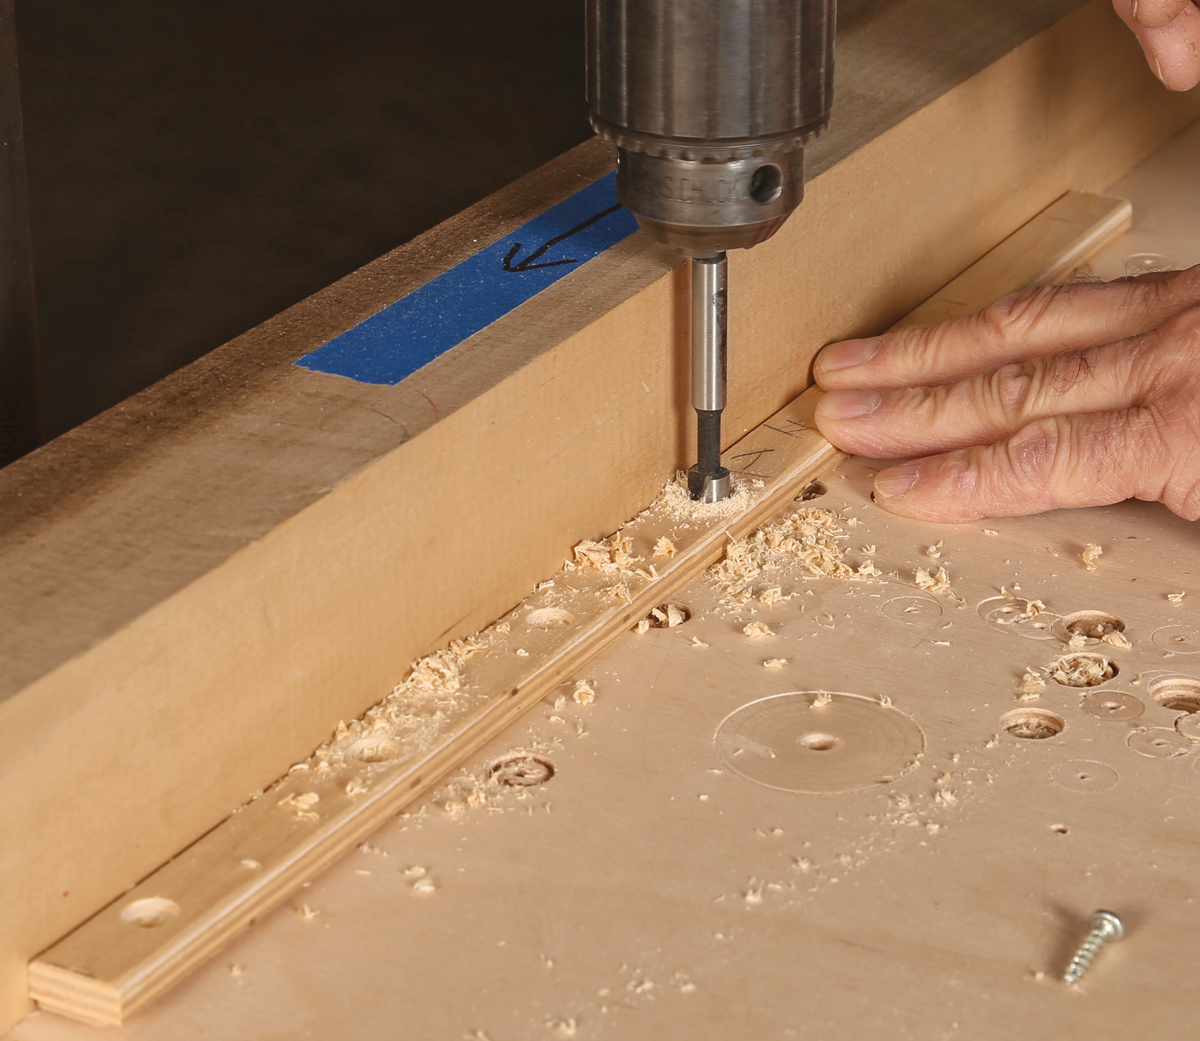
Counterbore and drill clearance holes to receive the round-head screws that will, along with glue and brads, attach the runners. Don’t use flathead screws; their funnel-shaped head will distort the width of the runner slightly as they are tightened.
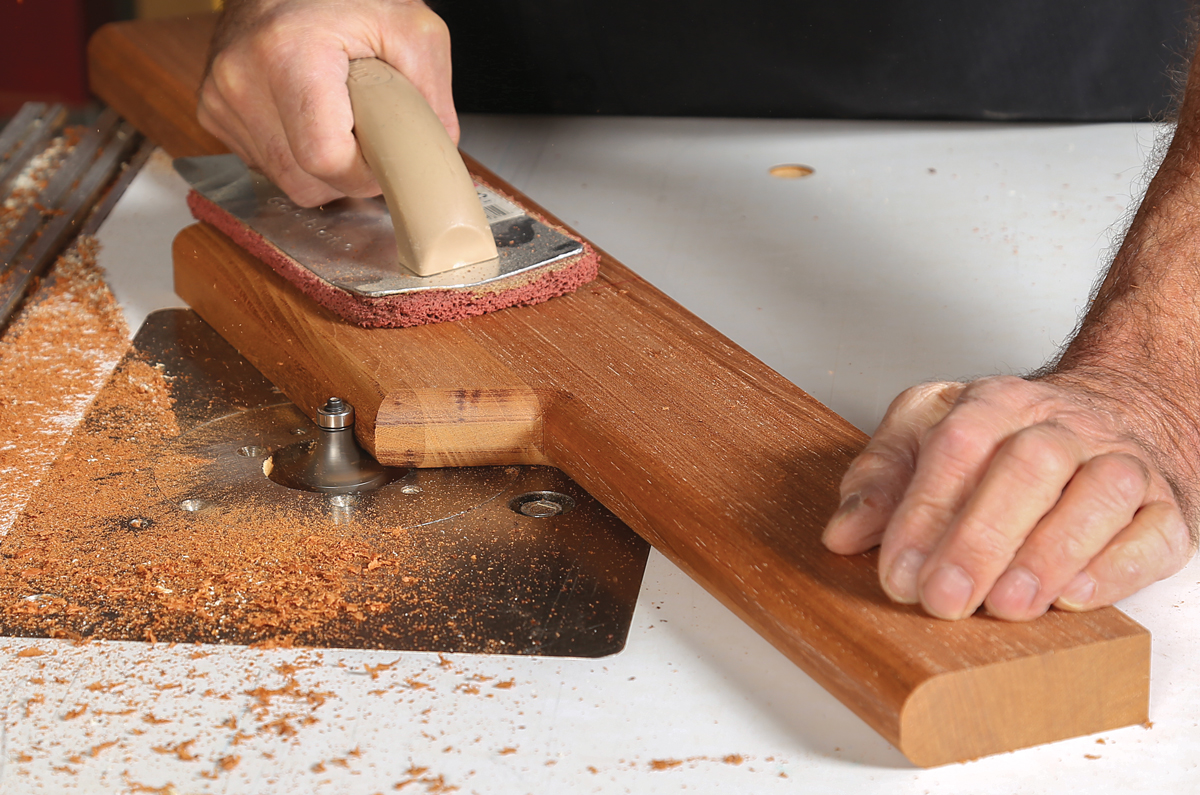
A fence and stable runners are the keyThe heart of the sled is a perfectly straight and stable front fence and tough, well-fitting runners.
|
From Fine Woodworking #308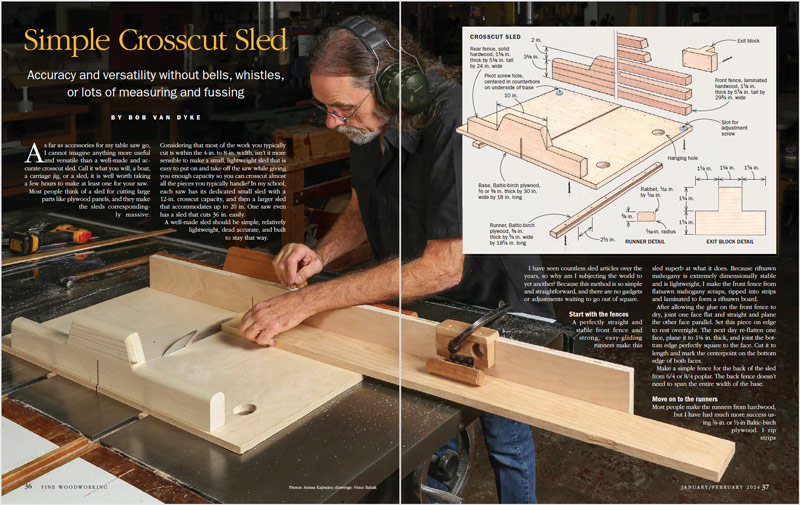
Photos: Anissa Kapsales; drawings: Vince Babak
To view the article, please click the View PDF button below.









Comments
I'll bet I've made 6-8 different sleds by this point. They always fall out of square. I will try this method next!
Log in or create an account to post a comment.
Sign up Log in