Simple, handsome 17th-century box
Underneath the carving, this traditional form is a great exercise in hand skills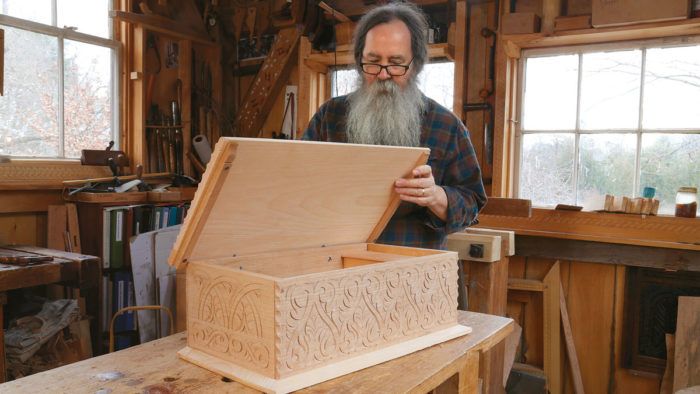
Synopsis: Step away from the machines and try making a carved box from the 17th century. Peter Follansbee demonstrates how to make this greenwood box, using reference surfaces for layout with the knowledge that handwork doesn’t depend on all surfaces being perfectly flat and square. Rabbeted joinery accommodates the variables inherent in handwork, and a carved surface and lidded till add some fancy touches.
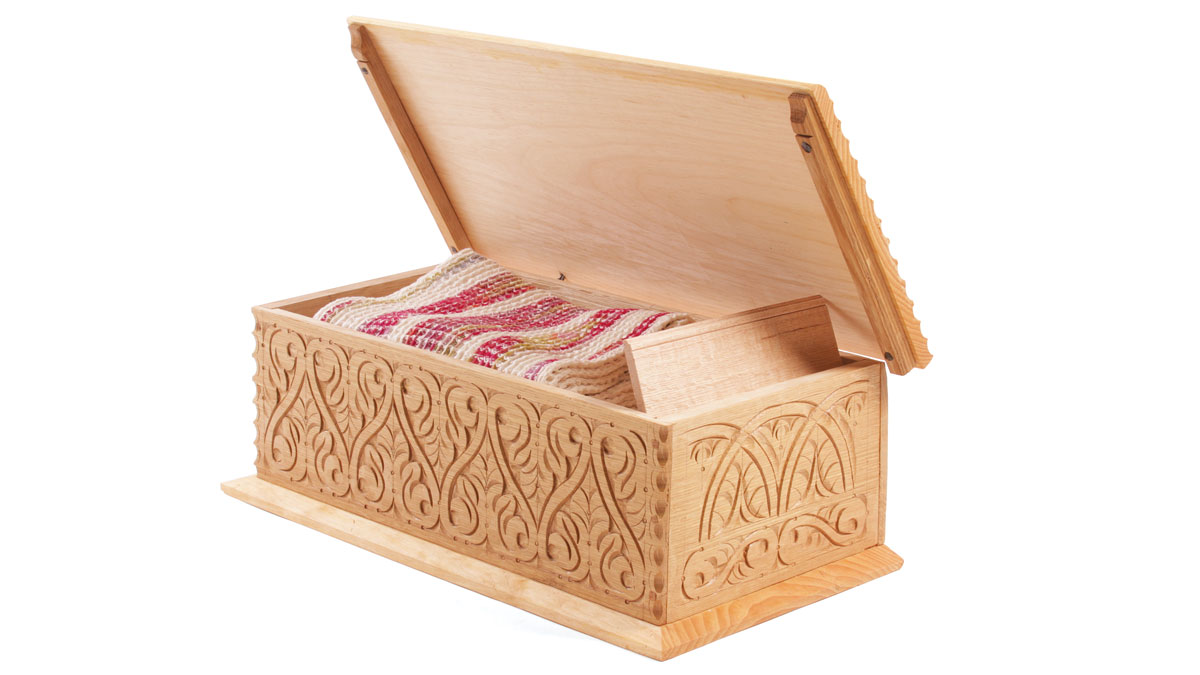
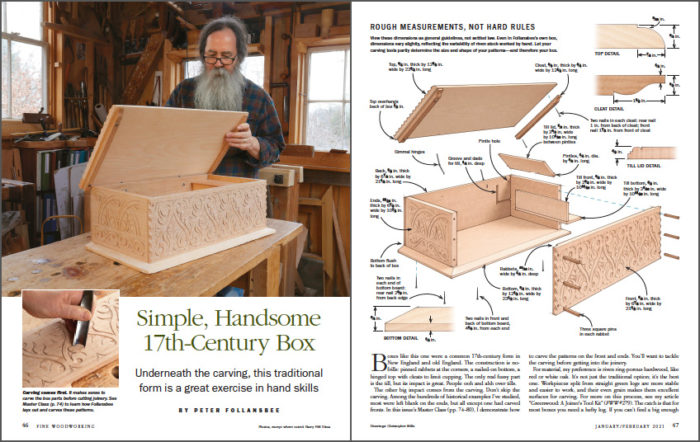
Boxes like this one were a common 17th-century form in New England and old England. The construction is no-frills: pinned rabbets at the corners, a nailed-on bottom, a hinged top with cleats to limit cupping. The only real fussy part is the till, but its impact is great. People ooh and ahh over tills.
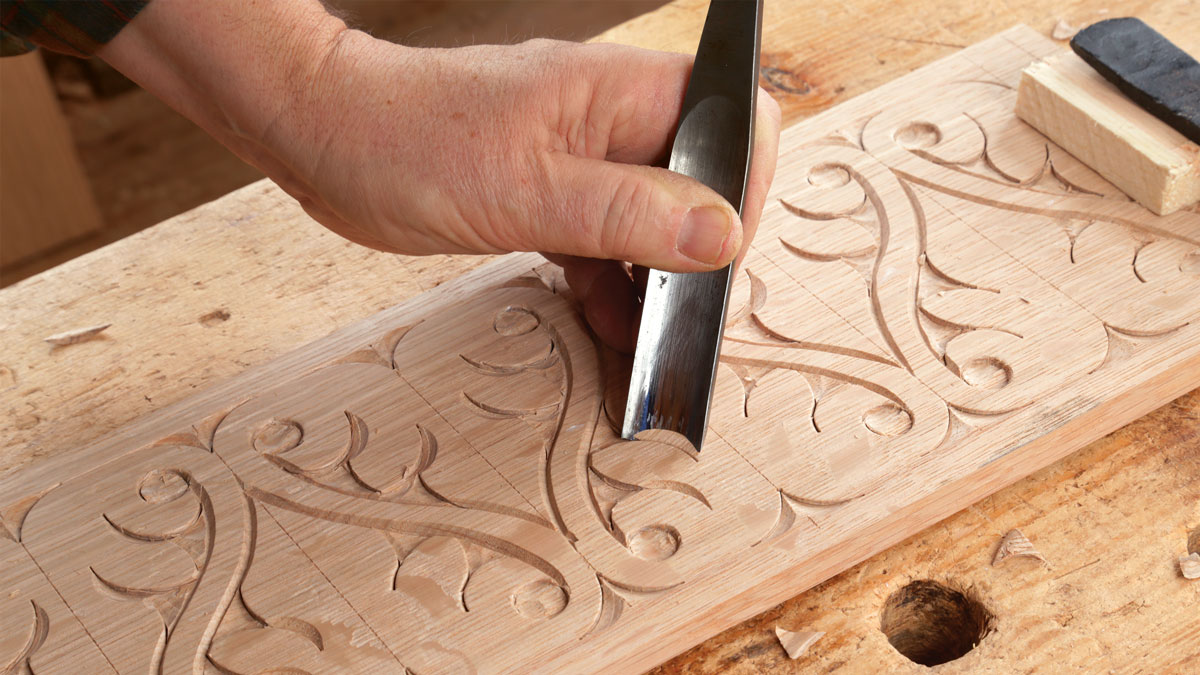
The other big impact comes from the carving. Don’t skip the carving. Among the hundreds of historical examples I’ve studied, most were left blank on the ends, but all except one had carved fronts. In this issue’s Master Class, I demonstrate how to carve the patterns on the front and ends. You’ll want to tackle the carving before getting into the joinery.
Video: Watch Peter Follansbee carve a shallow relief pattern
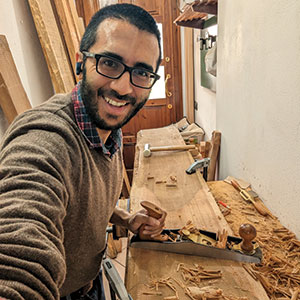
You didn’t get to visit Peter’s shop with Barry NM Dima and watch
him carve in person, but this is almost as good. Plus you can wear your pajamas.
For material, my preference is riven ring-porous hardwood, like red or white oak. It’s not just the traditional option; it’s the best one. Workpieces split from straight green logs are more stable and easier to work, and their even grain makes them excellent surfaces for carving. For more on this process, see my article “Greenwood: A Joiner’s Tool Kit” (FWW #279). The catch is that for most boxes you need a hefty log. If you can’t find a big enough log, quartersawn boards are a good second choice. In a pinch, I’ve even used rift- and plainsawn oak.
Rabbets take account of handwork
I make furniture entirely by hand, so I don’t rely on all surfaces being perfectly flat, square, and even. Instead, I establish reference edges and faces. For boxes, these are the outside faces and bottom edges. All my layout is done off of these two surfaces. To keep parts oriented—front, back, left, and right—I strike a triangle into the top edges.
The rabbeted joinery also accommodates the handwork. Because I mill and prep these boards by hand, I’m sure I rarely get both end boards the exact same thickness. As a result, the ends are not interchangeable; each has a dedicated position in the box. So I use each end to lay out the width of its respective rabbet. It helps to have the rabbets slightly overwide at this point, letting you clean up the joint later. I use a marking gauge to lay out the depth of the rabbets.
I saw the rabbets’ shoulders, chop with a chisel to split the waste off the cheeks, and then pare across the grain, working down to the layout lines. If I had a really cantankerous board, I might saw the cheeks, but I can’t remember the last time I did so.
To fasten the rabbets, I use wooden pins and glue, spacing the pins by eye. I bore 1⁄4-in. pilot holes, drilling from the inside of the rabbet so I can see where I’m putting them. To avoid blowout, don’t put them too near the edges of the board. Once you transfer and bore mating pilot holes in the ends, you’ll need to wait to pin them until after you’ve made the parts for the till.
To view the entire article, please click the View PDF button below.
 |
|
 |
|
 |
7 Questions with Peter FollansbeeJULY 13, 2018 |







Log in or create an account to post a comment.
Sign up Log in