Sharpening the V-Tool
Learn how to sharpen this complex carving tool with a grinder and stones.
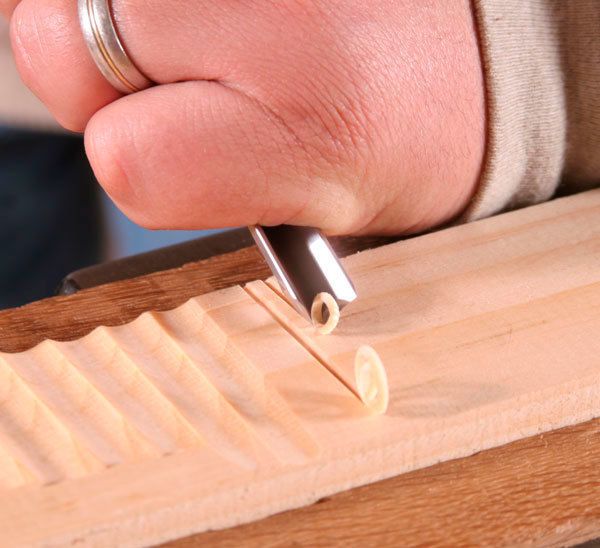
The V-parting tool is one of the most complex carving tools to sharpen. It takes patience and careful attention to keep the corners even while not dropping out the bottom of the V or creating a horn.
When sharpening a V-tool, it helps to think of it as three separate tools – a pair of flat chisels on the sides and little gouge at the bottom. Keeping this idea in mind can help simplify a process that can otherwise seem very complicated.
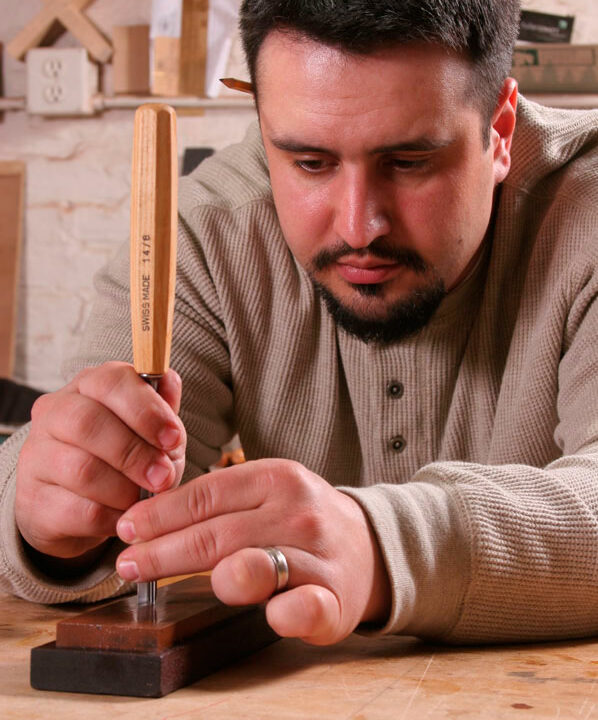
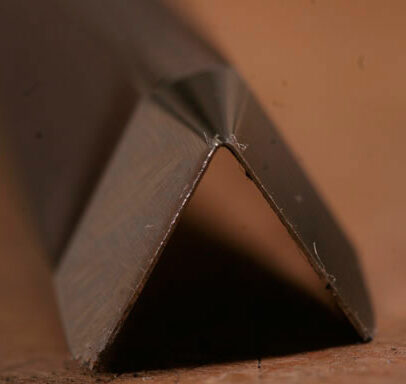
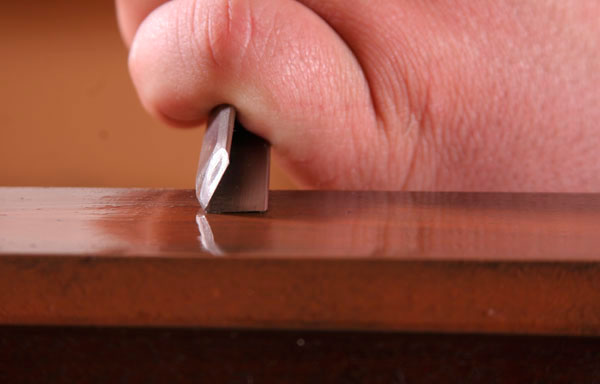
Start by jointing the tool on the India stone, taking special care to make sure that the edges and corners are all in the same plane. The visual reference created by jointing a flat onto the edge is even more important for this tool because it helps ensure that the two sides transition smoothly into the corner at the bottom of the V.
 |
 |
Next, grind each side until the jointed edge is almost gone, but be sure to keep a very narrow flat to serve as a visual reference when you’re grinding the keel and honing.
 |
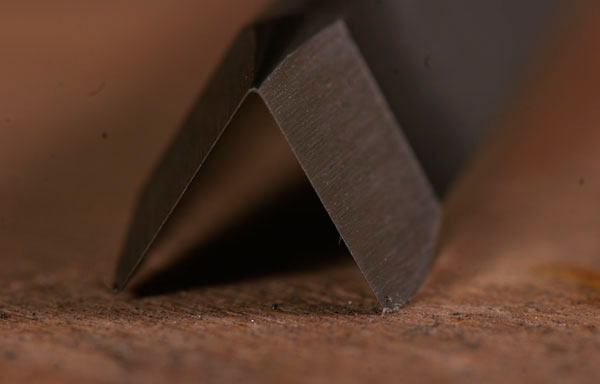 |
You’ll also need to grind the keel at the base of the V, to thin out the edge there and ensure that the cutting edge transitions smoothly from the sides into the corner.
 |
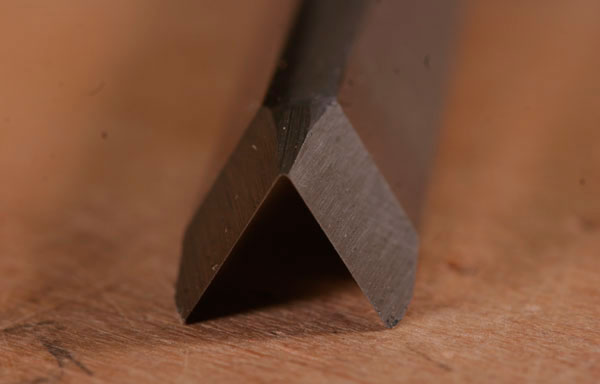 |
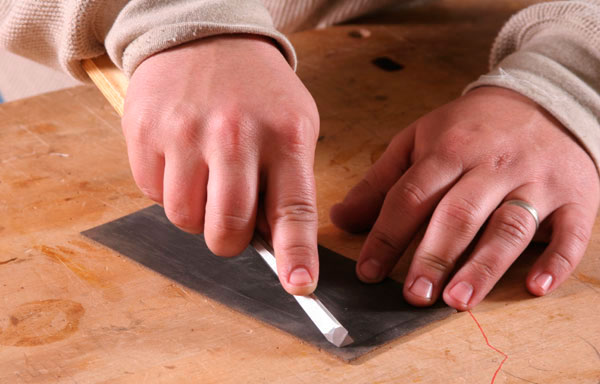
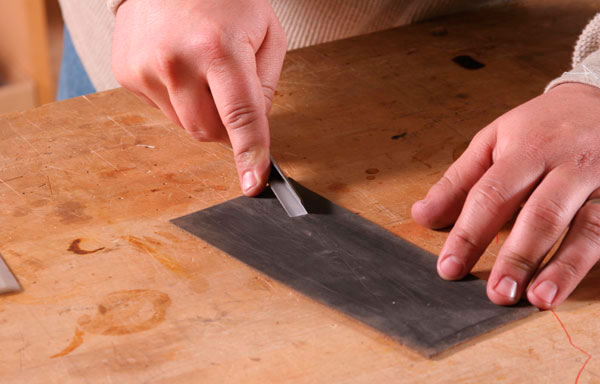
To hone, start on the India stone by stoning away the hollow grind and further thinning the jointed edges. After working the two sides, you’ll need to hone the keel carefully, with a back and forth motion, watching the jointed edge at the transitions.
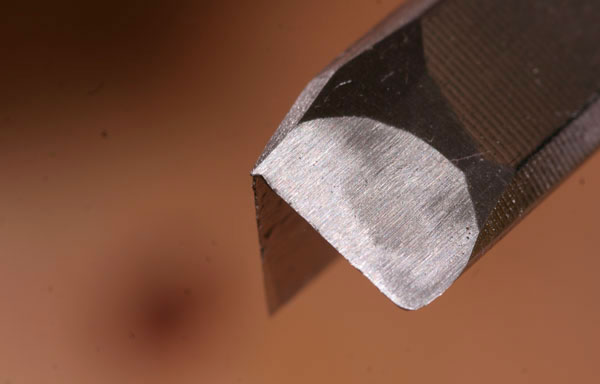 |
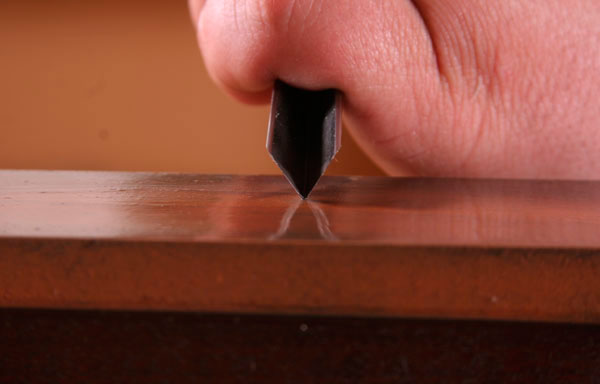 |
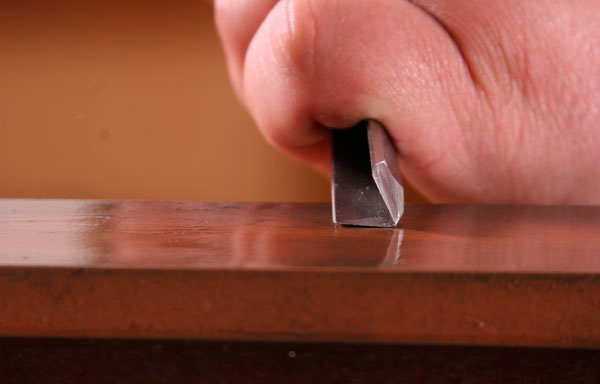 |
 |
When you’re done, the edge of the keel should cleanly meet the edges of the two sides.
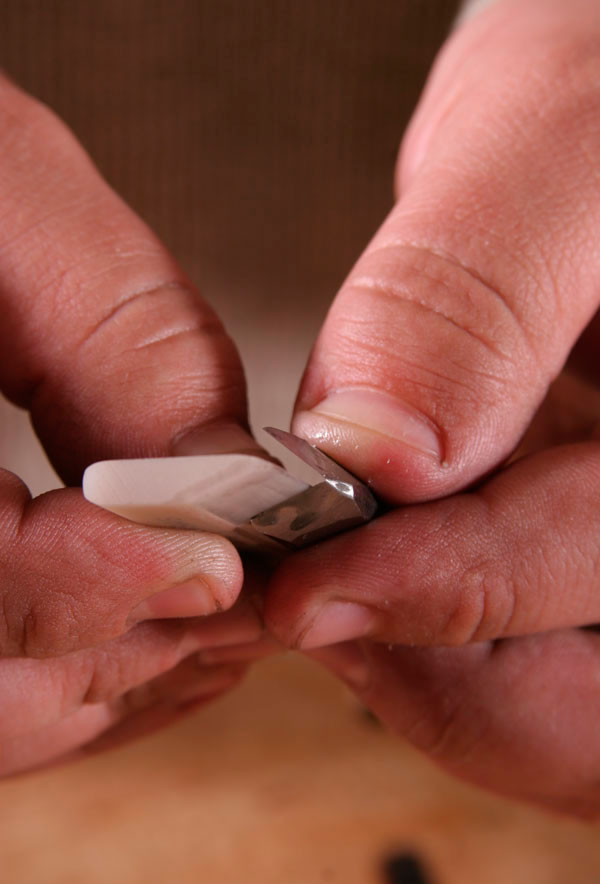
At this point, the cutting edge should be straight with no jointed edge and a burr raised inside the flute that you’ll need to remove with the slipstone.
The slipstone may require slight modification to fit in the flute of the tool. This can be done with wet/ dry sandpaper or a diamond stone. Chase the wire edge to achieve sharpness, then polish and strop.
 |
 |
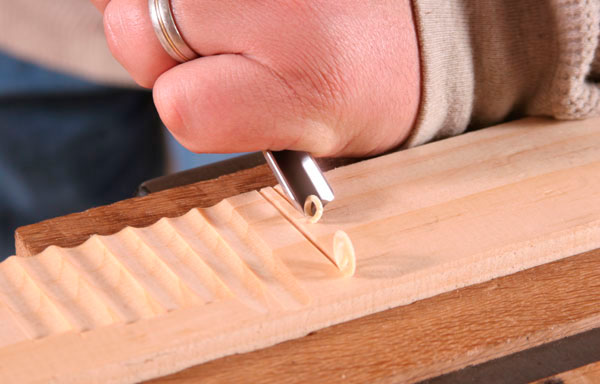
Your sharpened v-tool should smoothly plow grooves like these. Enjoy!




Log in or create an account to post a comment.
Sign up Log in