How to Sharpen and Use a Drawknife
Learn how to master the drawknife, a brilliantly simple shaping tool that’s versatile, fast, and a pleasure to use.
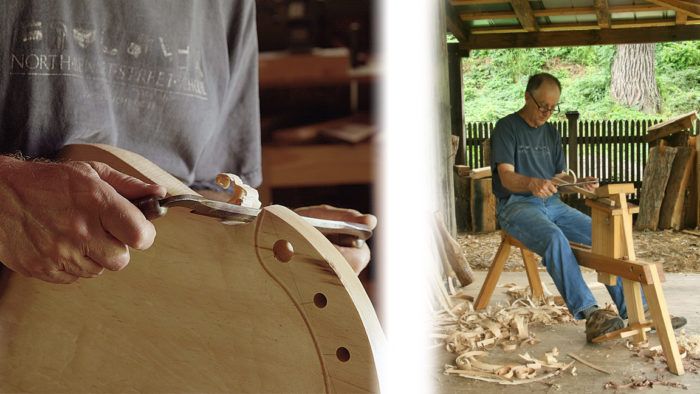
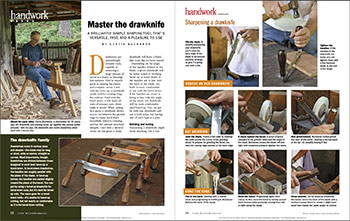
Synopsis: Shaping long, flat surfaces, concave cuts, face grain, end grain—it’s all easier with a well-sharpened drawknife. Windsor chair master Curtis Buchanan gives a tutorial on this valuable hand tool, from the different types of drawknives, to sharpening, to whether you need a bevel-up or bevel-down version. He also demonstrates how to hold the tool and how to use it to make complex shapes, smooth surfaces, facets, scooped surfaces, and more.
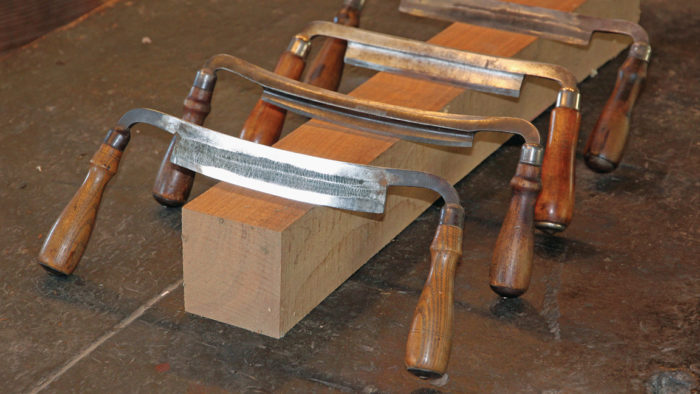
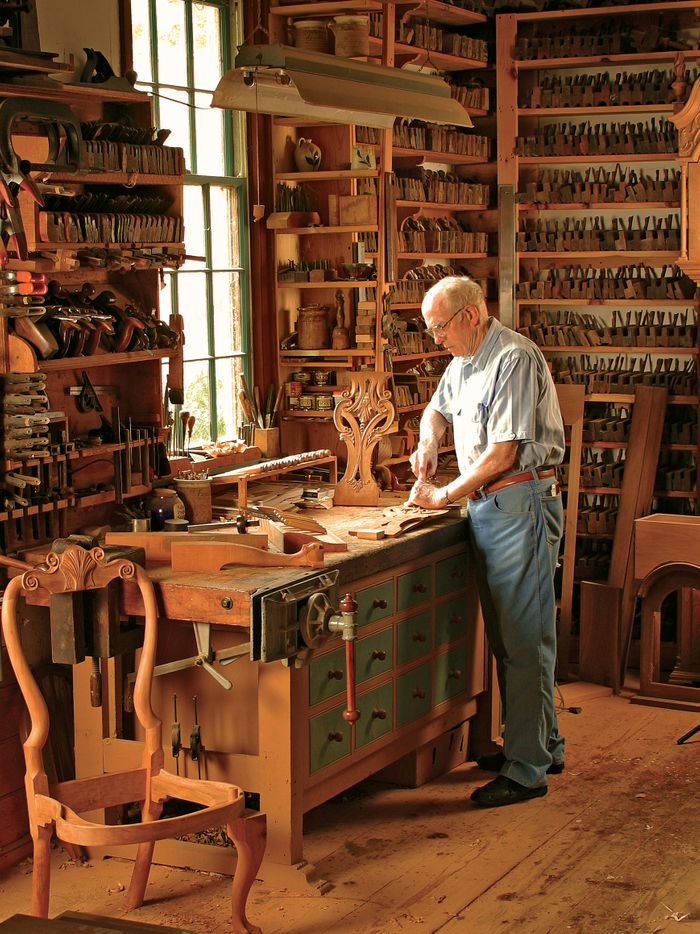
Drawknives are astonishingly versatile tools, capable of removing a huge amount of wood in a hurry, or finessing fine surfaces. They’re equally good at creating flat planes and complex curves. Used with the bevel up, a drawknife works well for creating long, flat surfaces. Used with the bevel down, it will make all sorts of concave cuts—from slight to severe. While cutting face grain, a drawknife allows you to cut between the growth rings to create stock that’s beautifully suited to bending and has the ultimate structural integrity. Used with a skewed stroke on end grain, a sharp drawknife will leave a finish that looks like it’s been waxed.
Depending on the angle of the handles relative to the blade, a given drawknife will be better suited to working bevel up or bevel down. If the handles are in line with the back of the blade, the knife is more comfortable to use with the bevel down. If the handles are closer to being in line with the angle of the bevel, the drawknife will be most comfortable used bevel up. You can get by with one drawknife and use it both ways, but having one of each type is a plus.
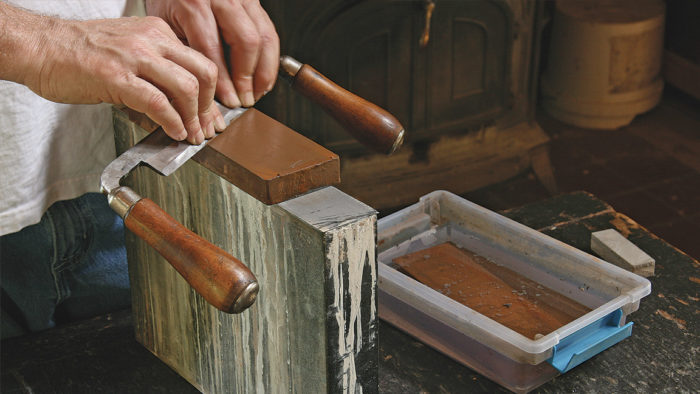
Sharpening a drawknife might seem daunting, but if you know how to sharpen a bench chisel you have the necessary skills. To get started, look closely at your knife. Has some numbskull used a hammer on the back edge? If so, file the dings out so it’s smooth again. Now check to see if the back edge and the cutting edge are parallel. If not, joint the cutting edge on the grinder until they are. This is important, since when you grind the bevel you’ll reference off the back edge.
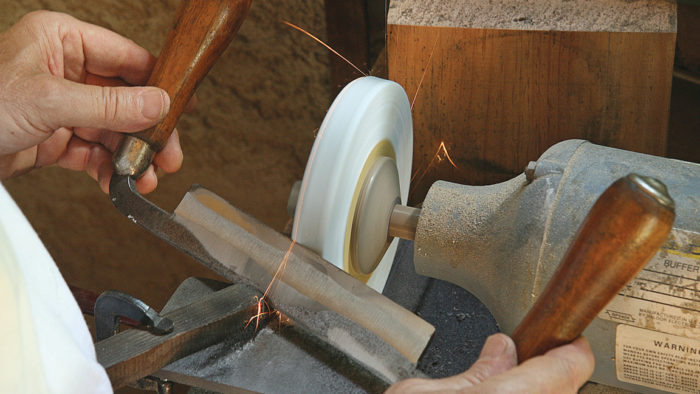
To grind the bevel, adjust the grinder’s tool rest to a flat position and clamp a stop to it. The motor will likely prevent you from grinding across the front face of the stone; instead you will grind on the edge of the stone. Adjust the stop until the grinding wheel is hitting the bevel at a 28° angle. (This angle works for bevel-down drawknives; for bevel-up knives, grind the bevel at 25°; the back bevel will add the other 3°.) Wax the stop block so the drawknife slides smoothly across the wood.
More on FineWoodworking.com:
- The Drawknife – Learning to use this simple tool
- Shaping Wood by Hand – A few tools let you create any shape imaginable
- Sam Maloof: Shaping the arm of a chair
 From Fine Woodworking #268
To view the entire article, please click the View PDF button below:


Comments
I found the article a bit confusing in regards to terminology. In two of the photos, he refers to "back of the knife" then the next says "back of the blade". In one he says to hollow grind it then in the other he says to flatten it. I'm confused. Wouldn't hollow grinding the back take a long long long time? Also there needs to be a drawing. The photos are too far away. Especially when it says to use a wood scrap to bevel the edge. I can't see what he is exactly doing there. The bevel looks to be away from the wheel.
Log in or create an account to post a comment.
Sign up Log in