Scalene triangles are more fun!
A small dose of math and irregular shapes for woodworkers.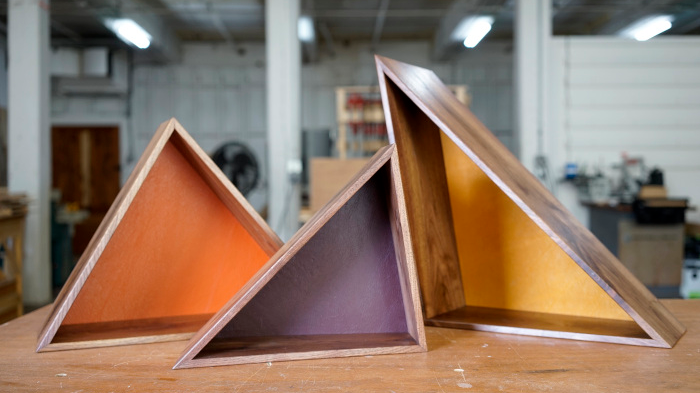
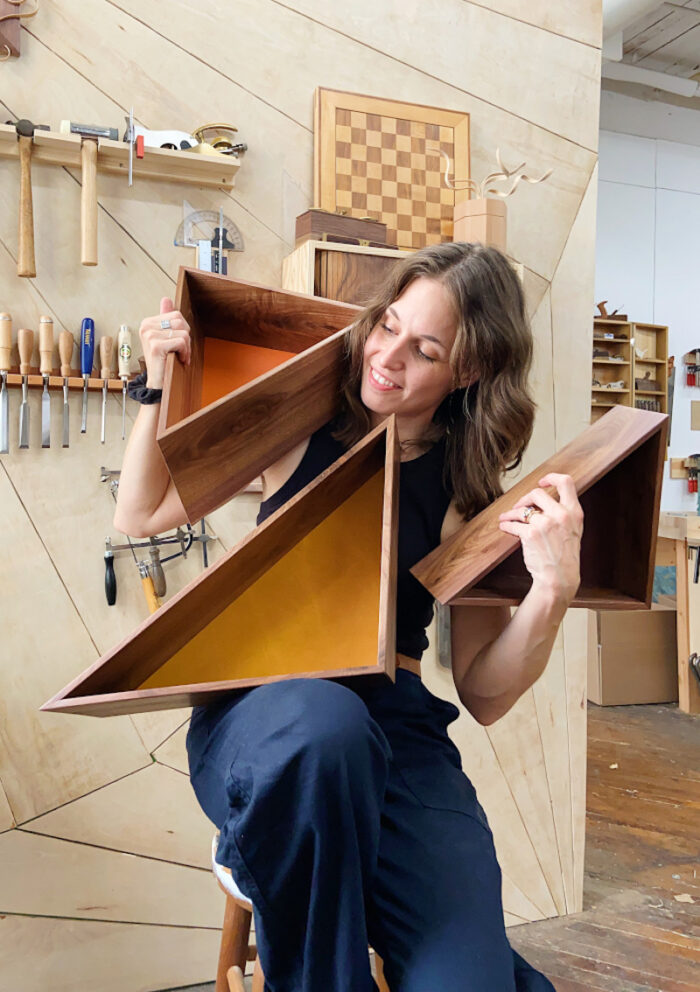
I was recently commissioned to make three irregular triangle boxes. The parameters were that the boxes needed to graduate in size and look noticeably different from one another. What a fun assignment and a process I could apply to a funky furniture design in the future!
I knew scalene triangles would be the most visually interesting and dynamic. At the risk of losing you, dear reader, I must admit that I like math. And, I am here to transport us back to grade school math class as I remind you that a scalene triangle is one with three different side lengths and angle measures. In my furniture-making experience irregular triangles don’t come up too often, so I had to clear some mental cobwebs to get the mitered joinery right.
Admittedly, I am not well-versed in any CAD programs, so I broke out the protractor and ruler and got to it. To start, I drew a handful of scalene triangles to play with angles and see how various obtuse and acute triangles looked.
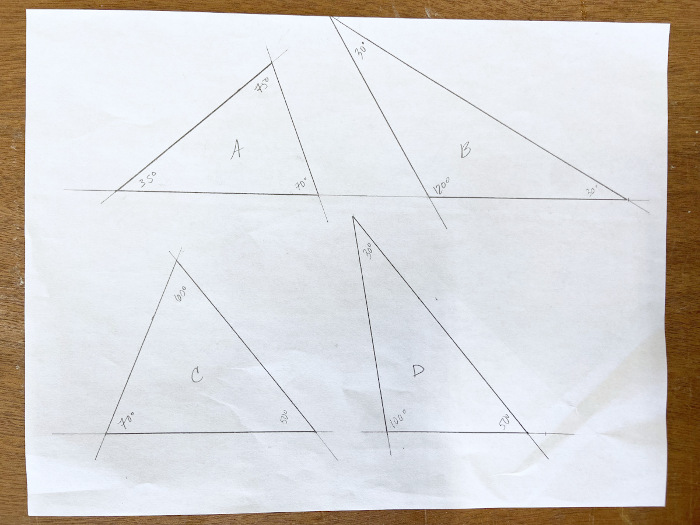
When making scalene triangles, follow two easy steps:
- Use any angles other than 90°
- Avoid two angles with the same measure
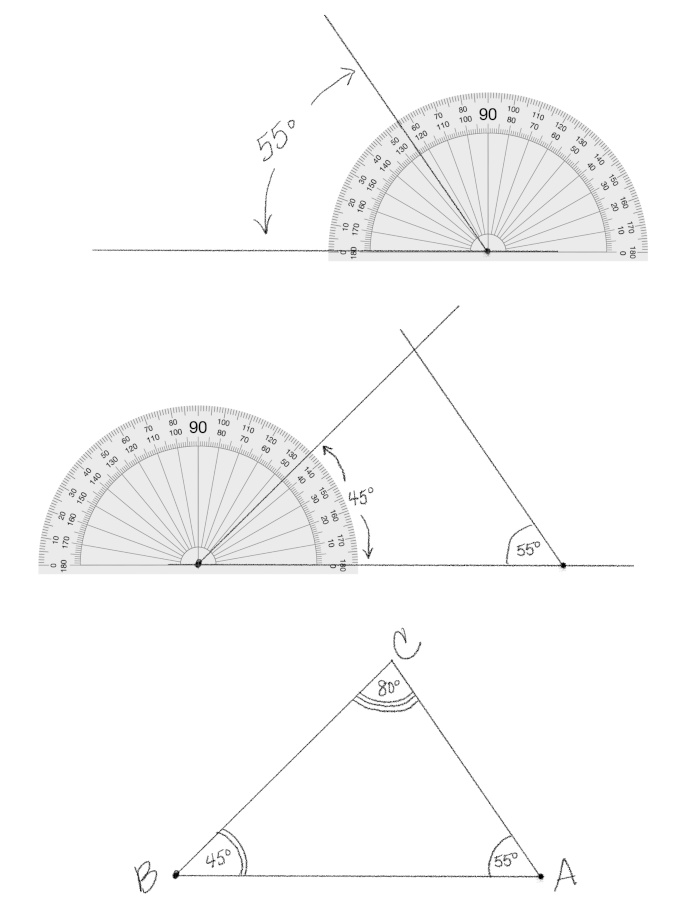
I chose the triangles I found most visually interesting and then had to decide the sizes. In order to get the mitered corners to meet seamlessly, the side lengths have to be calculated accurately. There are many ways to do this, here are a few:
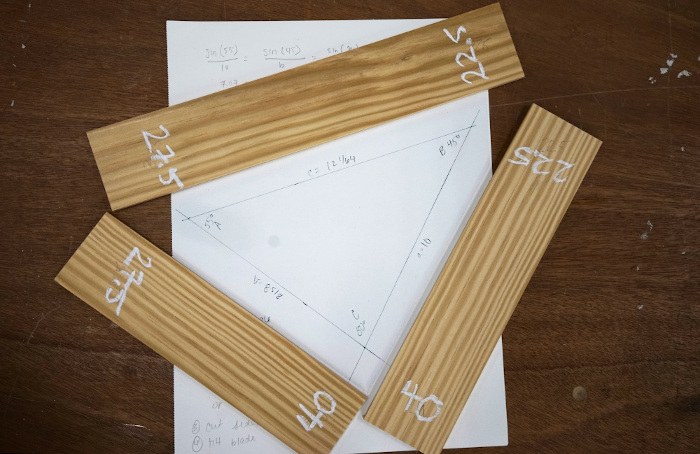
- Draw the triangle. Using a protractor and ruler, draw the triangle to scale on paper and take measurements from the drawing.
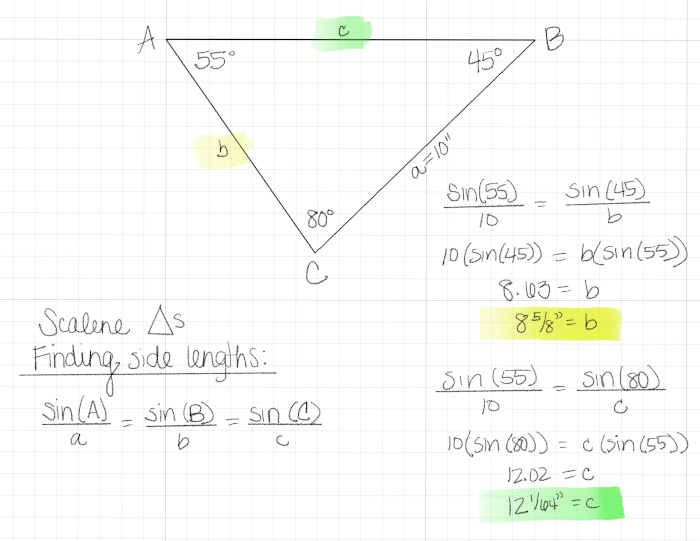
- Use a trig formula. (Sorry I brought up trigonometry!) With the interior angles and one side length, you can use the formula pictured below to determine the remaining two side lengths.
- Use the computer. If you use a CAD program, draw your triangle to scale and use the built-in tool to measure the lengths of the sides.
Then, I cut the sides to length. Be accurate. I always use scrap pieces to test my process, angles, and jig before committing to the real deal.
Next, I cut the miters. The angle cut into the end of each piece is half the measure of the interior angle at each corner. (ie: An 80° corner is made up of two 40° pieces)
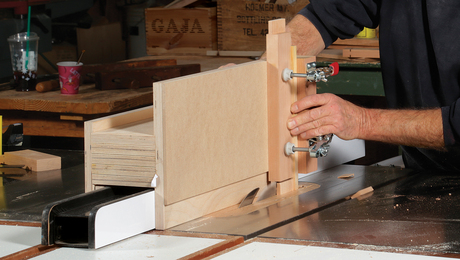
For consistency, I use the table saw to cut the angles. Because many of the angles are acute, we are limited by the tilt of the blade being between 90°-45°. To overcome this, I use a table saw tenoning jig to hold the workpiece at 90° to the table so the tilt of the blade can be between 0°-45° with relation to the piece.
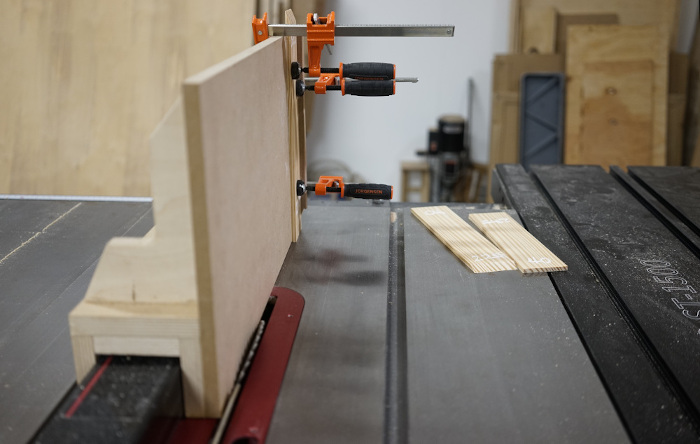
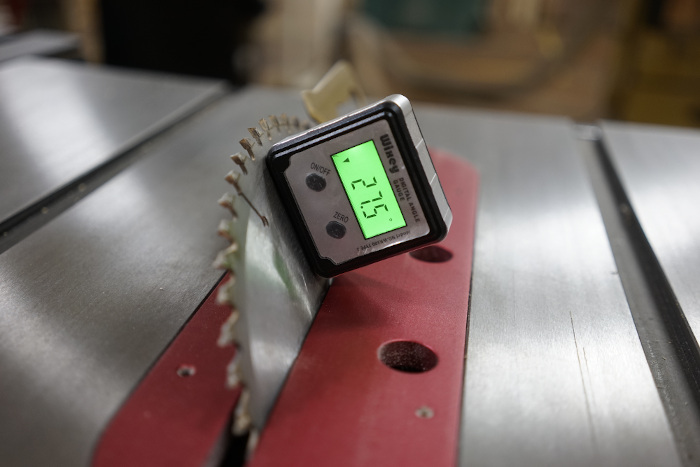
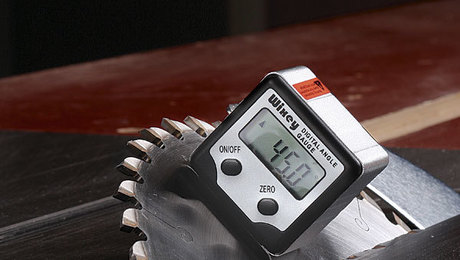
Using a digital angle gauge, I confirm the blade is 90° to the table then zero-out the gauge while it is mounted to the blade. I tilt the blade to the desired angle, secure the work piece to the tenoning jig (ensuring it is flush to the table’s surface) and cross cut the angle on the two mating pieces.
After repeating the process for each corner, the pieces should fit together creating a fun and funky triangle! If not, there is likely an issue with the side length(s) or the accuracy of the blade tilt. Keep trying- It’s worth it, I promise!







Comments
An interesting project. I may try to replicate it, and I may even find a use for them. 59 years ago my grade 11 math teacher told us we should remember trig as we would need it someday. I guess I should have believed him. I'm glad you left the joinery a mystery, I have a couple of ideas for clamping. Just wondering if you could join two sides at a random angle. stack the third side on top and halve resulting angles.
Log in or create an account to post a comment.
Sign up Log in