Re-creating a Shaker Finish
To match a 200-year-old finish, an expert uses common tools and techniques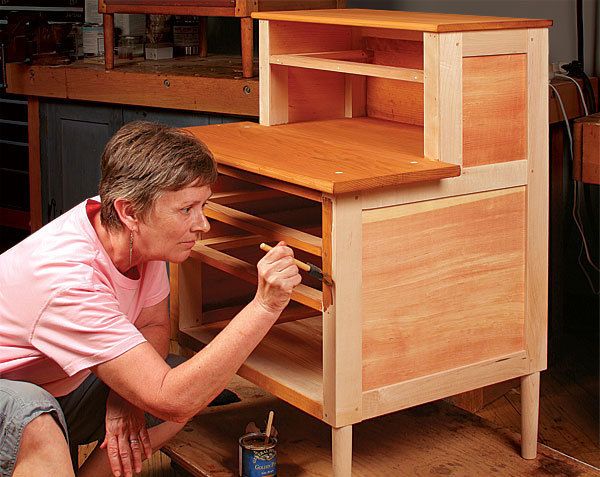
Synopsis: Linda Coit specializes in antique restoration and repair, but she rarely gets the chance to duplicate an entire piece. So when Chris Becksvoort enlisted her shop’s aid in reproducing five exact copies of original Shaker furniture pieces, she was eager to take the job. Follow along as she combines various finishes, stains, and dyes to re-create an old finish with all its subtleties. The techniques and materials illustrated here will coming in handy when creating custom colors for your own furniture.
From Fine Woodworking #203
When Chris Becksvoort enlisted our shop to do complete reproduction finishes on his five exact copies of original Shaker pieces (commissioned by a collector), we jumped at the opportunity. Most of the work we do at East Point Conservation Studio is matching small repairs to the rest of an antique. This time, we were to match an old finish with all its subtleties—nicks, dents, crackling—on a separate, newly built piece of furniture. It’s important to note that my task was not fakery, so I made no attempt to re-create oxidation on inside surfaces.
Finishing can be daunting. Whether trying to re-create a specific antique finish, achieve a certain color, or apply a protective coating, having a broad array of techniques and materials at your fingertips will make the process more successful.
“Water dyes, gel stains, wood stains, tinted shellac …” as finisher extraordinaire George Frank wrote, “the melodies one can play on these four strings are really endless, but the beauty of the melody depends on the person holding the bow.”
Remember that nothing is unfixable. So don’t be afraid to try different approaches or strip off an unsatisfactory result and try again. This article will illustrate a few ways I combined various finishes, stains, and dyes to match an antique finish. But the techniques and materials can be used in countless ways to add age or create custom colors for your furniture.
Different finishes for different areas: The original desk is nearly 200 years old and has maple frames and legs with pine drawer fronts, panels, top, writing surface, and secondary wood. Along with his reproduction, Becksvoort delivered the original piece for reference. And he dropped off extra pieces of the pine and maple used in the reproduction to serve as test boards for the finish.
The color of the drawer fronts is a warm “pumpkin pine,” while the desktop and writing surface are similar in tone but have different clarity or opacity. The pine panels are a third variation on the theme. The maple on the legs and framework is a lighter, creamier-looking version of the pine panels. It was clear that I’d have to test a lot of colors and combinations of finishes to match the different tones and woods in the piece. In the end I used blond and orange shellac, powdered dyes, liquid dyes, gel stains, stains, acrylics, and watercolors to achieve the various looks in the desk.
Drawer fronts get a “pumpkin pine” look: I began with the drawer fronts, writing surface, and top, mainly because those were the most similar in color. I was able to make my initial plan work for the drawer fronts with a slight tweak, but I ended up having to remove the finish from the writing surface and top and treat them a little differently (more on that later).
For the full article, download the PDF below:







Log in or create an account to post a comment.
Sign up Log in