Rabbet for a Moxon vise
Save time by cleaning waste as you go.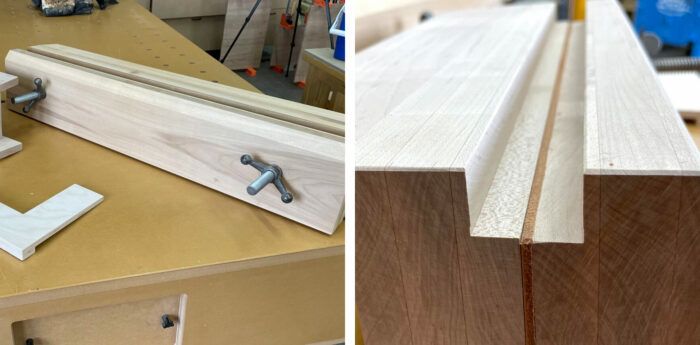
Fine Woodworking recently published an article in which I build a robust Moxon vise. Its construction is the third iteration and the final design is a culmination of improvements made each time I built a new version. In this post I’ll focus on a feature that was left out of the design that made it into the magazine, namely a rabbet cut into the top of the jaws which allows the use of a router to clean waste between pins. This may sound trivial, but it’s a huge time saver when cutting dovetails. Below I’ve put together a picture intensive demonstration on how this neat feature works. Let’s dive in.
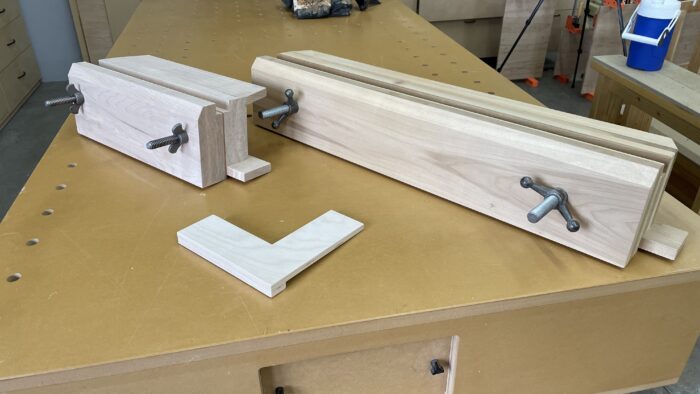
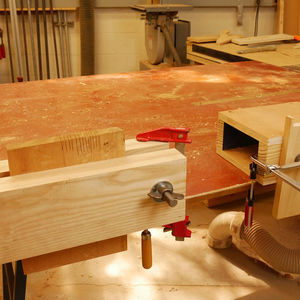
Here is a look at two of my Moxon vises. For some insider baseball, the smaller one was constructed using leftover parts from the article’s photo shoot. I had parts in various stages of construction to expedite the photo shoot. I cut these in half for a half-size vise.
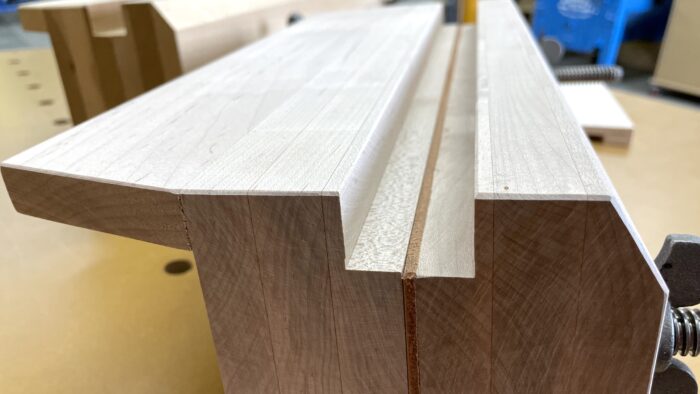
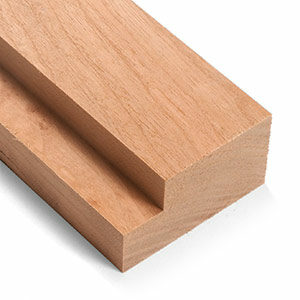
Here is what I mean by a rabbet in the jaws. The dimensions are approximately 7/8 in. to 1 in. down, and 5/8 in. to 3/4 in. from each face.
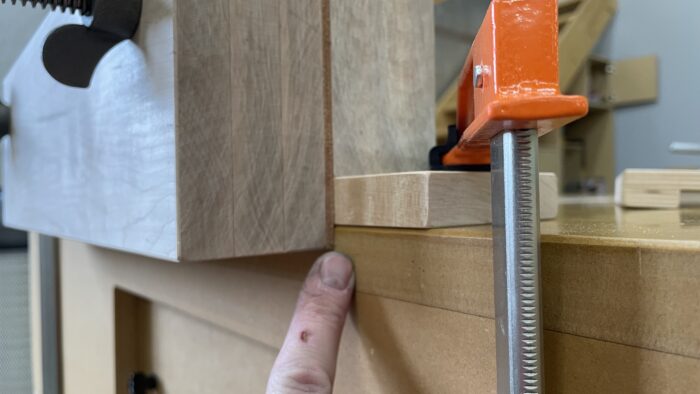
Note: The outer jaw is used to reference the edge of my bench.
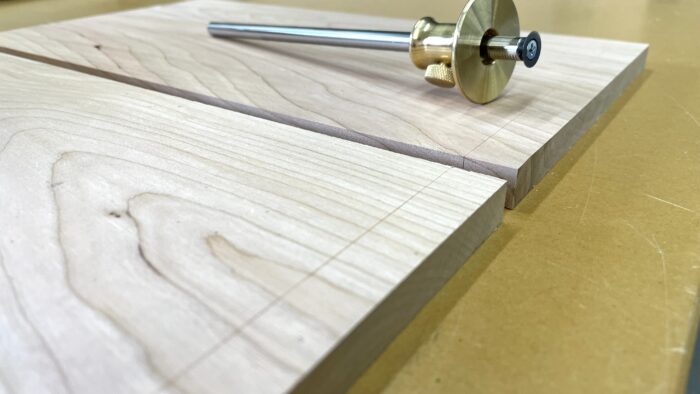
Stock milled, marked baseline.
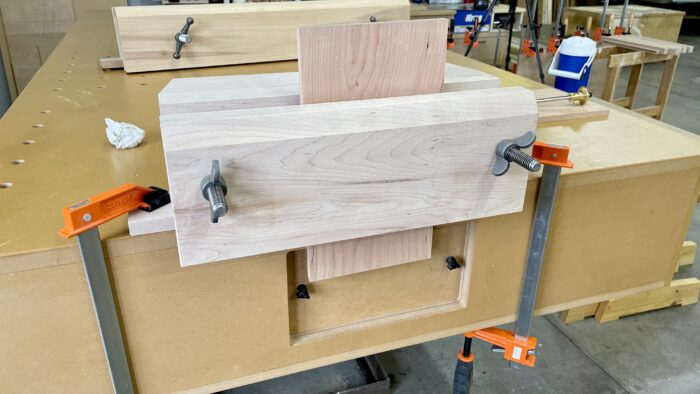
Vise clamped to bench, workpiece clamped in vise, ready for sawing.
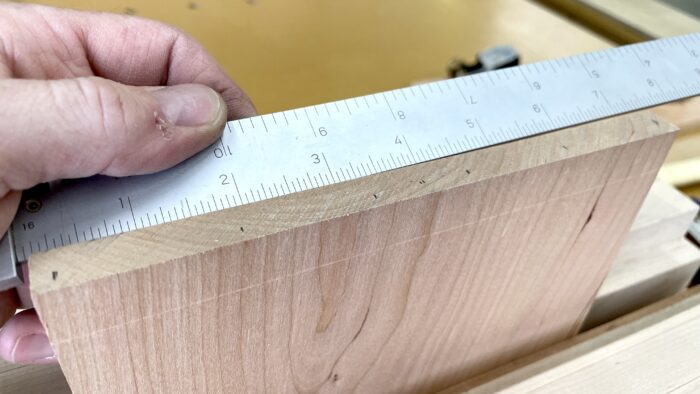
Since I use a dovetail jig, my marking is minimal. All I need to know is where to start the cuts.
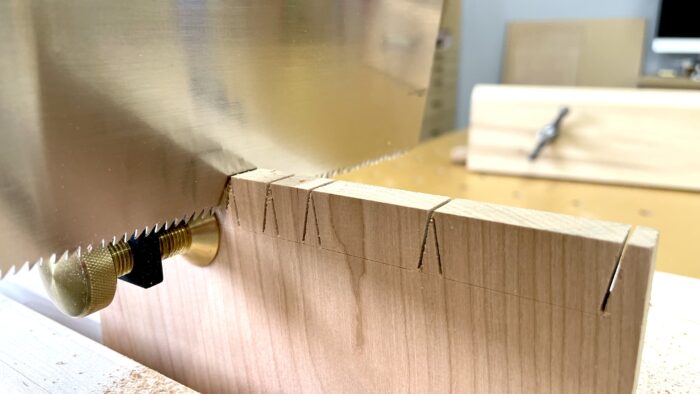
I like to cut the tails first.
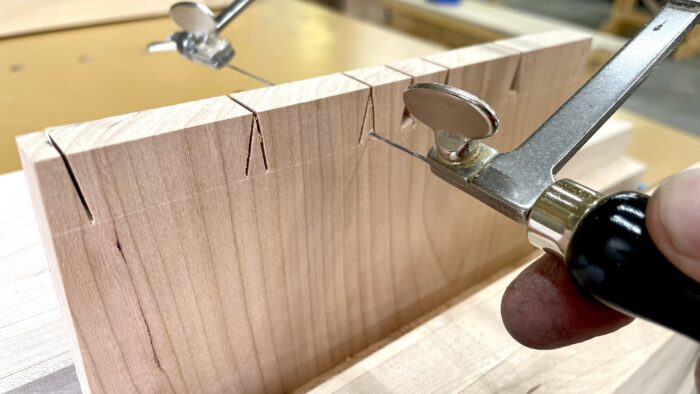
Cleaning out waste with fretsaw.
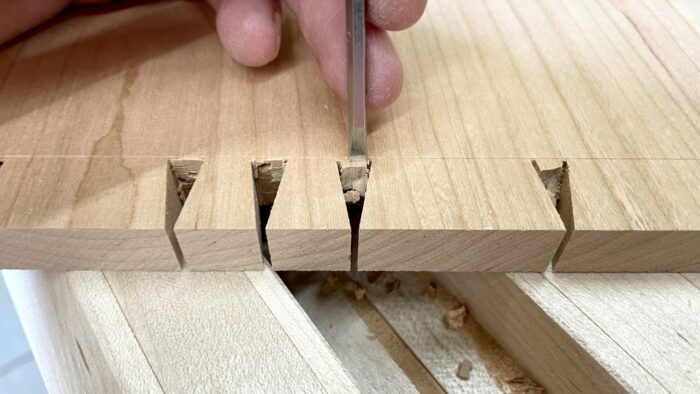
Chisel to baseline. Note, I do this over the rabbet so the chunklets fall away and don’t get trapped under the workpiece.
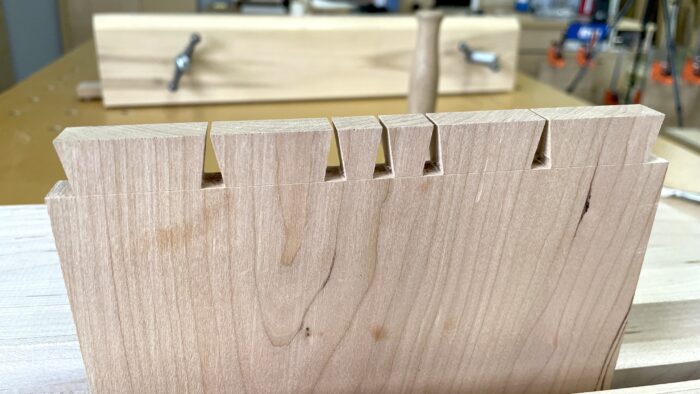
Nice work, Mike.
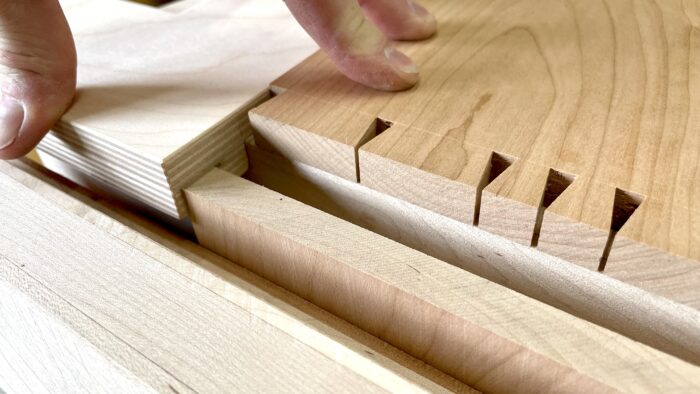
I use a shopmade square to line up the edges of the tail and pin boards. (The square is shown in the first picture.)
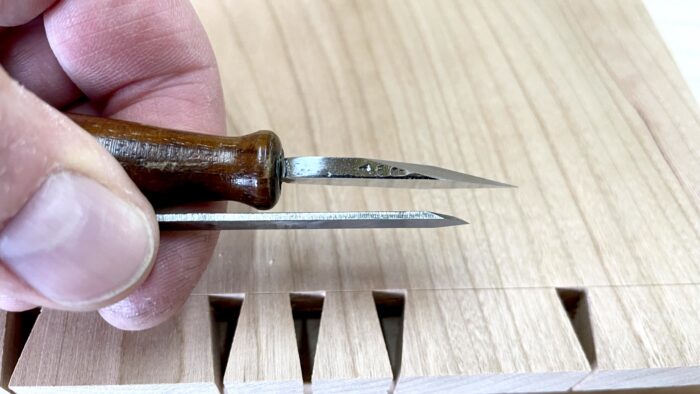
I ground an old jigsaw blade into a marking knife. It’s thinner than most marking knives so it gets between the tiny tail spacing I like so much.
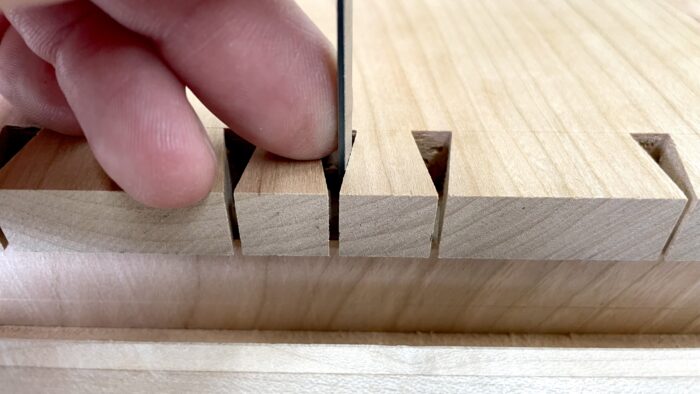
Marky Mark and the Funky bunch.
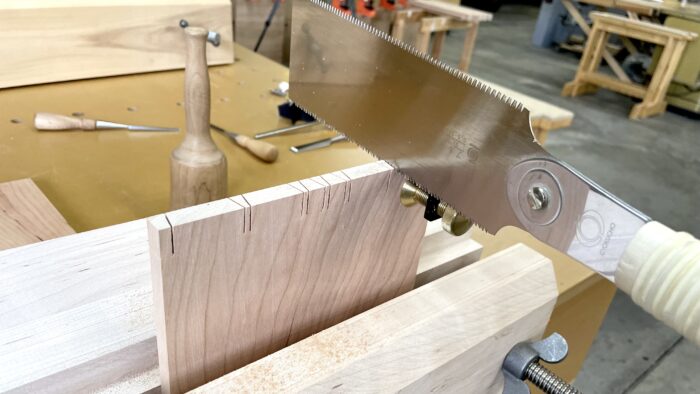
Cutting pins.
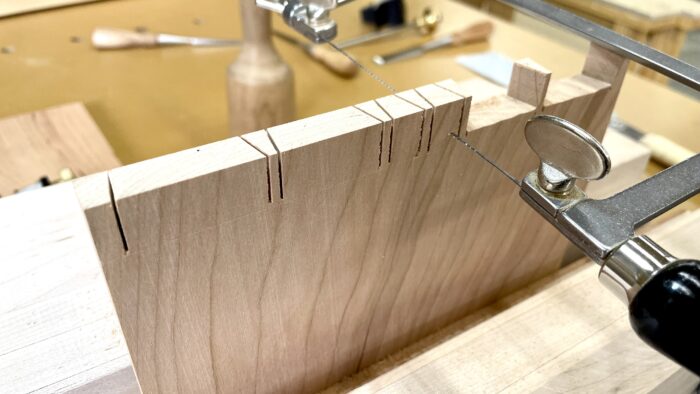
Clearing waste with the fretsaw. Please note that I didn’t even do a good job sawing down to the baseline. No big deal, the router bit used in the coming steps will take care of that.
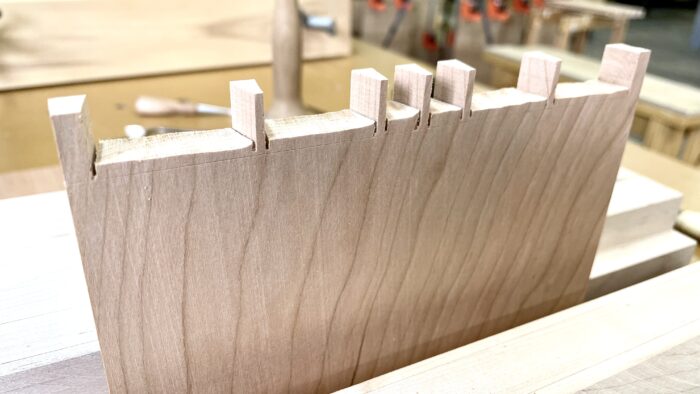
Bulk of waste cleared, ready for the next step.
Let’s slow down a little at this point. This is really where the rubber meets the road. I have pictured a few router bits that will work for this next process. The first is of a 3/16-in. straight router bit in the background, which we are all familiar with and will work. But there is a better option. The other bit pictured is a 1/2-in.-dia. top bearing bit designed for clearing hinge mortises on passage doors. I use the 1/2-in. bit when doing really big dovetails on thicker stock (think large case sides). The bearing is key as it rides against the tail and cleans up my poor sawing job from earlier, and the projection from the router establishes the cut down to the baseline.
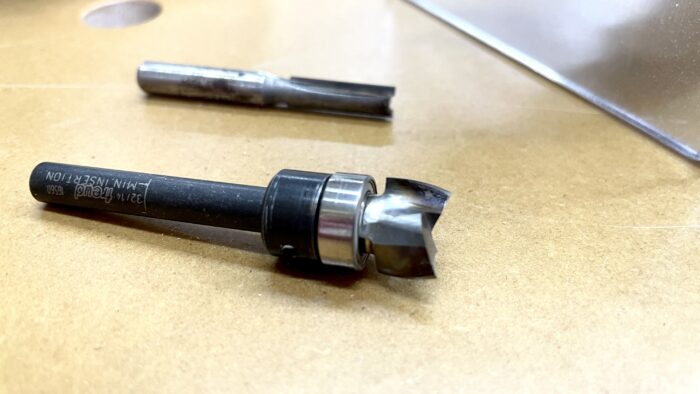
Two options. I like to use a bit with a bearing. This way I don’t need to worry about cutting into the tails. The bearing will stop me.
The next picture is a little tiny gem I found while poring through the Amana router bit catalog. This is part of their mini router bit series, part no. 47224-s. The benefit of this bit is that it will fit into smaller pin spacing, and will work on thinner material because of the shorter cutting height. Let’s take a look at how all this works.

A very neat little bit, perfect for clearing waste between pins.
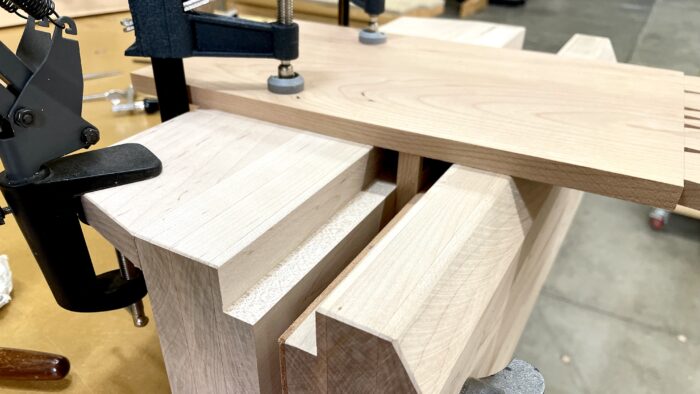
Pin board clamped into vise, I use the tail board clamped to the vise to align the vise jaws and pin board. It’s critical these all be in plane.
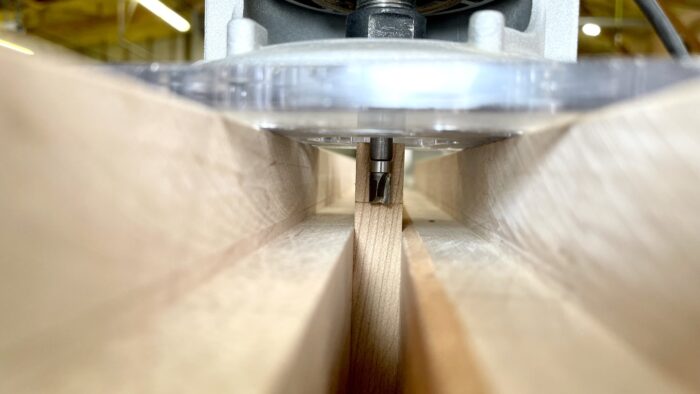
I have set the depth (projection) of the bit right down to the baseline.
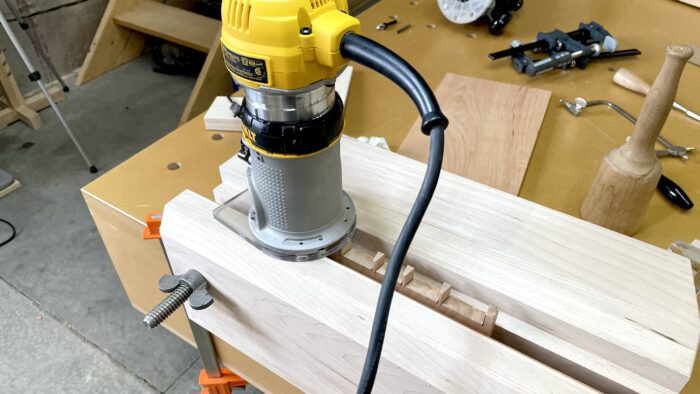
Router in place. It rides nicely on the vise jaws.
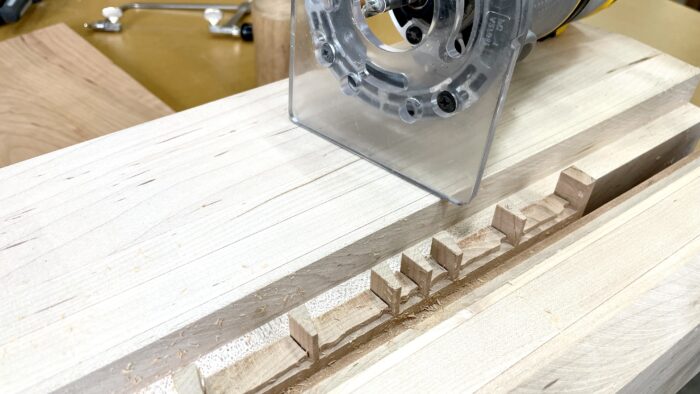
Progress shot. I lightly climb cut to eliminate blowout.
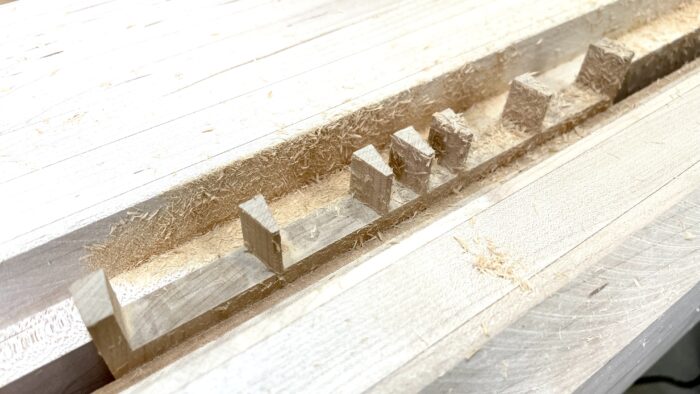
All done.
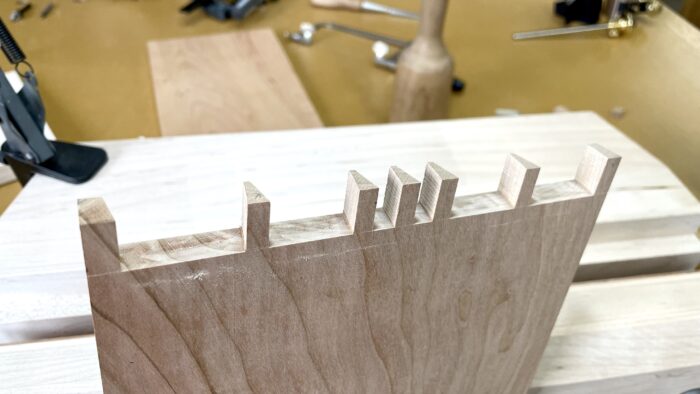
After a little vacuuming.
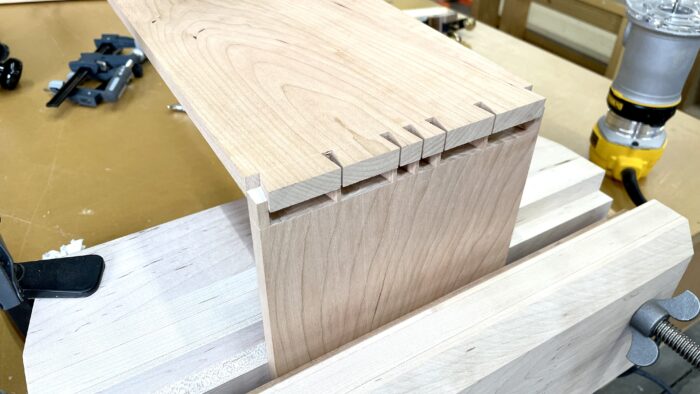
Test fitting.
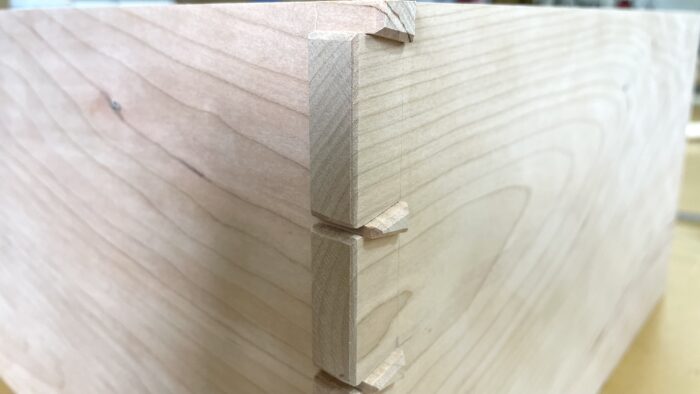
Finished shots. I chamfered the edges because I’m a consummate professional.
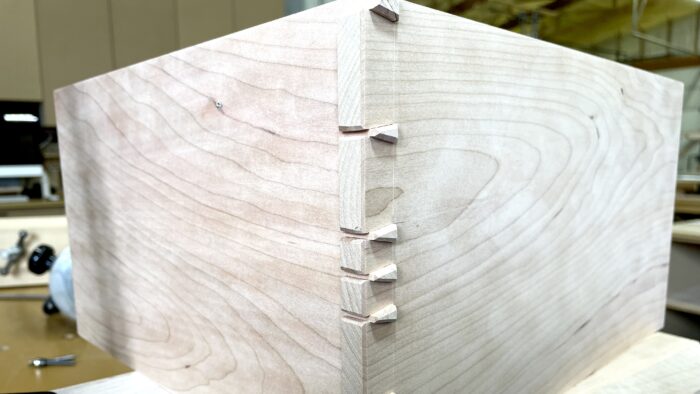
Not too bad.
Adding the rabbet to the vise jaws opens up clearance for the router bit to be used. This is a neat trick that helps cut dovetail joints faster and with higher quality. Consider this feature if you plan to build a Moxon vise. Thank you for reading, hope this helps.
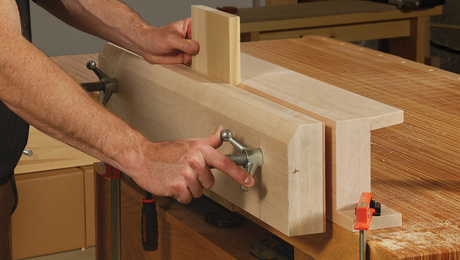 |
How to build a Moxon vise |
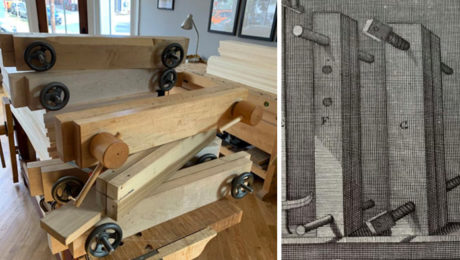 |
Twin screws for everyone! |
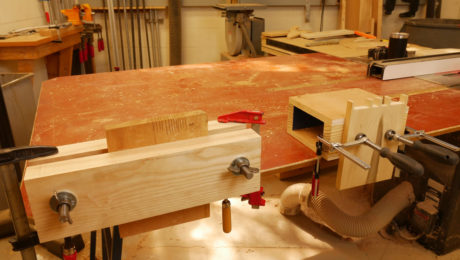 |
Two DIY Woodworking Vises |





Comments
Great modification. Do you think plywood would work for this build (Baltic Birch)?
Yes, glue a few layers of plywood together and you are good to go.
Log in or create an account to post a comment.
Sign up Log in