Making Mitered Boxes
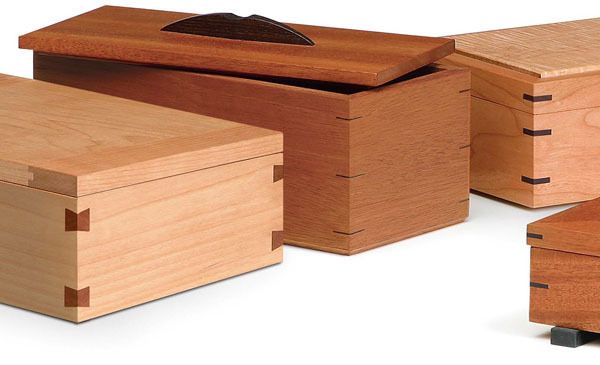
Gary Rogowski explains techniques for grain matching and achieving strong corner joints for elegant but simple mitered boxes.

Synopsis: Dovetails aren’t the only way to show off your box joinery skills. Gary Rogowski explains techniques for making strong corner joints and matching long grain for elegant but simple mitered boxes. Detailed instructions for cutting, gluing, adding biscuits or through-splines, and clamping are given, along with cutting and fitting keyed miters, dovetailed miters, and veneer splines. Also, you’ll read his technique for milling the four sides of the box on the bandsaw to achieve a continuous grain pattern.
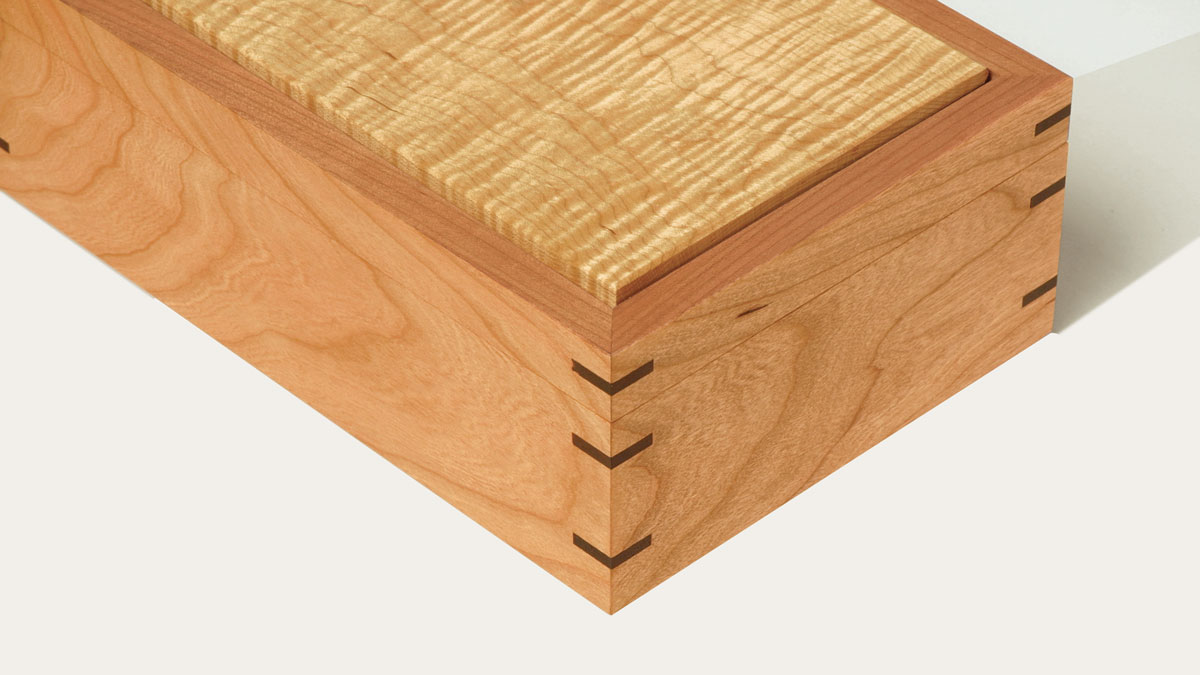
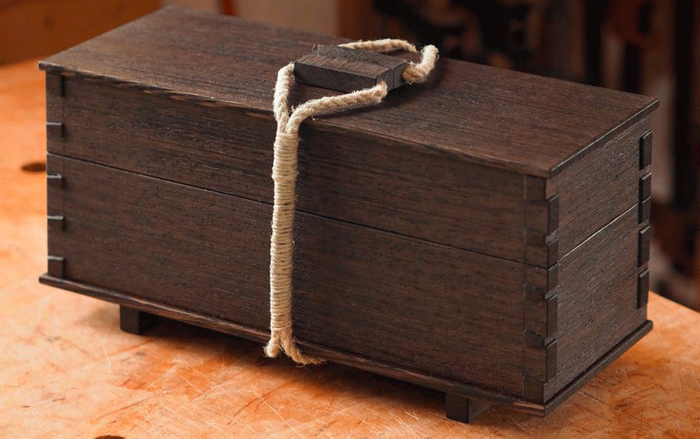
If a dovetailed box speaks volumes about your craftsmanship, what can a simple mitered box say? From a practical view, mitered joints require only a quick setup on the tablesaw, and once set up, the cuts are repeatable; so a mitered box says that you’re frugal with your time. From an artistic view, mitered joints are beautiful, with only long grain showing around the sides of the box. Because mitered joints need strengthening, you have to add splines or keys, but these can impart a distinctive and elegant flavor to your design. So, in the end, a mitered box also can speak well about the level of your craft.
To achieve continuous grain on a box, resaw the parts from thick stock. For a four-sided box, cut carcase miters on the tablesaw with the blade tipped to 45°. Use a miter gauge or a dedicated crosscut jig for these cuts. Don’t use a standard crosscut jig for your angled cuts or you’ll end up with a gaping hole in the middle of the jig. Make a pair of practice cuts on scrapwood, and check the results with a combination square.
When making the cut on the second end of each side, be sure to use a stop on the jig to ensure that your cuts are made exactly to length. If you need to make minor adjustments or clean up a rough sawcut, use a tuned and sharpened handplane. I use a low-angle block plane because it cuts end grain effortlessly.

Assemble and glue up the boxes
All but the smallest of carcase miters need strengthening. The mitered joint is actually a cross between long grain and end grain, so it’s not the most optimal gluing surface. You can strengthen a joint either before or after the box has been assembled. In either case, assembling a box miter requires planning. Lay out and practice your clamping system before applying glue. Some finessing always is required to get the pressure in exactly the right spots.
Band clamps work well if they don’t have to apply excessive pressure. Inaccurately cut joints will not pull together with band clamps, but well-cut joints will snug right up with just one or two band clamps. Masking tape also can provide light clamping pressure suitable for smaller boxes. Wrap a dry-assembled box with masking tape across the width of each of the miter joints. Then slice open one joint, lay out the box flat and apply glue to the joints. Fold the box back together and retape that last joint.
 From Fine Woodworking #162
For the full article, download the PDF below:


Log in or create an account to post a comment.
Sign up Log in