How to Weave a Seat with Danish Cord
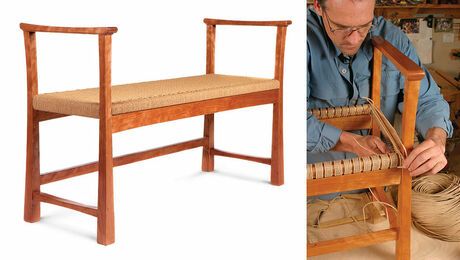
When he makes chairs, David Johnson blends the best techniques learned in a career studying and restoring chairs with woven seats.
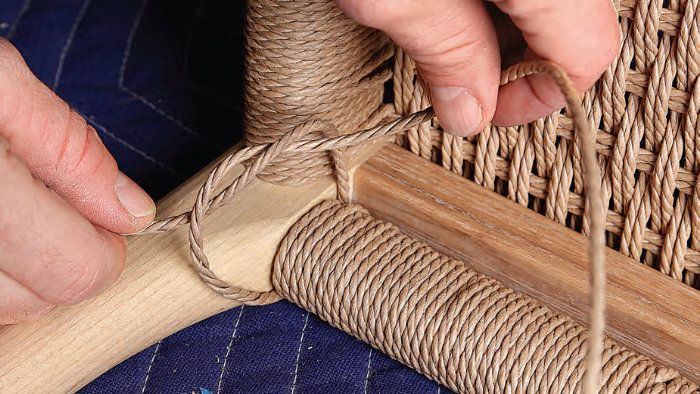
Synopsis: When he makes chairs, David Johnson blends the best techniques learned in a career studying and restoring chairs with woven seats. Instead of using nails to fasten the warp to the rails, he uses a cow-hitch knot. This technique locks down the warp and eliminates lifting and gaps, packing in the weavers for a dense, durable seat.
As someone who specializes in the restoration of chairs with woven seats, I get to experience a wide variety of weaving designs. While I replicate the original seats exactly when doing restoration work, for my own work I cull and combine the best techniques from these chairs.
Most chairs with a Danish cord seat use L-shaped nails to fasten the warp (the front-to-back cords) to the rails. The nails enable the cord to reverse direction easily to return across the seat. This works well, but when you start on the weft, or weavers (the side-to-side cords), the warp can lift, creating gaps. If the rail is concave along the top, the warp will lift even more, creating larger gaps. On a few vintage chairs I discovered a method that eschews the nails and uses a cow-hitch knot to fasten and return the warp. This locks down the warp to the rail and eliminates the lifting and gaps, creating very tidy front and back rails. This method also better captures the weavers and keeps them from sliding sideways, since they butt up against the cow hitches. And because you can pack in more rows of weavers, the seat is more dense and durable.
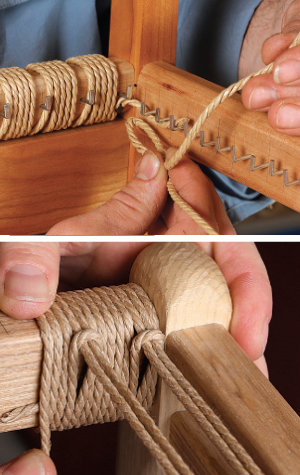
Lay out the pattern
When laying out the weaving pattern for your seat, mark the front and back rails with centerlines for each pair of warp cords. You want an odd number of warp centerlines; this ensures that when the weavers are threaded across the warp, they have the same pattern on both side rails. Start by marking the center. Then, at the ends of the front and back rails, mark 1⁄4 in. from each leg for the first and last warp pairs. Have them as close to the ends as possible so the cords are held in by the side rails. The 1⁄4-in. space will leave room for one wrap of the rail and the first cow hitch. In between these end marks, fill in with marks 7⁄8 in. to 1 in. apart. If you are using 1⁄8-in. cord, you need 1 in. of space for five wraps and 7⁄8 in. for four wraps. Experiment until you have spacing that works and don’t worry if it isn’t exact. Unlike the stool shown here, most dining chairs have shorter rear rails, so the spacing at the back will be narrower than at the front. When doing a set of chairs, I make a template of the centerline layout marks.
Danish cord is made from three paper plies that are twisted separately, then together to form the cord. In the laced type of cord, which I prefer, each individual ply is tightly twisted, making the cord look more like a piece of rope. With unlaced cord, the individual ply is more loosely twisted, giving the finished cord a smoother appearance. It’s said that laced cord makes a tighter seat. I haven’t noticed that; I just like the way it looks. The cord comes in either 10-lb. or 2-lb. rolls. I get mine from caneandbasket.com. A dining chair seat uses about 2 lb., this stool a little less.
Watch David build this stool from beginning to end in our five-part video series
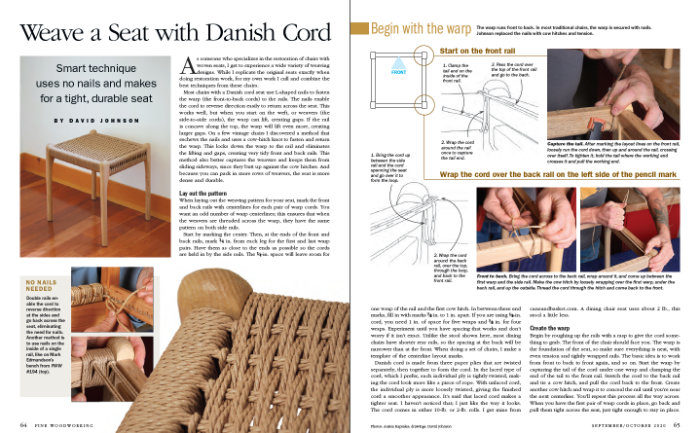 From Fine Woodworking #284
To view the entire article, please click the View PDF button below.
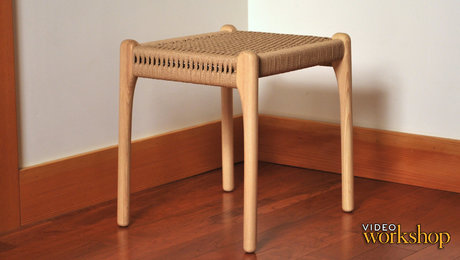 |
Contemporary stool with a woven Danish cord seatJULY 14, 2020 |
 |
A Modern BenchStraightforward joints, graceful curves, and a woven cord seat |
 |
Chair repair: How to fix a broken tenonMAY 8, 2020 |


Log in or create an account to post a comment.
Sign up Log in