How to Make a Wooden Pendant Pull
Philip Morley tackles the challenge of working with small parts by starting with long blanks that will each produce two pulls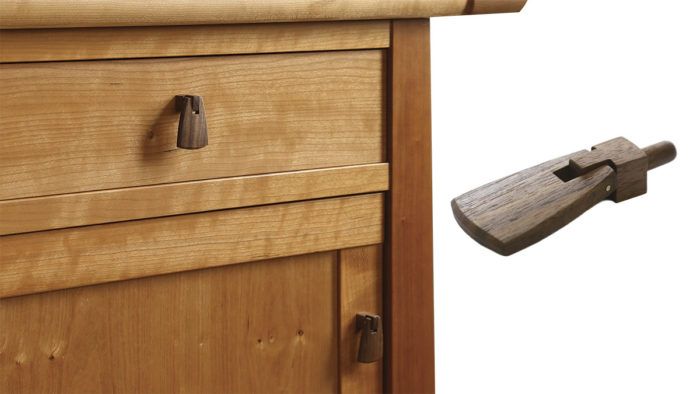
Synopsis: This elegant wooden pull is made from two parts, a post and a pendant. The post is glued into the door or drawer front, and the pendant, with its convex front and concave back, hangs down from it. The two parts are connected with a finger joint that has a brass pin running through it for strength. The pendant is easy to grasp between thumb and forefinger. Philip Morley tackles the challenge of working with small parts by starting with long blanks that will each produce two pulls.
I designed this pull for a cherry credenza I made for some special clients, my in-laws. It’s based on a cast brass pull I designed for another piece. My plan was to make these pulls from brass as well, but the artist who cast the first ones for me had moved away so I decided to make them from wood. The challenge was to make them both delicate-looking and strong enough to withstand years of use. As it turns out, I’m very pleased that I was forced to make them from wood. I like the way they look and feel, and I think they complement the credenza much better than brass pulls would have.
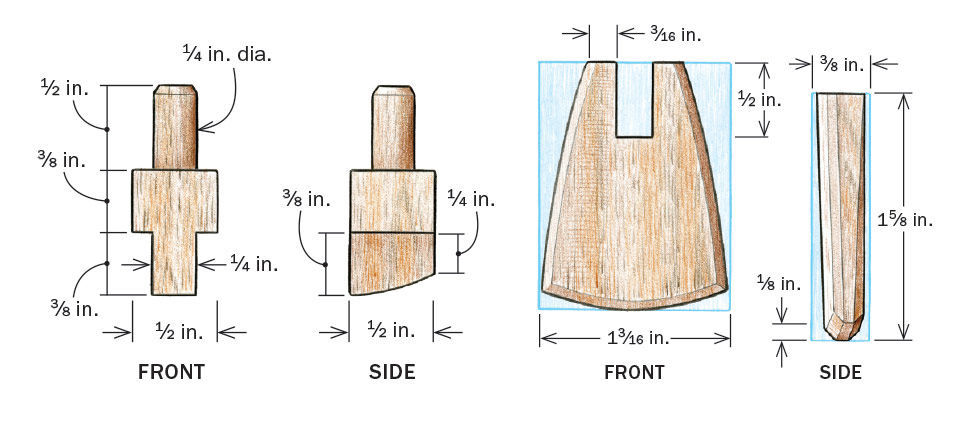
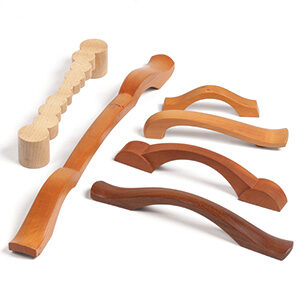
The pull is made from two parts: a post that is glued into the drawer front (or door stile) and a pendant that hangs from the post. The pendant is concave on the back side and convex on the front. The shape fits nicely between your thumb and finger.
Although the pull isn’t tiny, the parts are still too small to make one at a time. For safety, and to speed things up when I need multiple pulls for a piece of furniture, I make blanks for the pendant and post that give me two pulls from each set.
Hinge the parts first
The post and pendant are held together with a finger joint that has a thin brass pin running through it as a hinge so the pendant can swing up and down. Start with the pendant blank, cutting a notch into each end with a dado set. Switch out the dado set for a blade that cuts a flat-bottomed kerf and cut a shoulder around the post blank for the round tenon. Put the dado set back in, and cut the finger that fits into the pendant’s notch. Aim for a snug fit.
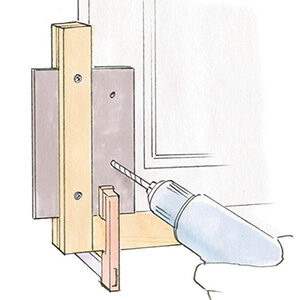
Next, cut the post blank into two separate posts. At the drill press, use a plug-cutter to form a round tenon. To steady the post and keep it plumb during the cut, I put the finger into a groove cut into a piece of plywood, with a stop pressed against the post.
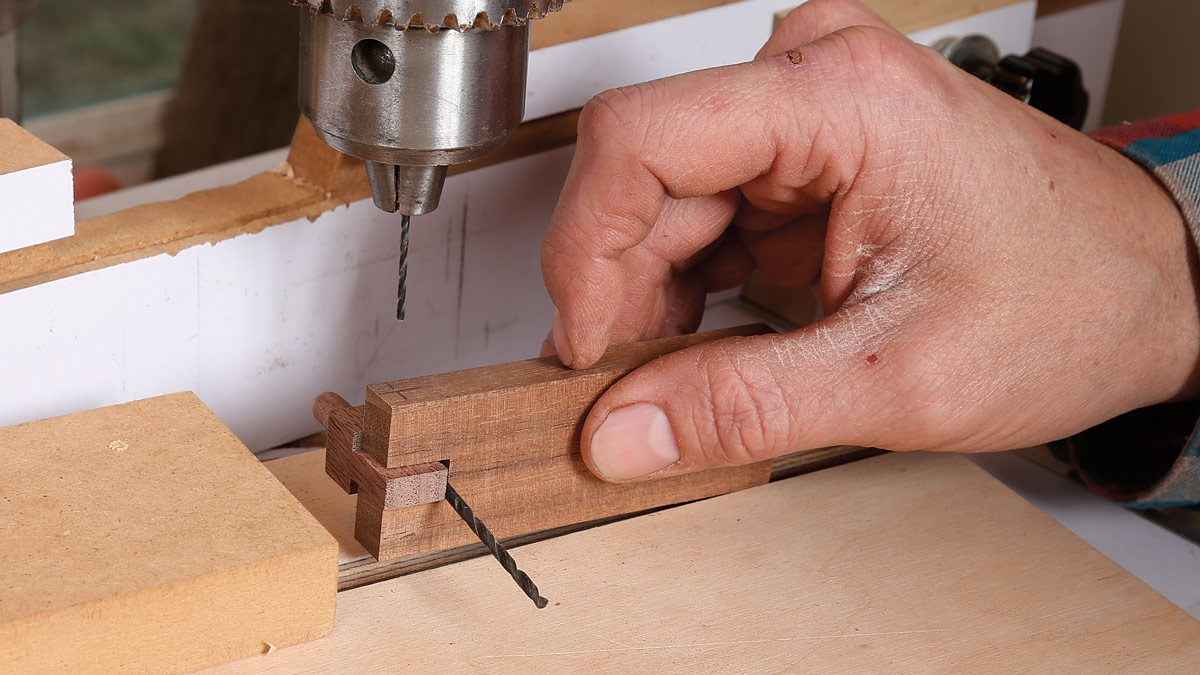
To drill for the pin, put the post into the notch in the pendant blank, using a 1⁄16-in. drill bit as a spacer between the post and pendant blank. This space is necessary for the pendant to swing on the post. Place the pendant blank into the groove in the plywood, and drill a hole through the joint. Repeat the process at the other end of the pendant blank. After both ends are drilled, cut the pendant blank in two. Set the posts aside, and get to work shaping the pendant.
Function makes for a beautiful form
A pull is easier to grasp and use if it fits the curves of your fingers. The gently concave back and convex front face of this pull fit your fingers nicely, and the shape is graceful. It’s a great example of allowing a part’s function to dictate its form.
I start by shaping the back of the pendant, using a benchtop belt sander to sand a curve into the surface. Because the pendant by itself would be difficult to hold, I attach a small handle to its front face with hot-melt glue. The bond is more than strong enough for the job, and the handle pops off without trouble after I’m done at the sander.
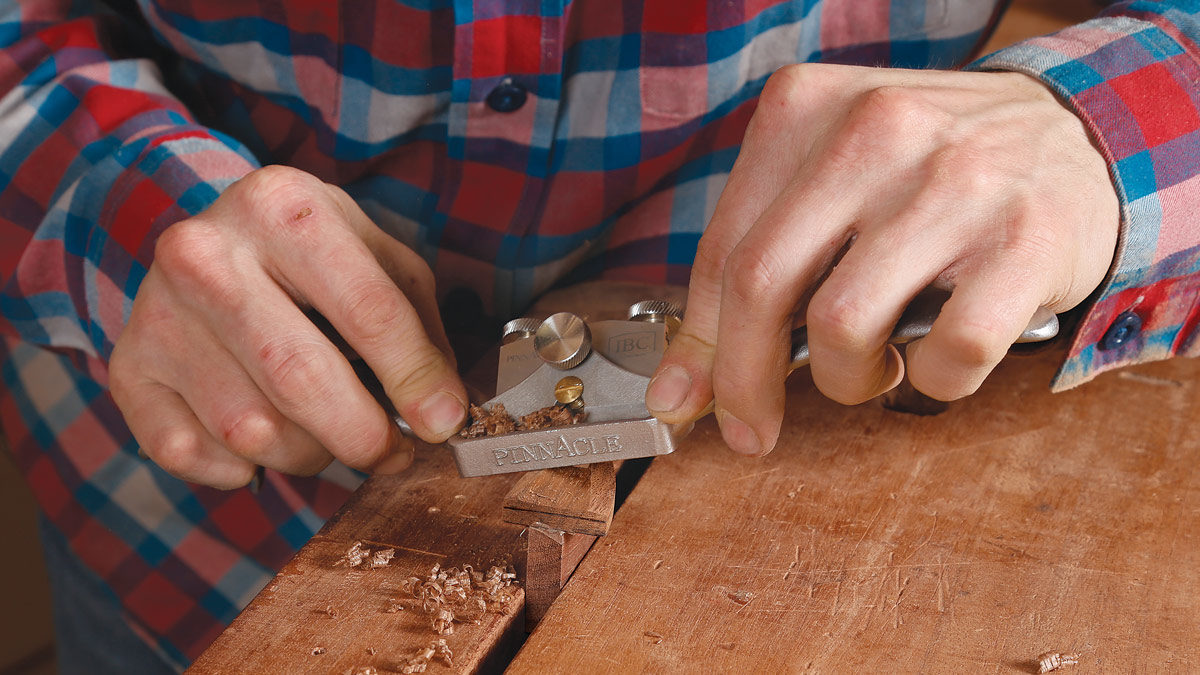
To shape the convex front face, I use a spokeshave. I glue a handle to the back face this time, clamp it in my vise, and set to work with the spokeshave. I first shave the curved face, and then add a small chamfer around the edges.
Next I finish both parts of the pull with a few coats of shellac. When it’s dry, I assemble the complete pull, driving a brass pin through the holes. To ensure that the pin doesn’t eventually work itself out, I squeeze a few drops of glue into the pin hole on the side of the pendant that the pin will exit when I tap it in. If you used glue on the entry side, it could get pushed through the entire hole. The pin would get glued in place, and the pendant wouldn’t swing. Tap the pin into place, and then file both of its ends flush to the pendant. All that’s left now is to glue the pull into the drawer front or door stile.
For the full article, download the PDF below.
More on FineWoodworking.com:
- Wood Pulls Tailored to Fit Shop-built knobs and pulls can dress up your cabinets better than most store-bought versions by Peter Tischler #150–July/Aug 2001 Issue
- Video: Christian Becksvoort: How to Turn Pulls Without a Lathe – Create custom door and drawer knobs using your drill press
- Get a Handle on Your Pulls – Drawer pulls make a strong statement, so be careful where you put them by Matt Kenney #215–Nov/Dec 2010 Issue







Log in or create an account to post a comment.
Sign up Log in