Hinge mortise jig for boxes
Fitting hinges is one of the greatest challenges for new boxmakers, but this jig helps get perfectly matching hinge mortises on both the box and its lid.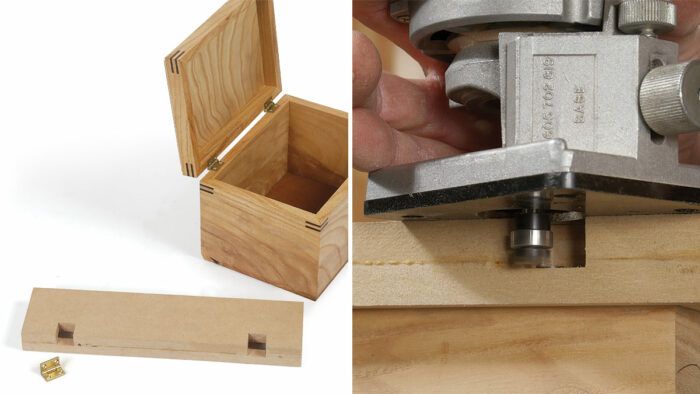
Synopsis: Fitting hinges is one of the greatest challenges for new boxmakers. This jig helps Doug Stowe’s students get perfectly matching hinge mortises on both the box and its lid. This jig simply clamps to the box body and the bench, and slides to the other end for the second mortise. Tips on using the jig and adapting it to different projects are included.
I’ve made a lot of boxes and taught a lot of folks how to make them. One of the areas that students find most challenging is fitting hinges to a nearly finished box. To help my students across all classes and boxes, I devised a quick-and-easy jig with notches for the router to follow and a fence to position it against the workpiece. The jig all but guarantees perfectly matching mortises in the box and its lid. Luckily, it works just as well for me in my own shop.
Symmetrical jig with stops
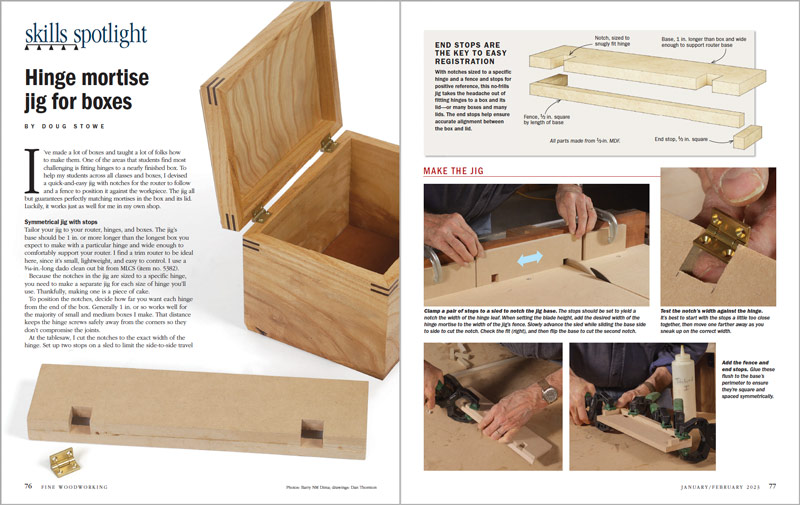
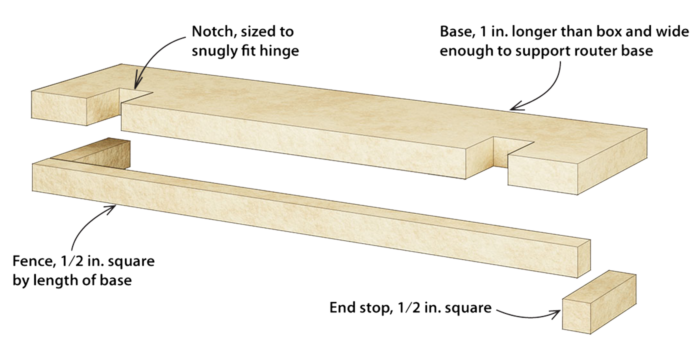
Tailor your jig to your router, hinges, and boxes. The jig’s base should be 1 in. or more longer than the longest box you expect to make with a particular hinge and wide enough to comfortably support your router. I find a trim router to be ideal here, since it’s small, lightweight, and easy to control. I use a 3 ⁄ 16-in.-long dado clean out bit from MLCS (item no. 5382).
Because the notches in the jig are sized to a specific hinge, you need to make a separate jig for each size of hinge you’ll use. Thankfully, making one is a piece of cake.
To position the notches, decide how far you want each hinge from the end of the box. Generally 1 in. or so works well for the majority of small and medium boxes I make. That distance keeps the hinge screws safely away from the corners so they don’t compromise the joints.
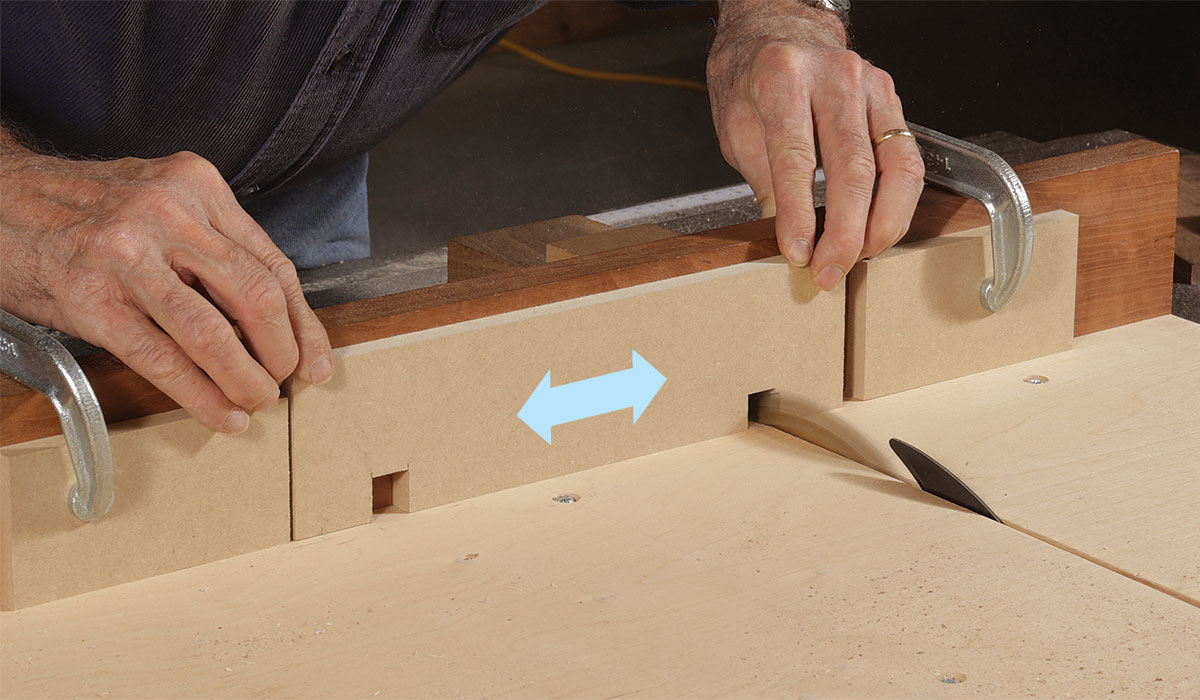
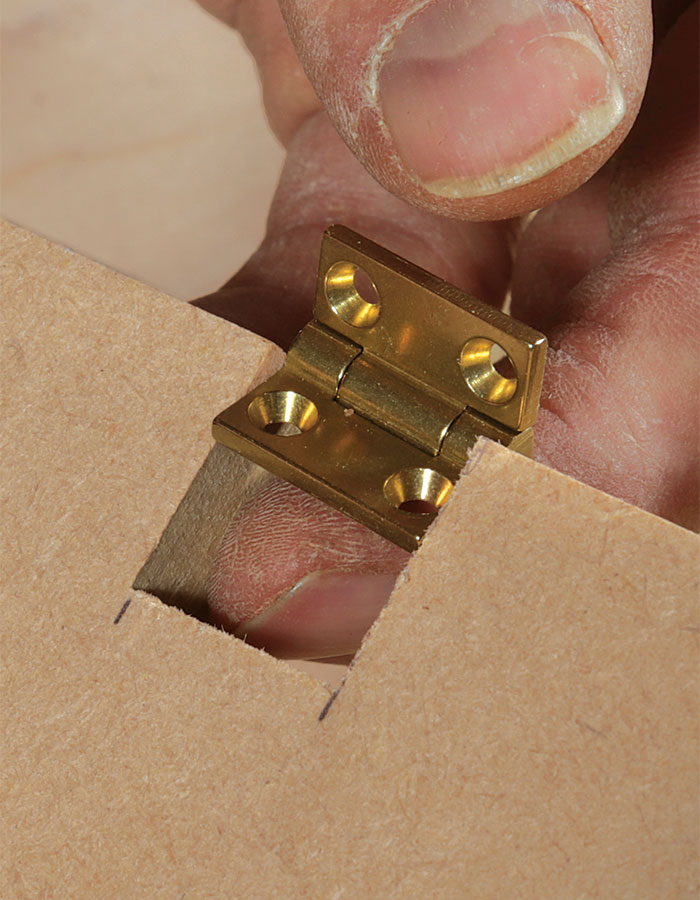
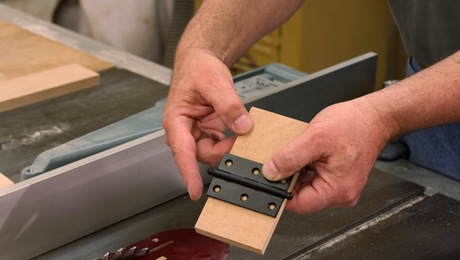
At the table saw, I cut the notches to the exact width of the hinge. Set up two stops on a sled to limit the side-to-side travel of the jig base. After each cut, try to fit the hinge in the notch. Ideally, the first cut will be too tight, letting you tap a stop away as you creep up on a snug fit.
Setting the blade height requires some math, not test fitting. It needs to be raised enough to account for the hinge mortise plus the width of the fence. I prefer about half of the hinge barrel to stick out at the back of the box, providing a full range of motion. So to determine the depth of the sawcut, measure from the edge of the hinge leaf to the barrel and add 1⁄2 in. for the width of the fence.
After homing in on the notch at one end, flip the base end for end and cut the second one. Because I flip the base to cut the second notch, both notches will be equally spaced from the end of the jig, simplifying the jig’s use.
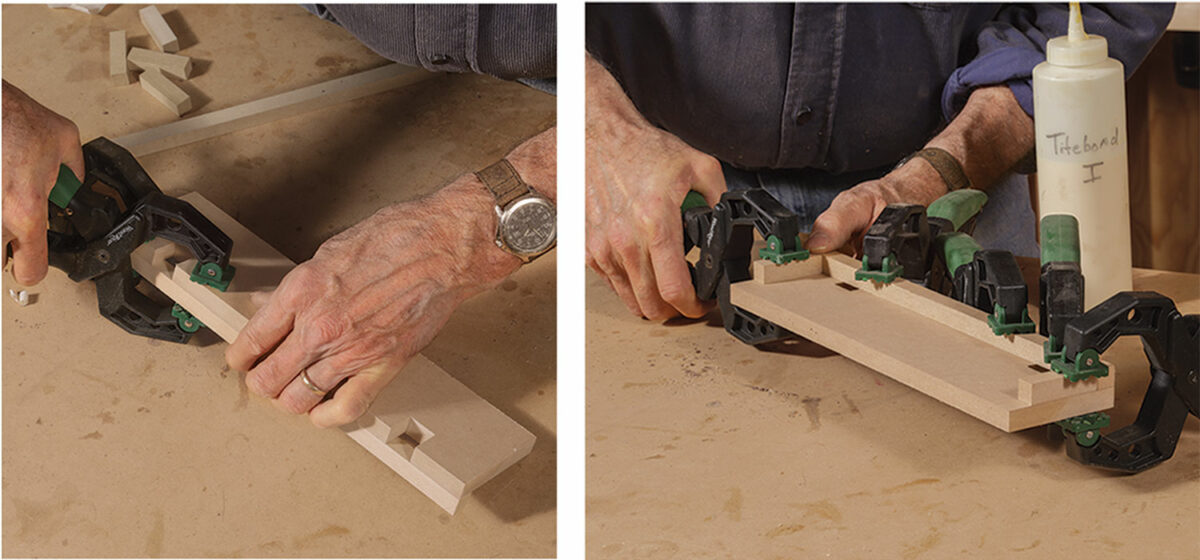
To finish the jig, glue on the fence and end stops, being careful that the strips are flush with the perimeter of the base.
Make the jig
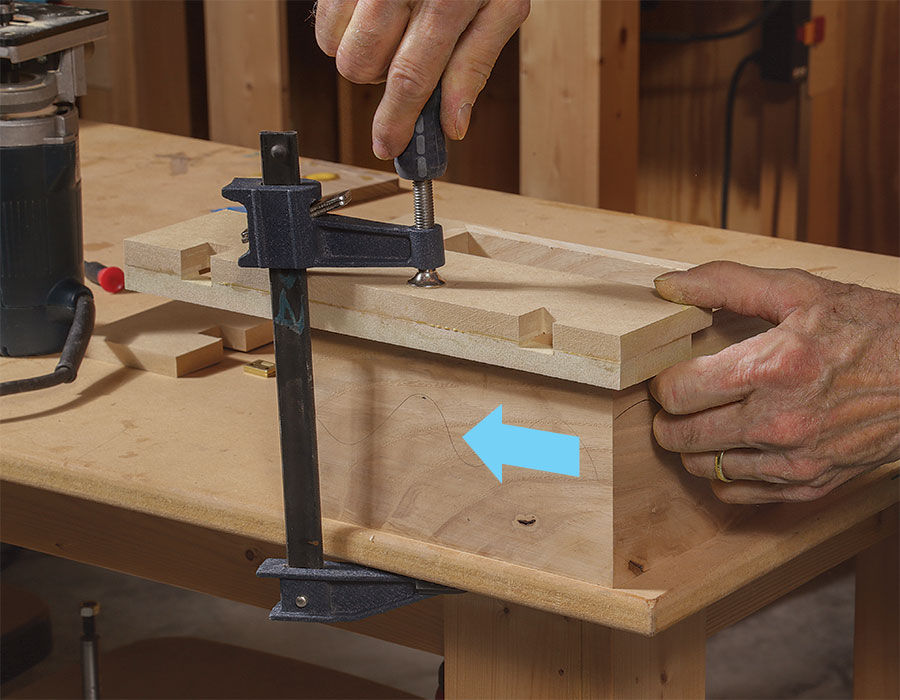
Jig’s a template that slides and flips
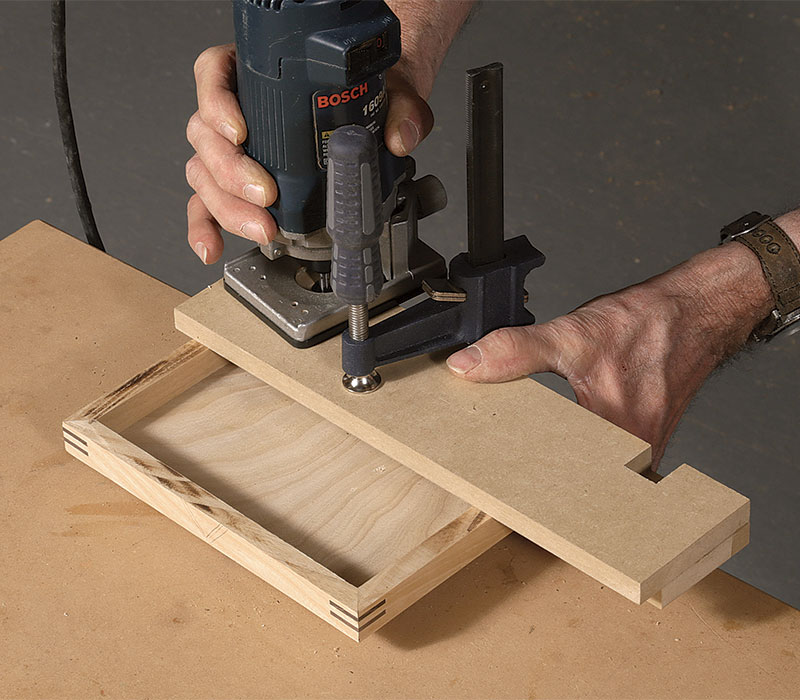
To rout the mortises, I use the dado clean out pattern bit mentioned earlier. Its short cutting length means there’s plenty of room left for the bearing to register on the jig’s notches.
To use the jig, clamp it and the box body to the bench, making certain the box is tight to the jig’s end stop and fence, and rout. If you need to square the corners of the mortise, leave the jig clamped in place, since it will help guide your chisel work. To rout the other mortise, simply slide the jig to the other end of the box and go through the same process of routing and chopping.
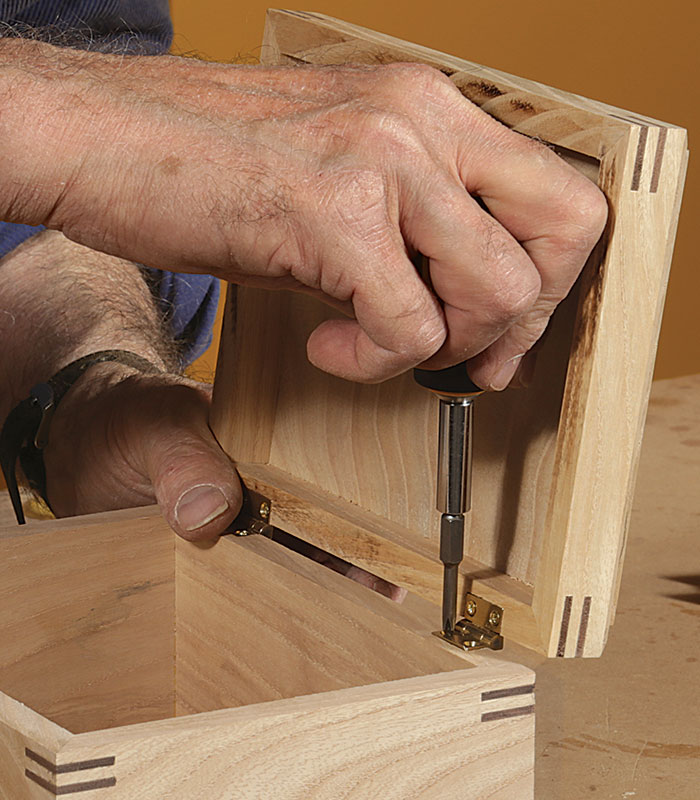
For the lid, flip the jig and repeat. You’ll end up with matching mortises with little layout or fuss.
Mortise the box
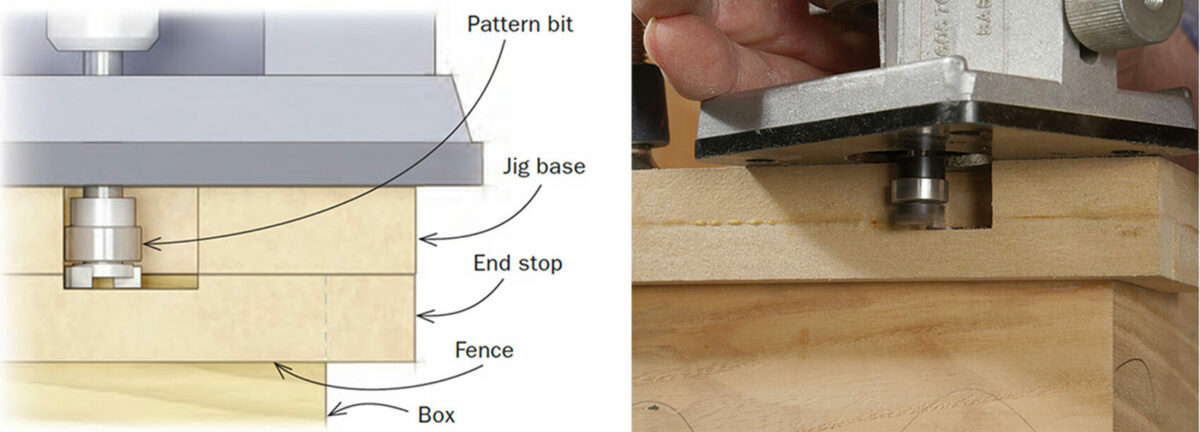
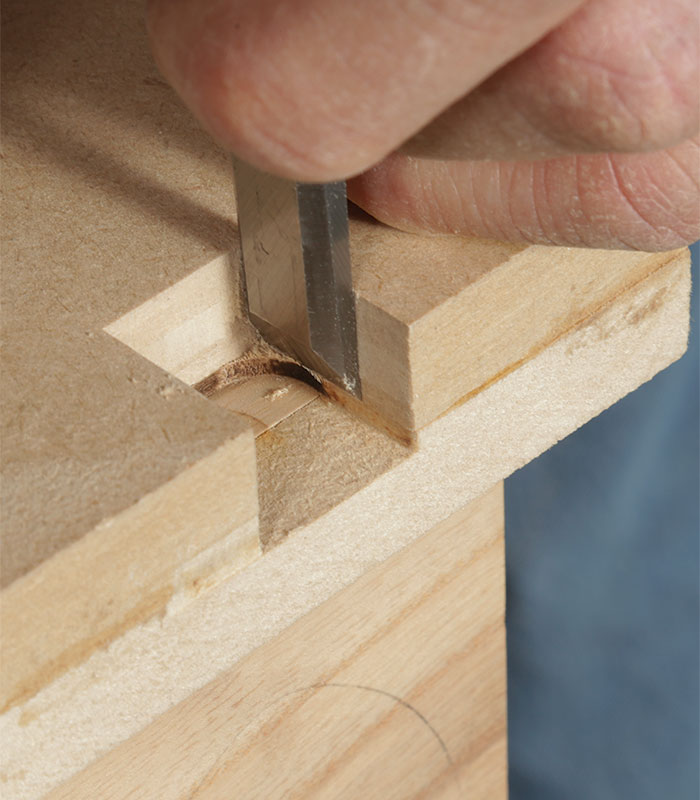
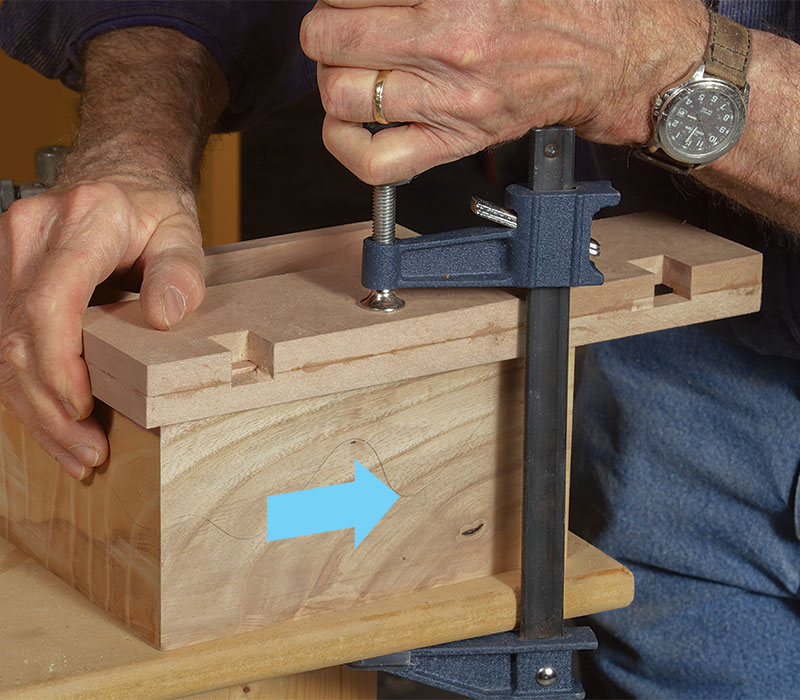
A tip for setting the bit depth
Setting the bit’s depth can be a challenge, so I recommend a test run.
I lower the bit so that it extends 1 ⁄ 2 in. (the base’s thickness) plus half the thickness of the hinge barrel. I then lower it another hair to keep the hinges from binding.
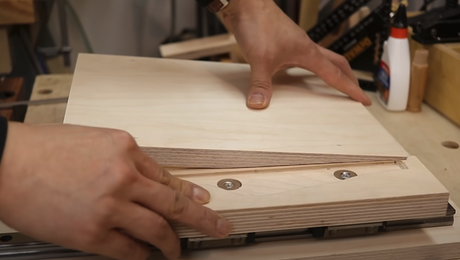
Grab a piece of scrap and rout two test mortises. By then crosscutting the scrap in two, you can put the mortises together to simulate the routed box and lid.
Put the hinge barrel in this space. If the hinge falls out, the cut is too deep. Instead, you want the test blocks to pinch the barrel in place with a gap of about 1 ⁄ 64 in. between the blocks. Then your hinges will operate smoothly and the connection between the box and lid will look clean.
Mortise the lid
—Doug Stowe is an author and boxmaker in Eureka Springs, Ark.
Photos: Barry NM Dima.
Drawings: Dan Thornton.
To view the entire article, please click the View PDF button below.
 |
How to cut fast, accurate hinge mortises |
 |
Hinge mortises on the table saw |
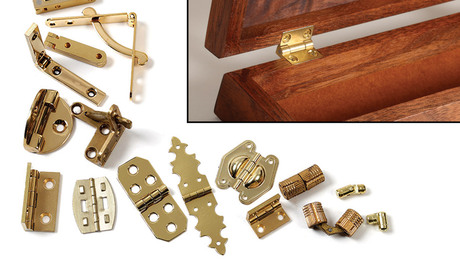 |
Pick the perfect hinges for your boxes |







Log in or create an account to post a comment.
Sign up Log in