Half-Blind Dovetails in Half the Time
Get the hand-cut look of half-blind dovetails with the speed and consistency of machines.

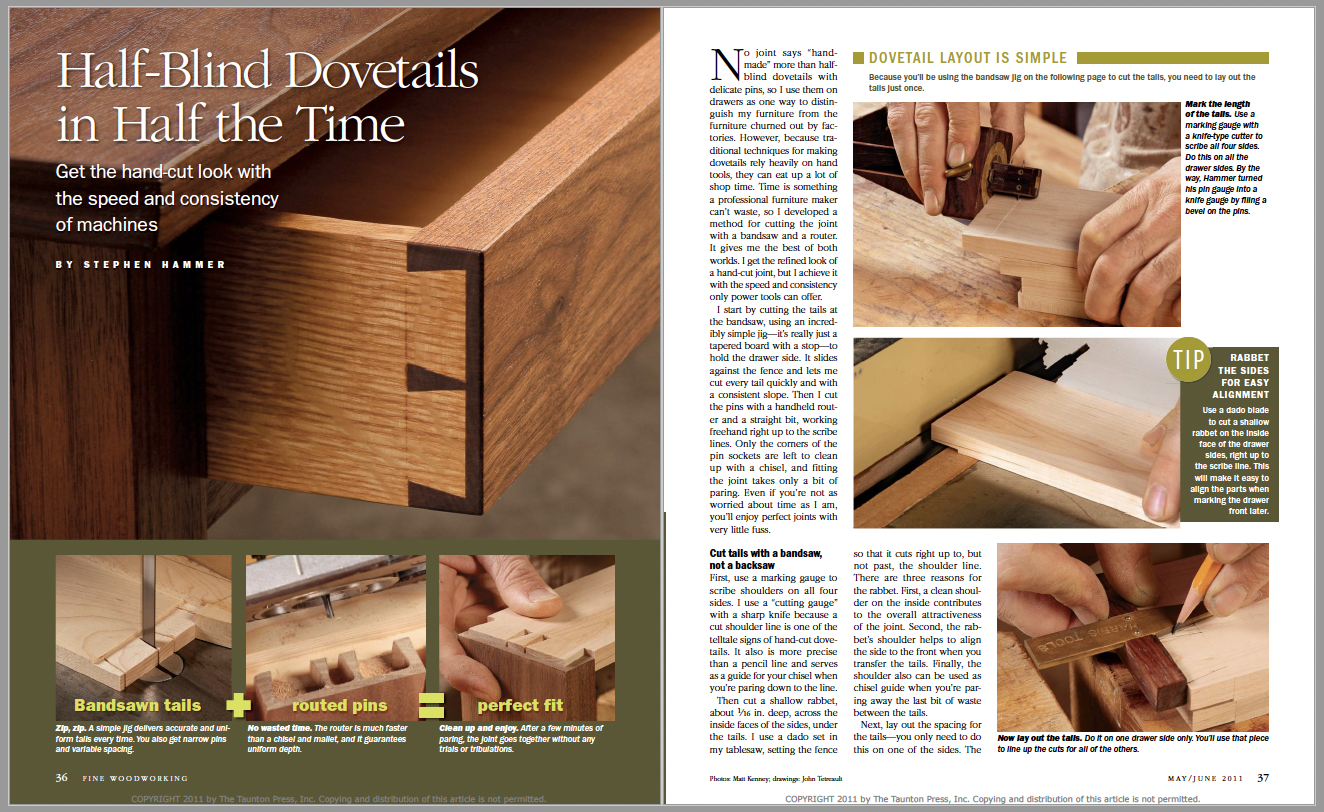
Synopsis: Learn Stephen Hammer’s technique for cutting dovetail joints with a bandsaw and a router. It’s the best of both worlds, yielding the refined look of a hand-cut joint, but with the speed and consistency only power tools can offer. He starts by cutting the tails at the bandsaw, using a simple jig that ensures a consistent angle throughout all the tails. Then he cuts the pins with a handheld router and a straight bit, working freehand right up to the scribe lines. Only the corners of the pin sockets are left to clean up with a chisel, and fitting the joint takes just a bit of paring.
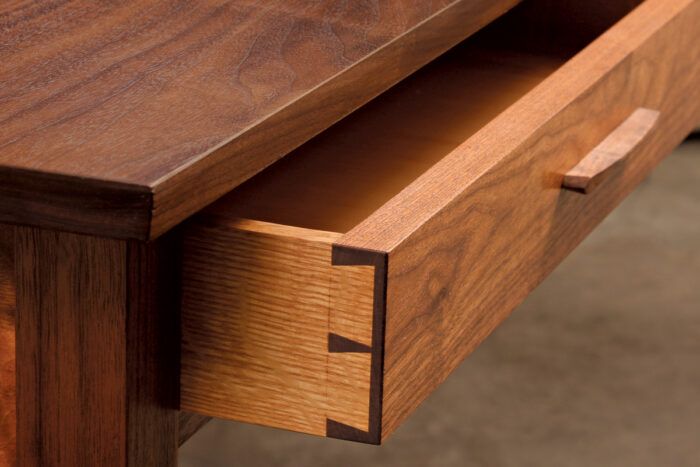
No joint says “handmade” more than halfblind dovetails with delicate pins, so I use them on drawers as one way to distinguish my furniture from the furniture churned out by factories. However, because traditional techniques for making dovetails rely heavily on hand tools, they can eat up a lot of shop time. Time is something a professional furniture maker can’t waste, so I developed a method for cutting the joint with a bandsaw and a router. It gives me the best of both worlds. I get the refined look of a hand-cut joint, but I achieve it with the speed and consistency only power tools can offer.
I start by cutting the tails at the bandsaw, using an incredibly simple jig—it’s really just a tapered board with a stop—to hold the drawer side. It slides against the fence and lets me cut every tail quickly and with a consistent slope. Then I cut the pins with a handheld router and a straight bit, working freehand right up to the scribe lines. Only the corners of the pin sockets are left to clean up with a chisel, and fitting the joint takes only a bit of paring. Even if you’re not as worried about time as I am, you’ll enjoy perfect joints with very little fuss.
Dovetail layout is simpleBecause you’ll be using the bandsaw jig on the following page to cut the tails, you need to lay out the tails just once. 
|
Cut tails with a bandsaw, not a backsaw
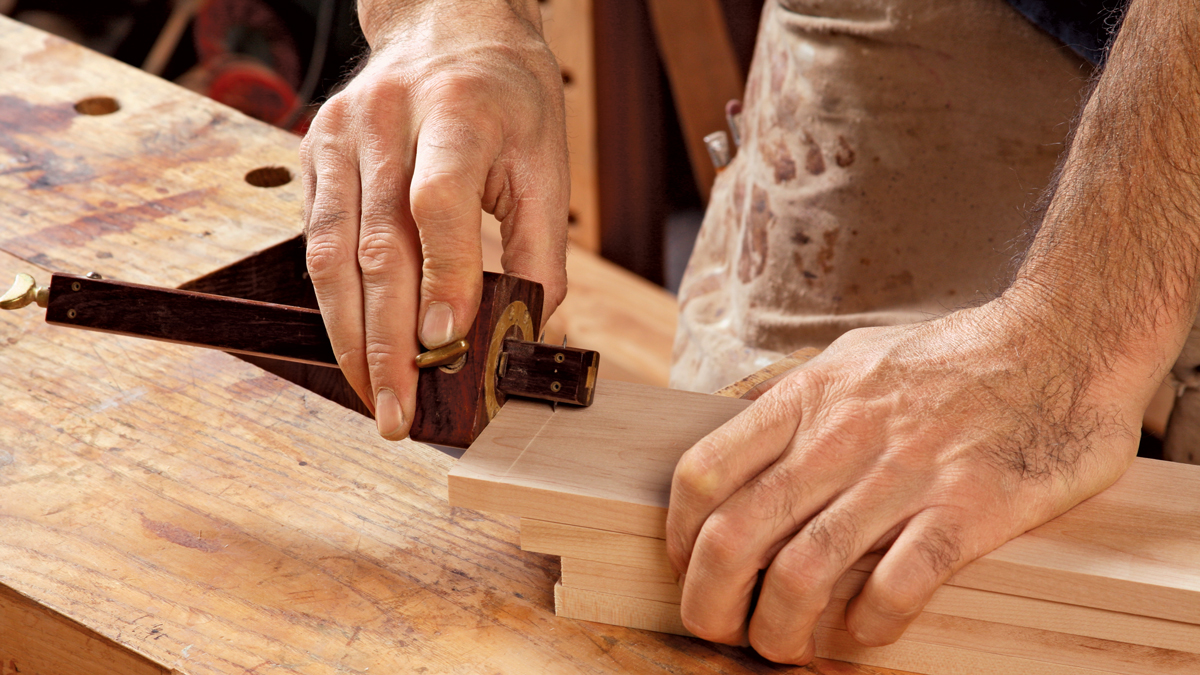
First, use a marking gauge to scribe shoulders on all four sides. I use a “cutting gauge” with a sharp knife because a cut shoulder line is one of the telltale signs of hand-cut dovetails. It also is more precise than a pencil line and serves as a guide for your chisel when you’re paring down to the line.
Then cut a shallow rabbet, about 1⁄16 in. deep, across the inside faces of the sides, under the tails. I use a dado set in my tablesaw, setting the fence so that it cuts right up to, but not past, the shoulder line. There are three reasons for the rabbet. First, a clean shoulder on the inside contributes to the overall attractiveness of the joint. Second, the rabbet’s shoulder helps to align the side to the front when you transfer the tails. Finally, the shoulder also can be used as chisel guide when you’re paring away the last bit of waste between the tails.
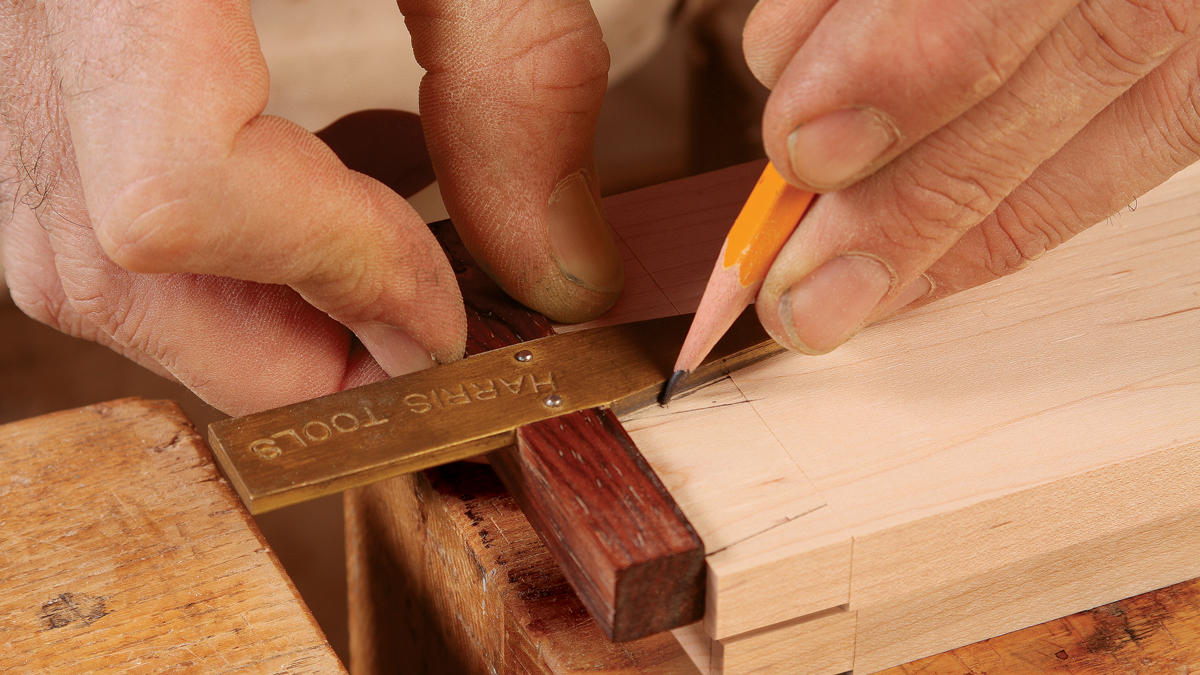
Next, lay out the spacing for the tails—you only need to do this on one of the sides. The tail cuts are made using a jig that’s guided by a fence. Use the marked board to set the fence, and all the other unmarked boards can be cut using the same settings.
The jig that holds and guides the drawer sides is nothing more than a piece of wood that is straight on one side and tapered on the other side to match the slope of the tails. Make sure it is sturdy enough to be used over and over again. I use a 1:6 slope for my tails, which gives them a traditional look. Lay out the taper on a board at least 2 in. or 3 in. longer than the drawer sides and then cut it at the bandsaw. Clean it up on the jointer or with a handplane, then glue on a stop at the narrow end of the board.
 From Fine Woodworking #219
For the full article, download the PDF below:


Log in or create an account to post a comment.
Sign up Log in