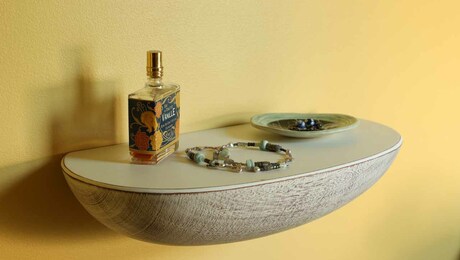
Floating display shelf
Split turning techniques make a fun and functional shelf.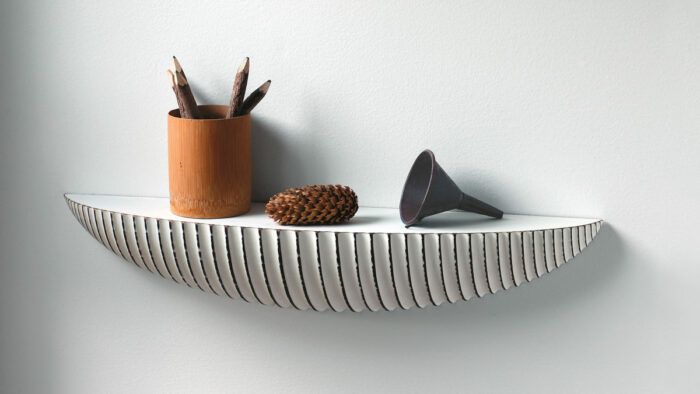
Synopsis: These display shelves are made four at a time, glued up from a blank of four square pieces. Mark Gardner turns the glued-up blank into a pod shape, decorates it with beads or coves, splits it into four pieces, and ends up with four wall shelves. He adds a French cleat and a finish, and his floating shelves are good to go.
Bandsaw the blank, then turn it
When you get to the lathe, you’ll start by turning the blank to a cylinder. To speed that process, first cut the corners off the blank at the bandsaw with its table tilted 45°. Use a compass to lay out the largest circle you can on each end of the blank. Then use a combination square to lay out an octagon around the circle. Connect the points of the two octagons with lines along the length of the blank; they’ll guide the bandsawing.
After bandsawing the blank, mount it on the lathe and use a spindle-roughing gouge to work it down from octagonal to cylindrical. Once the blank is round, mark a centerline and both end lines with a pencil. I use a 1⁄2-in. bowl gouge to turn the waste at either end down to roughly 1-1⁄2 in. dia.
In this bite-sized video series, you’ll see how Mark creates
these stylish shelves that look harder to build than they are.
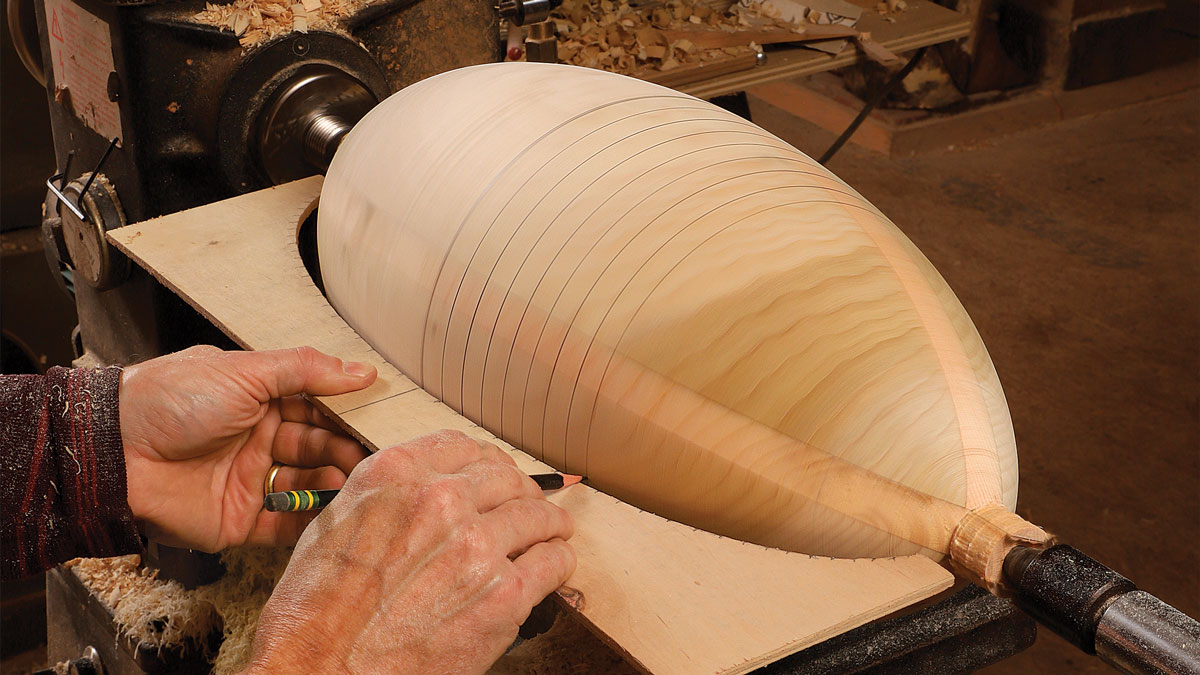
To create the overall football or pod shape, start with a roughing gouge and finish with a 1⁄2-in. spindle gouge. As you approach the final shape, pencil lines on either side of the centerline every 3 in. Using calipers, check the diameter at corresponding pairs of reference lines to determine that the form is symmetrical. Now reduce the 1-1⁄2-in.-dia. waste ends to about 3⁄4 in. dia., so they are just the pine filler.
I fine-tune the pod shape with a shear scraper. Then I lay out lines to turn either beads or coves. Here I’ve chosen beads, and I used 3⁄8-in. and 1⁄4-in. spindle gouges to turn them. I graduate the size of the beads or coves: They’re larger at the center of the form and get smaller toward the ends. When the beads are finished, I sand out any tool marks.
Splitting up
To split the blank, remove it from the lathe and rest it on a couple of sandbags on the workbench (I made some from the legs of old blue jeans, an idea I got from a mentor of mine, Stoney Lamar). After cutting off the waste bits at either end of the blank with a handsaw, split the blank with a wide, heavy paint scraper (not a putty knife). It is thin enough to enter the joint easily but stiff enough to pry the pieces apart. I’ve found that using a chisel for this task can damage the pieces, especially if a filler piece isn’t used. Place the beveled side of the scraper toward the pine filler. Give the handle several good knocks with a mallet and the piece should split on the paper in the joint. I usually have a wooden wedge or two on hand in case the joint needs extra persuasion.
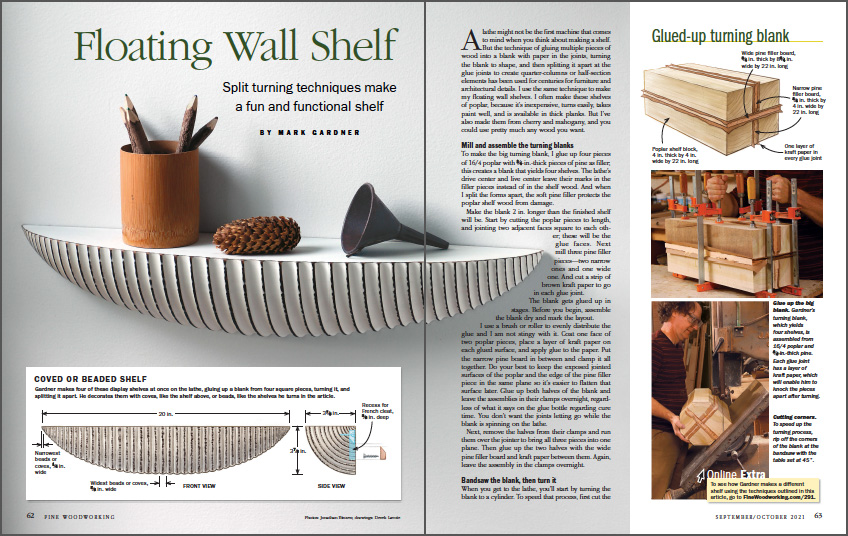 From Fine Woodworking #291
To view the entire article, please click the View PDF button below.
 |
Video: Turned wall shelf |
 |
Make a shelf on the lathe |







Comments
Slightly unrelated-why is there a funnel on that shelf?
Very attractive shelves though. They're one of the more unique builds in recent issues, too. Thanks for this article.
Log in or create an account to post a comment.
Sign up Log in