Flattening by Hand
Hand-sanding, planing, and scraping can be better than power sanding for certain applications.
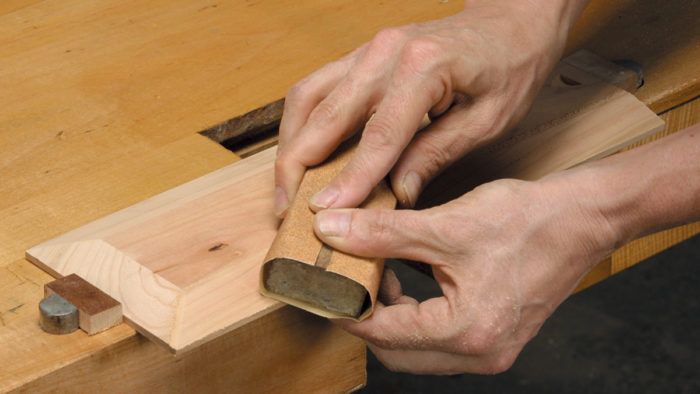
Hand-Sanding
With so many power sanders available these days, hand-sanding may seem anachronistic. But sanding by hand affords great control and allows you to smooth away the swirly scratches left by random orbit and vibrator sanders.
When sanding flat surfaces by hand with sheet sandpaper, use a suitable backer block. Many commercial sanding blocks are made from rubber, which is flat and rigid but which flexes enough to prevent the abrasive particles from breaking off prematurely. If you use wood sanding blocks, it’s wise to glue a layer of cork to one face for the same reason.
I often like to use garnet paper for hand-sanding because it has a unique “bite” that leaves a great finished surface. Hand-sanding is usually done with the grain, in which case it’s okay to skip intermediate grits. You can safely jump from 100-grit paper to 150-grit to 220-grit.
Planing a Panel
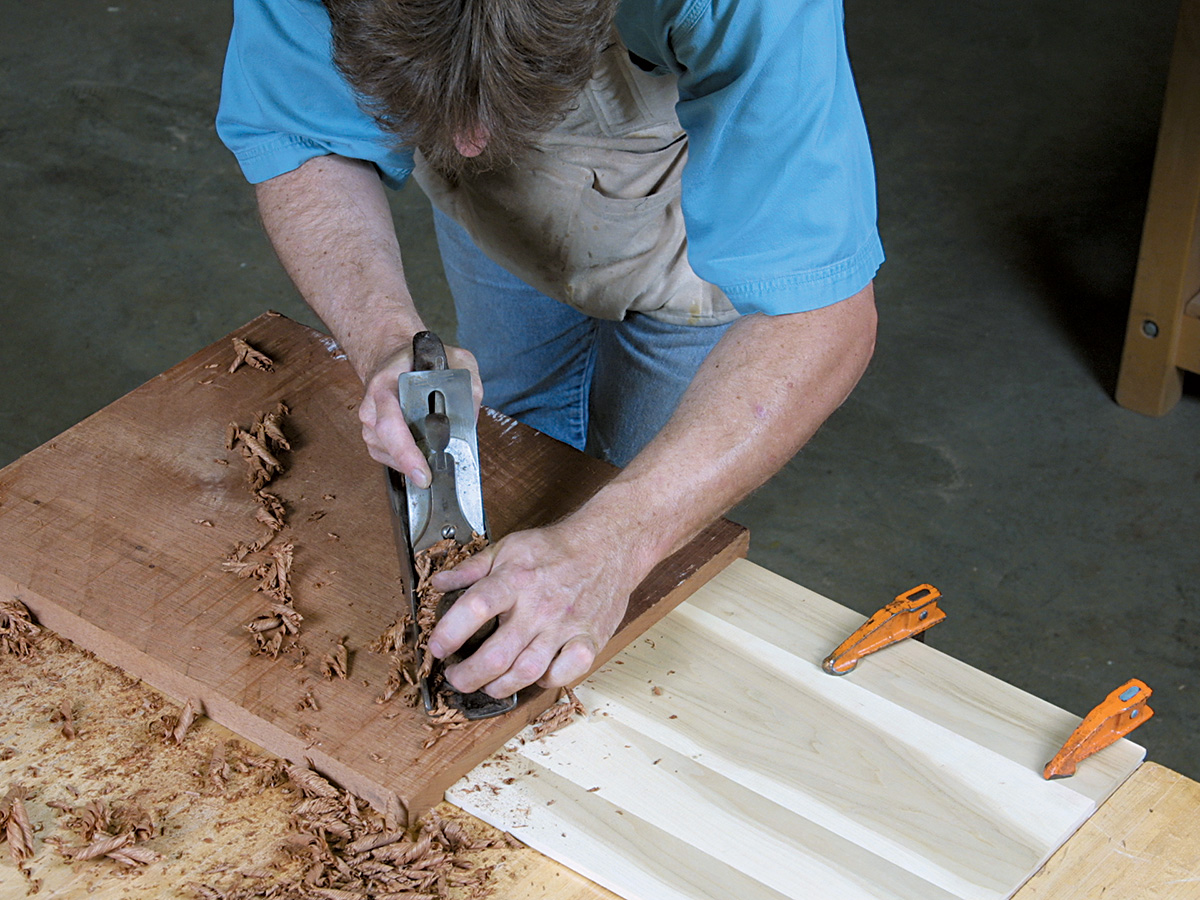
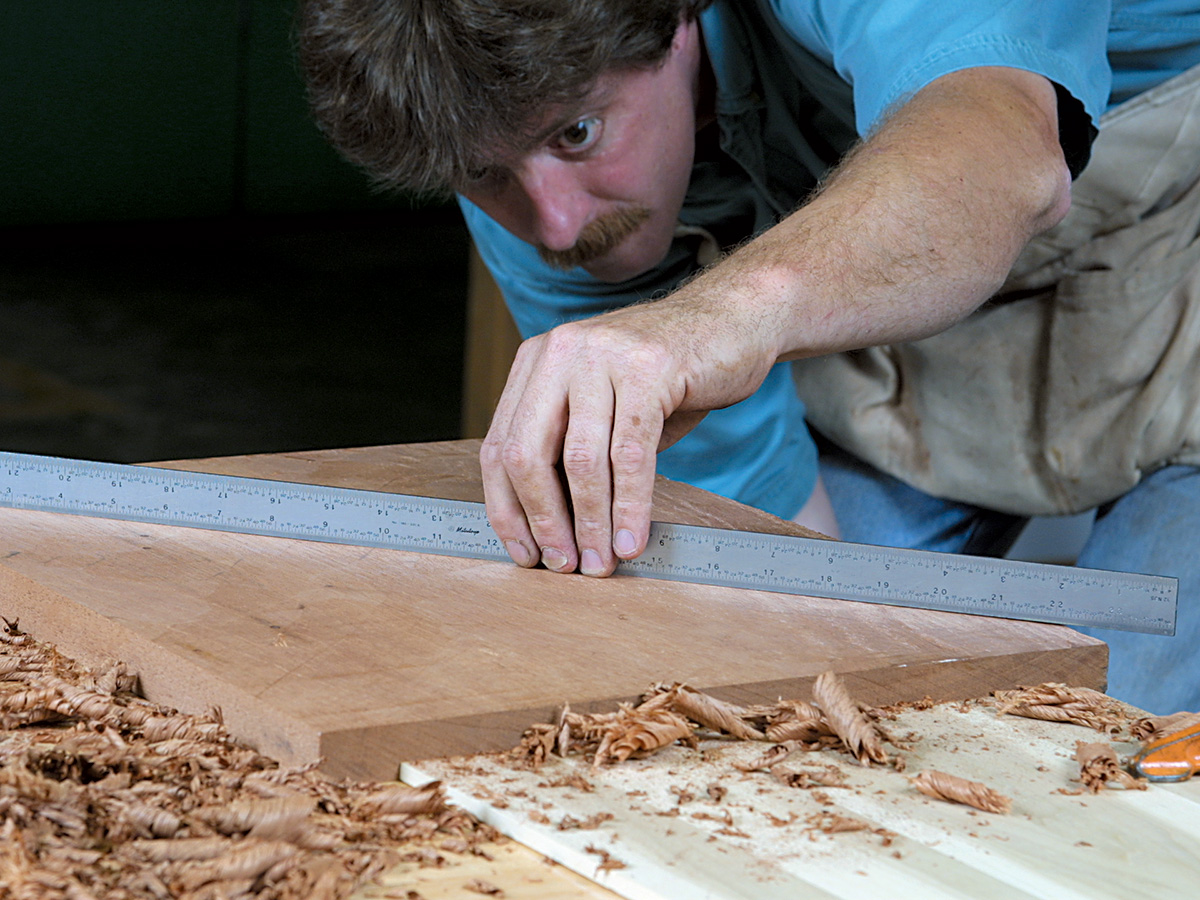
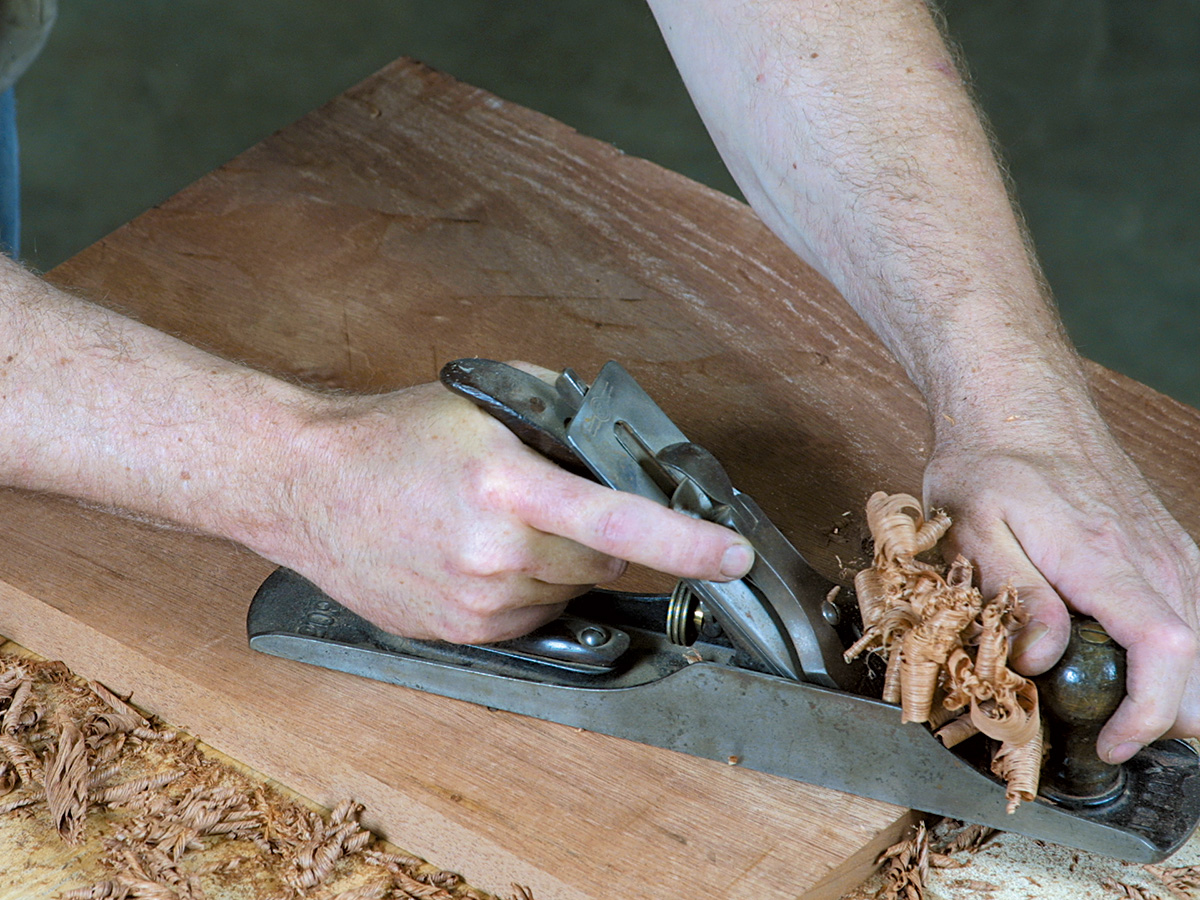
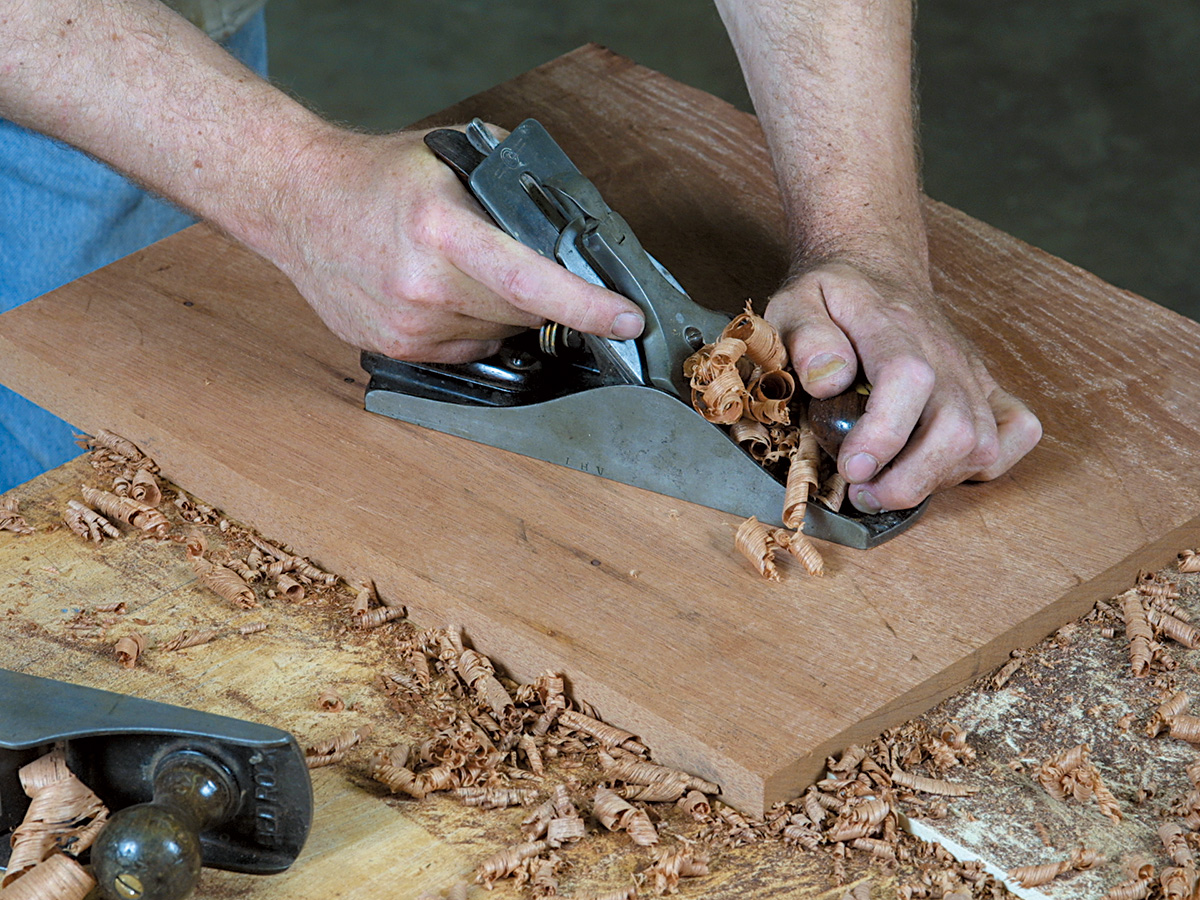
Planes are great for flattening straight-grained, single-board workpieces. Secure the piece to the workbench between bench dogs or place it against a stop. If the panel is cupped, place it concave side down and shim any high corners so the panel doesn’t rock. Starting with a sharp jack plane set for a fairly aggressive cut, plane diagonally to the grain (A). After a few passes, plane diagonally in the opposite direction, occasionally checking your progress with a straightedge (B). When the panel is flat, plane parallel to the grain to smooth out the diagonal cuts (C). Then switch to a smoothing plane set for a finer cut (D). If you like the resulting surface quality, you can stop at this point. Alternatively, you can smooth remaining irregularities with a card scraper (E) followed up with 240-grit sandpaper.
Tip: Lubricating the bottom of a hand plane with a swipe of beeswax will greatly reduce planing friction.
Sanding by Hand
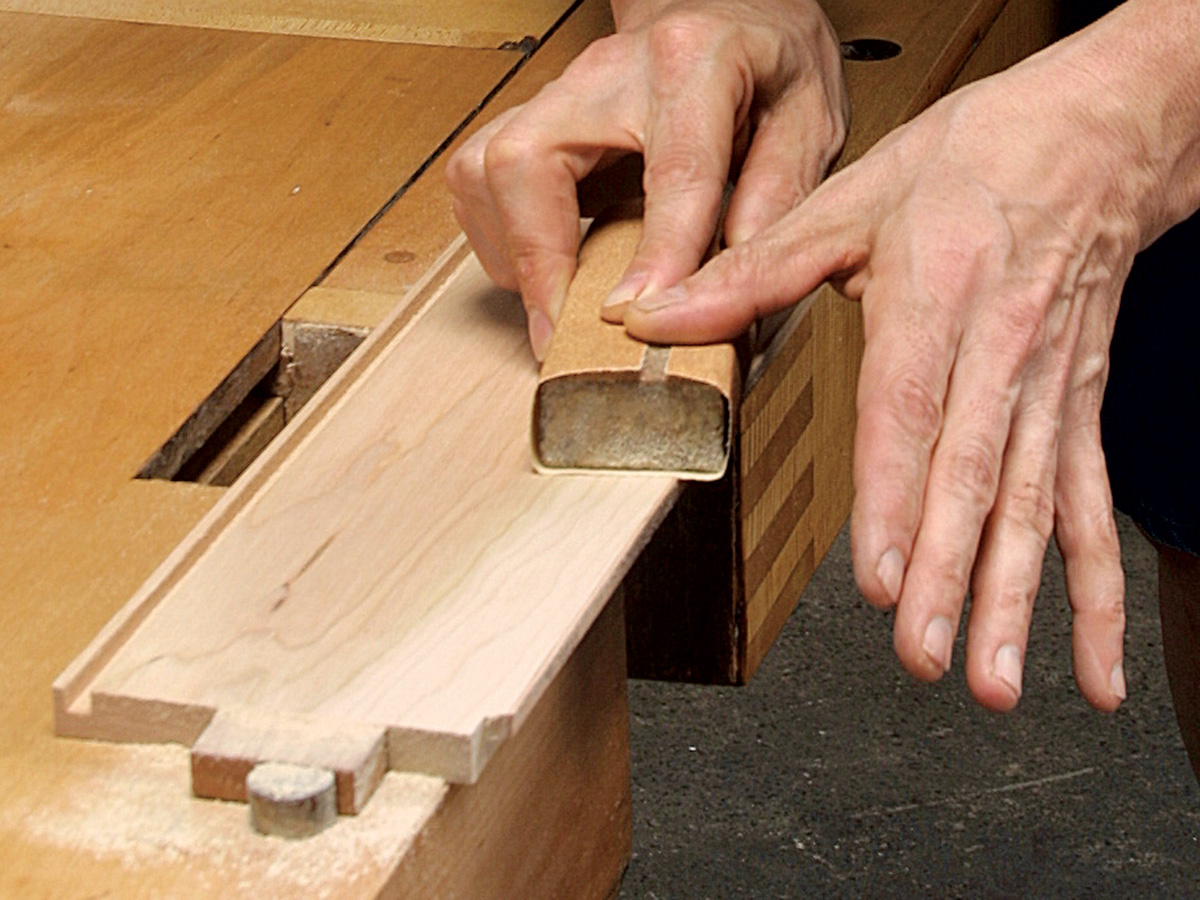
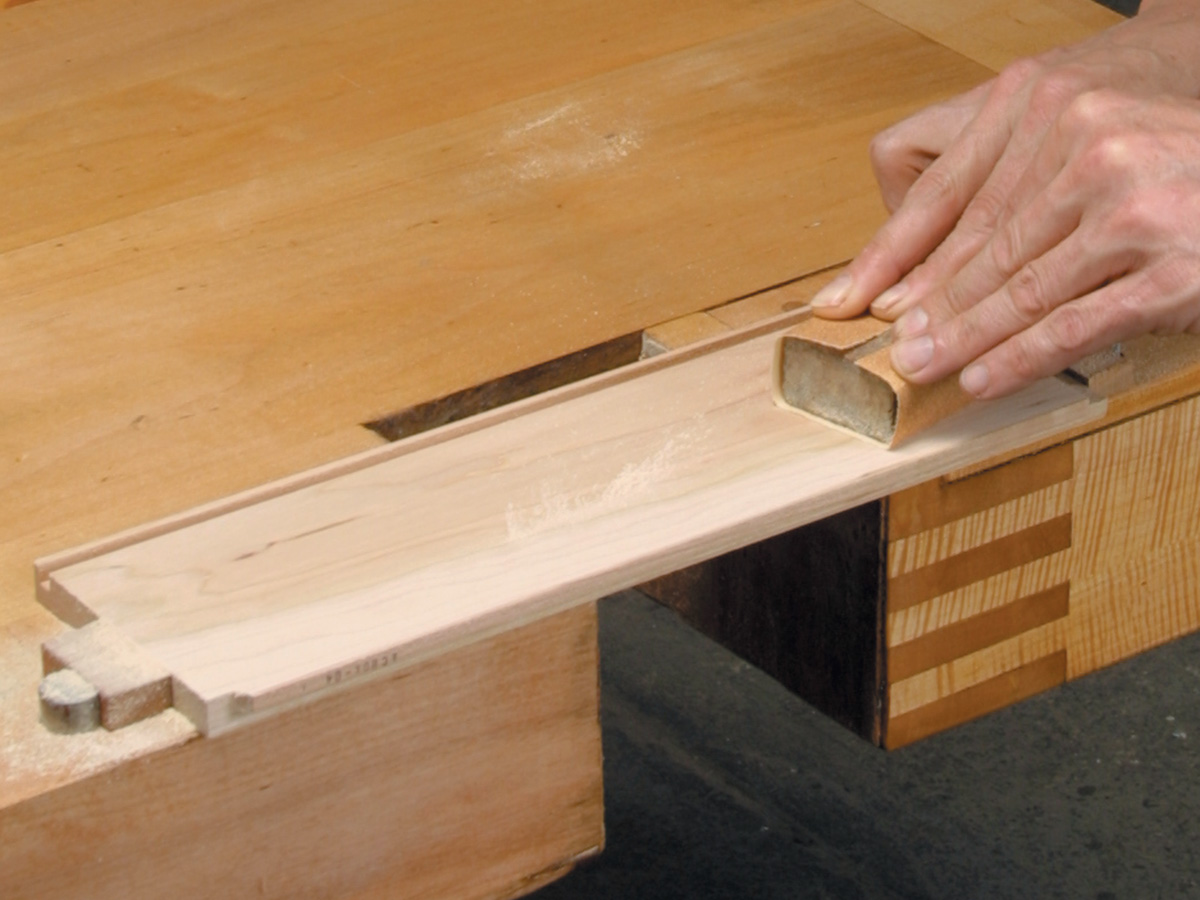
Tear a sheet of 9-by-11 sandpaper into quarters, and wrap it around a rubber or cork-faced sanding block. Moving back and forth along the grain using moderate pressure, sand from one end of the workpiece to the other (A). To maximize your effort, sand at a slight bias of about 7 to10 degrees to the grain, which cuts the wood fibers more effectively than sanding directly parallel to the grain. With each stroke, overlap the previous one by about half (B). Periodically remove the sawdust from your paper by swiping it across a gray synthetic abrasive pad or a piece of stiff-fiber carpet. Pay attention to the “bite” of the sandpaper as you work. Don’t try to overuse the paper; when it starts slipping, toss it out.
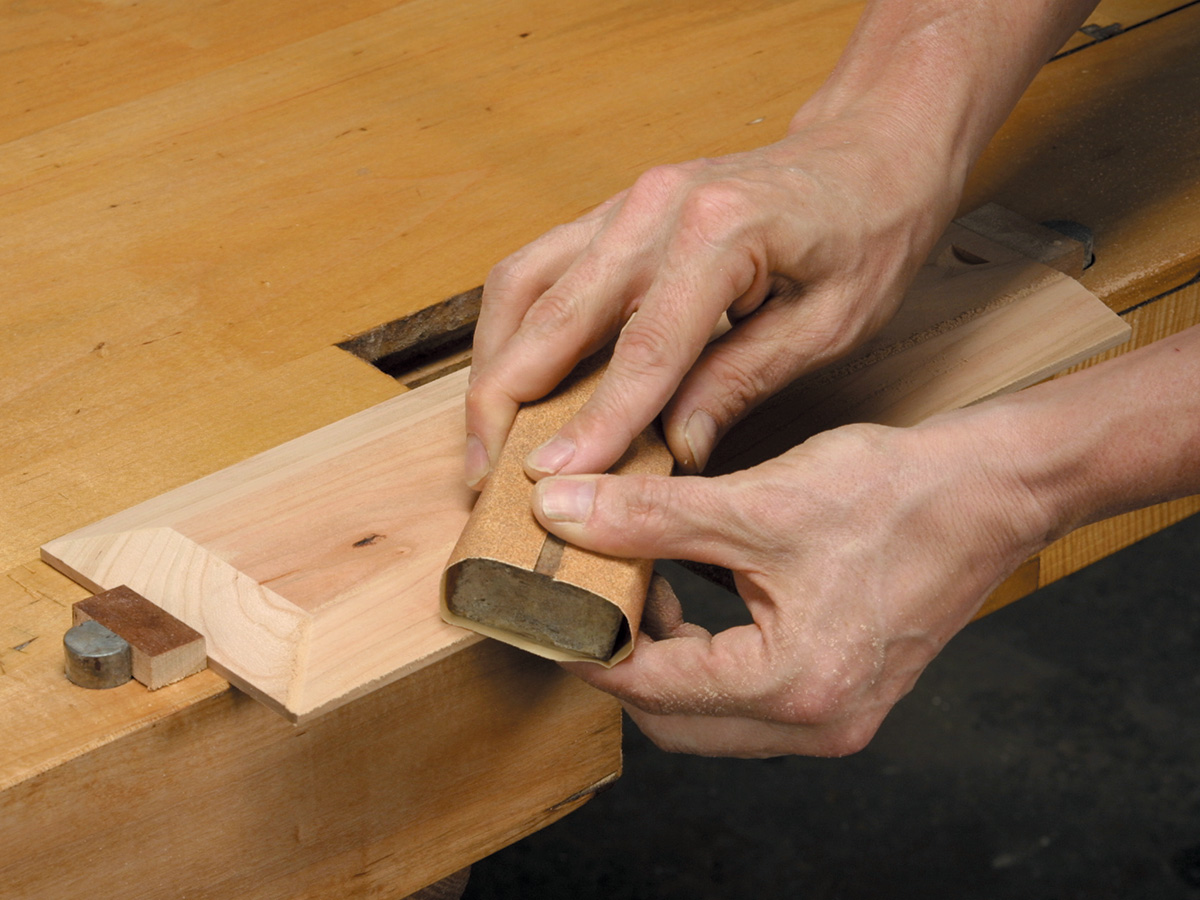
When sanding chamfers, use your left thumb and right forefinger to register the sanding block flat on the face of the chamfer (C). Position your left-hand forefinger under the bottom edge to steady the block. Afterward, ease the edges of the chamfer using 220-grit sandpaper on a sanding block.
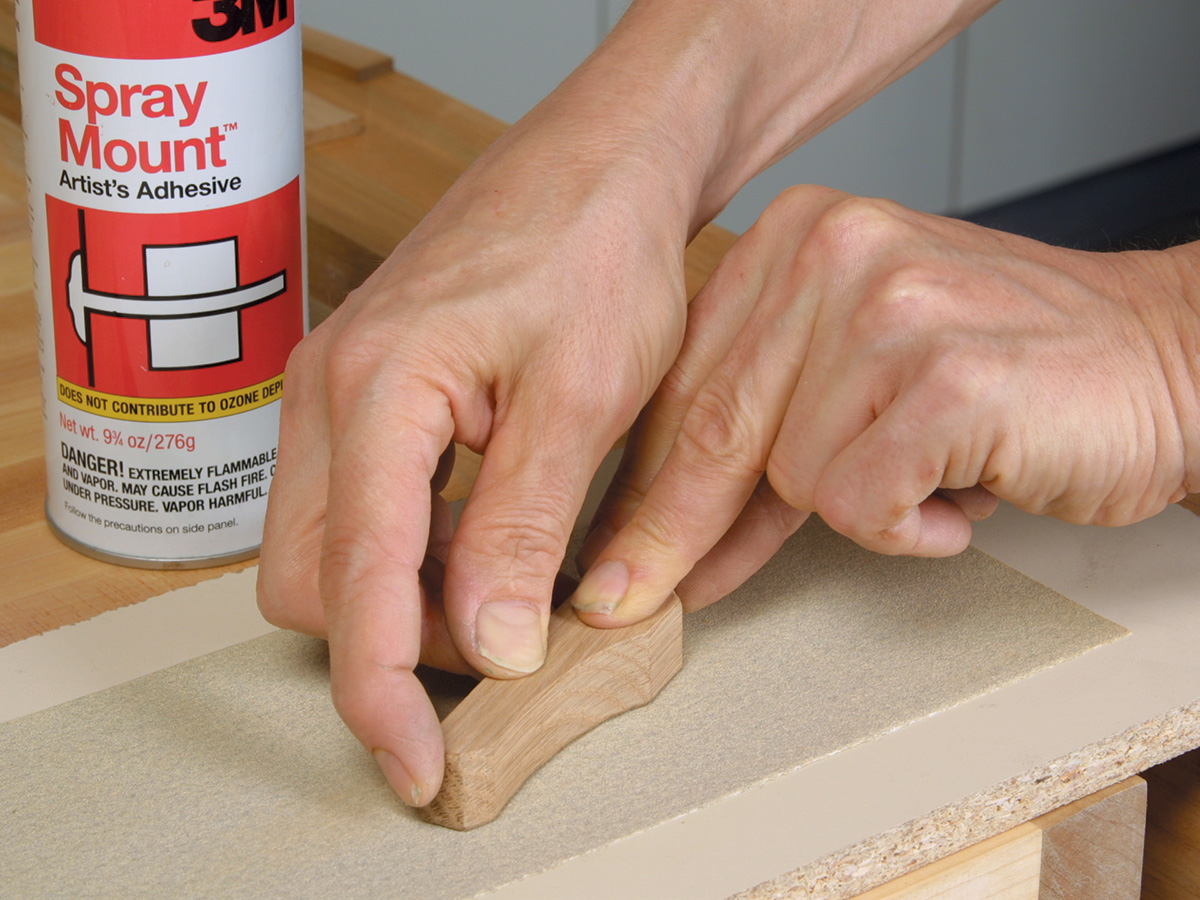
Sanding small parts can be challenging because it’s almost impossible to sand parts flat without rounding them over if you bring the sandpaper or tool to the piece. It’s also extremely difficult to hold small parts, so it’s best that you bring the part to the paper. The best way to sand small parts flat is to make a sanding board. Take a piece of sandpaper and glue it to a piece of melamine or plywood with contact adhesive. Then move the part back and forth on the sanding board to sand it (D).
Tip: It doesn’t make much difference if you sand past 220 grit. However, if you plan on using a water-based finish product, sanding to 320 will minimize grain-raising.
Scraping
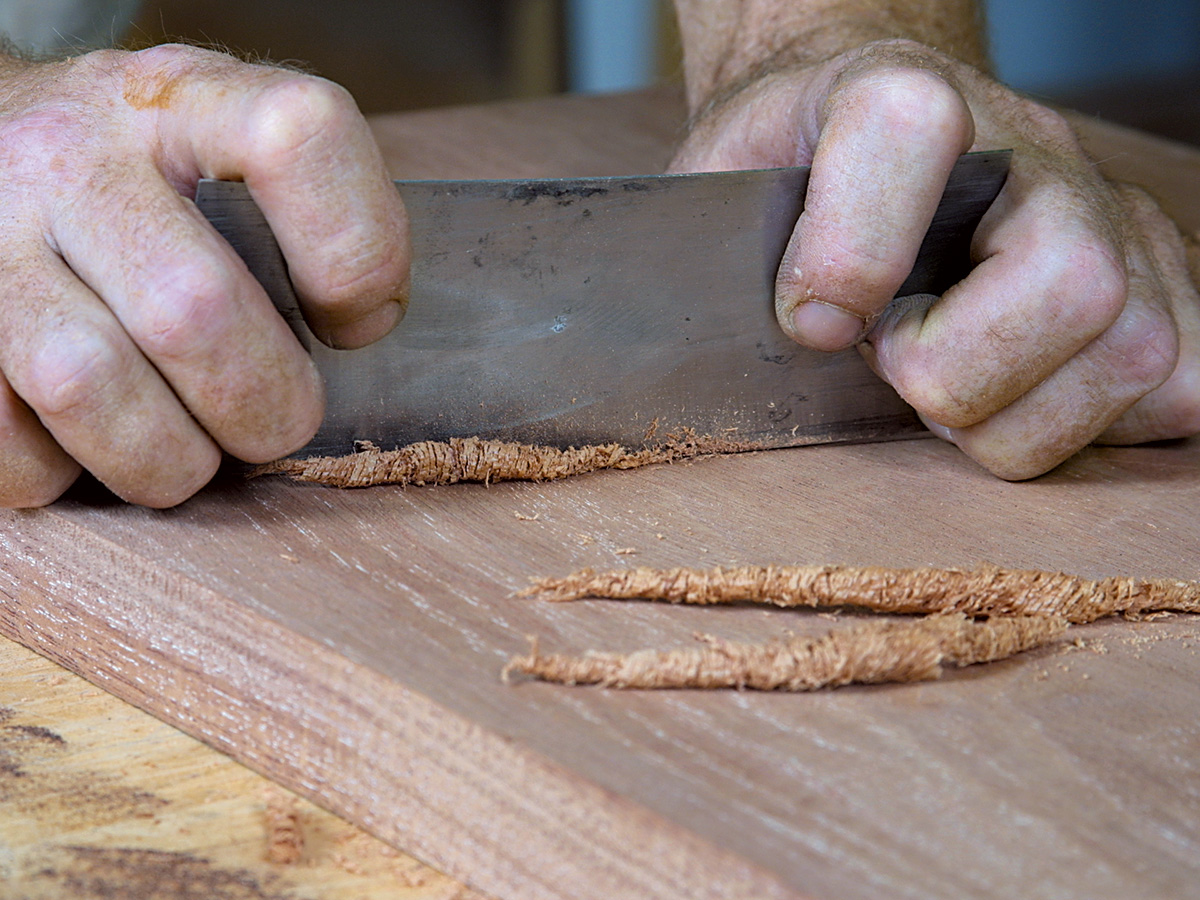
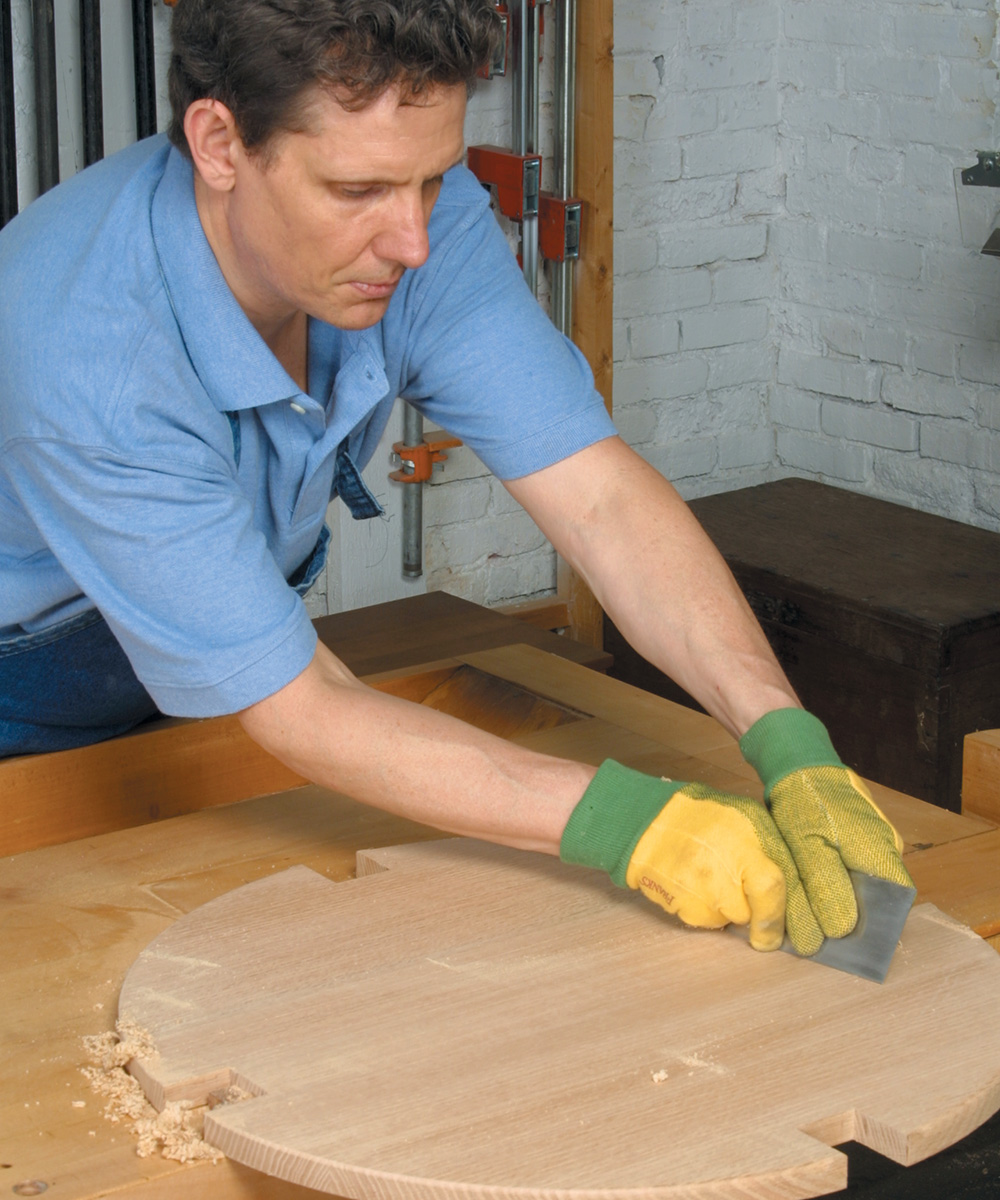
When using a card scraper on flat surfaces, I typically combine three approaches: pushing the scraper, pulling it, and “sweeping” with it. Each approach requires a different hand position.
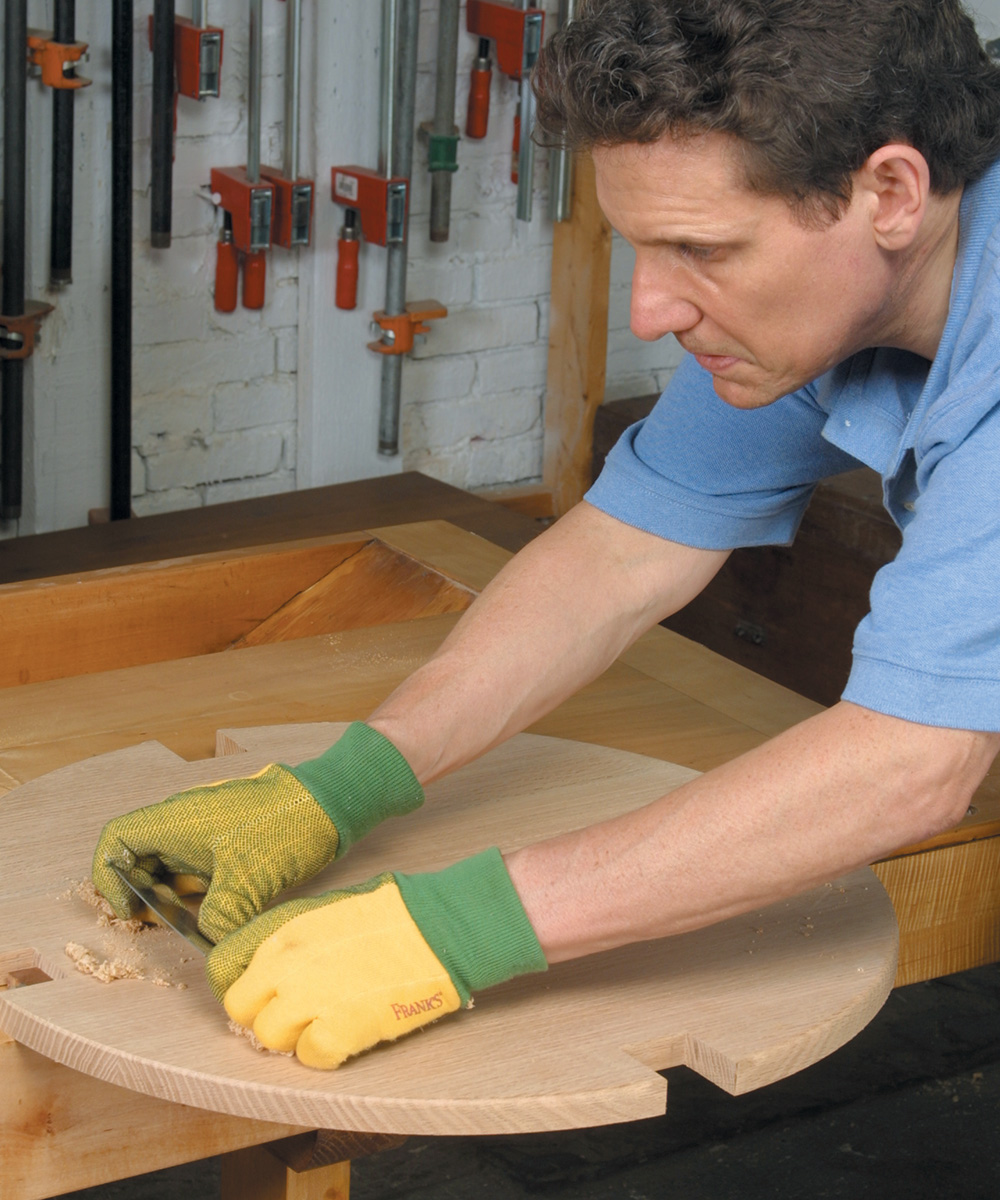
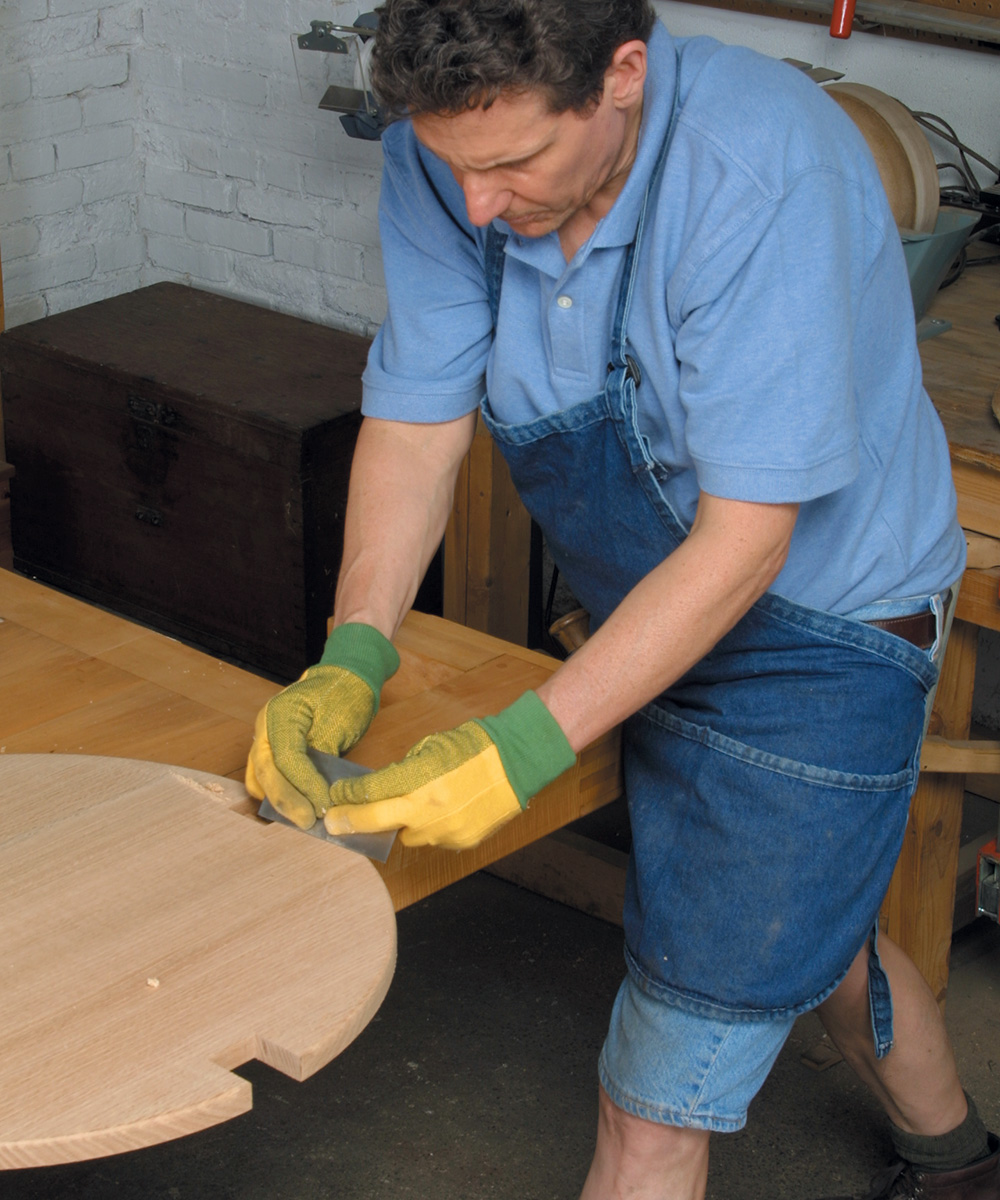
I usually begin by pushing the scraper. I wrap its edges with my fingers while using my thumbs to flex it slightly at its center to prevent the corners from digging into the workpiece (A). I can easily push off the far edge of the workpiece in this position. However, it’s difficult to begin a push stroke at the forward edge without digging in slightly. So to scrape the edge closest to me, I change to a pull position, drawing the scraper off the edge toward me (B). When doing this, I slide my thumbs toward the ends of the scraper and move my fingers to the center of the rear face, applying enough pressure there to flex the scraper slightly. For the final step, I sweep the scraper across the surface, grabbing it at opposite ends and flexing it so the corners don’t dig in (C).
Tip: Scrapers are available in different thicknesses. Thinner scrapers flex more easily without heavy pressure and provide more “scoop” when you need to target a smaller area. A scraper can get pretty hot during use, so I wear garden gloves with rubberized fingers that block the heat and allow a good grip.
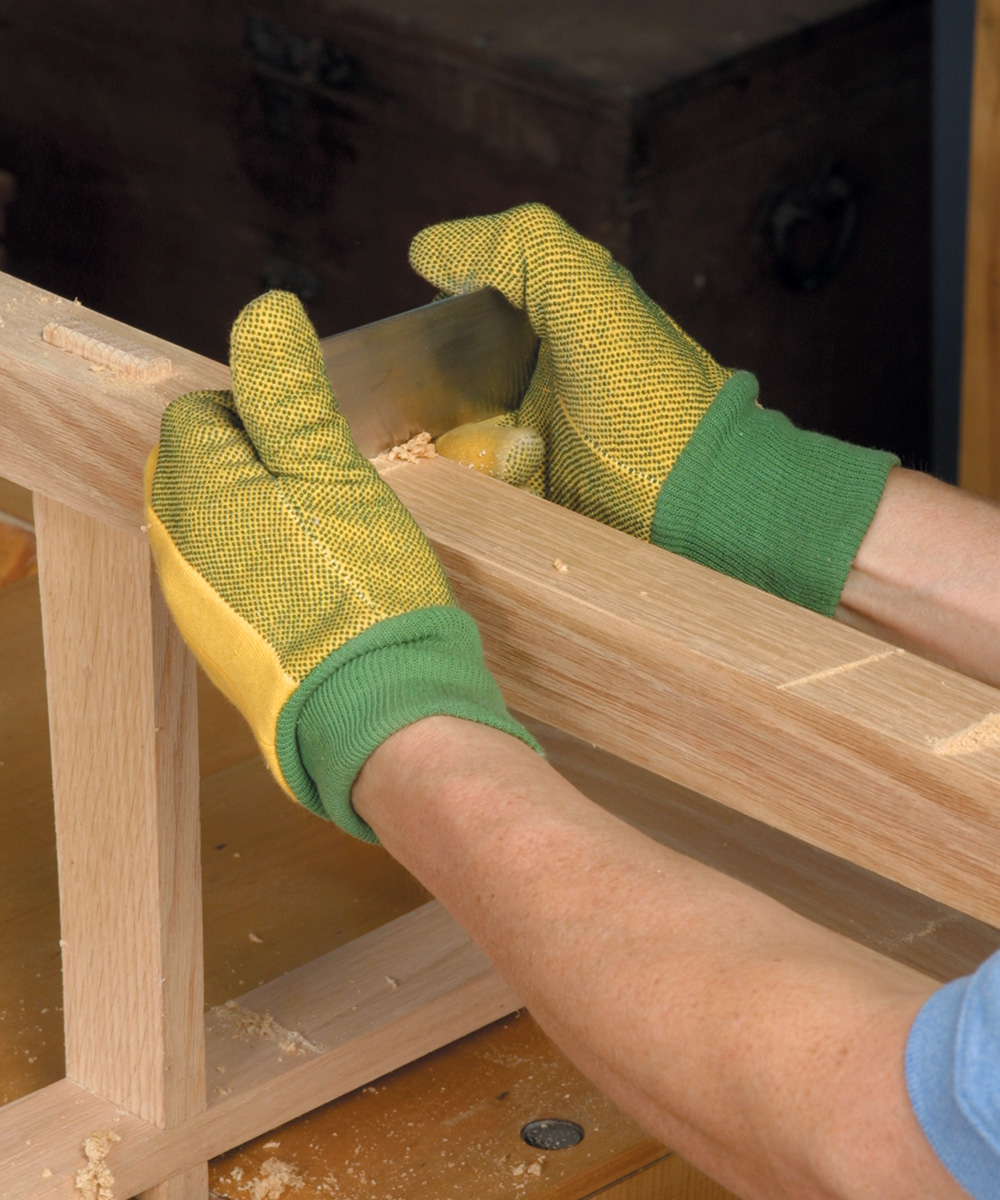
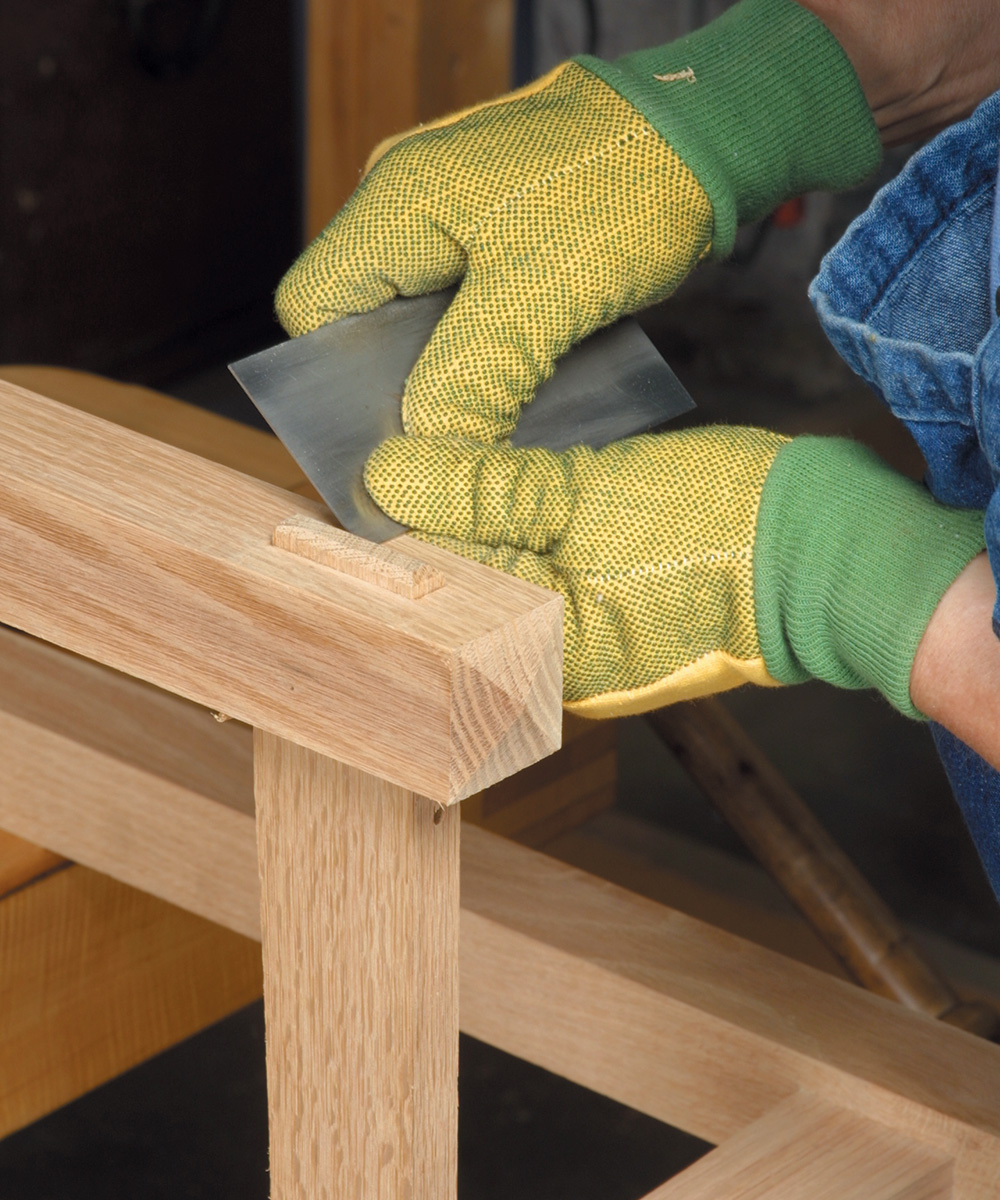
When you’re scraping legs and other narrow surfaces, it can be awkward to flex the scraper. In these cases, it is easier to first run sandpaper on edges slightly with 220-grit sandpaper before scraping, which prevents the scraper from tearing the sharp edges. When scraping narrow legs, position your middle, ring, and little fingers under the scraper, pressing them against the sides of the leg to cradle the scraper and register it flat (D). You can also use just a portion of the scraper edge to get into tight places, like areas adjacent to a projecting tenon (E).




Log in or create an account to post a comment.
Sign up Log in