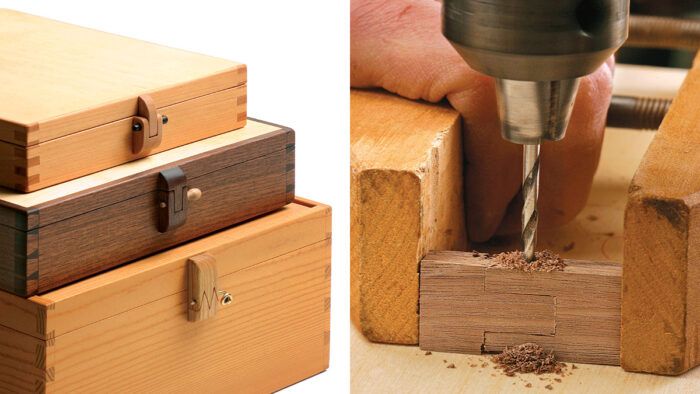
Synopsis: You’ve spent hours handcrafting a dovetailed box, and it’s time to choose the hardware. A search through the hardware store and catalogs turns up nothing worthy. Why not handcraft your own clasp out of wood? Fine Woodworking contributing editor Christian Becksvoort demonstrates how to custom-make wooden clasps in designs ranging from a simple tenon and open mortise to triangular teeth cut with a dovetail saw, with closing mechanisms that incorporate small wooden pins turned on the lathe or metal pins in a variety of designs.
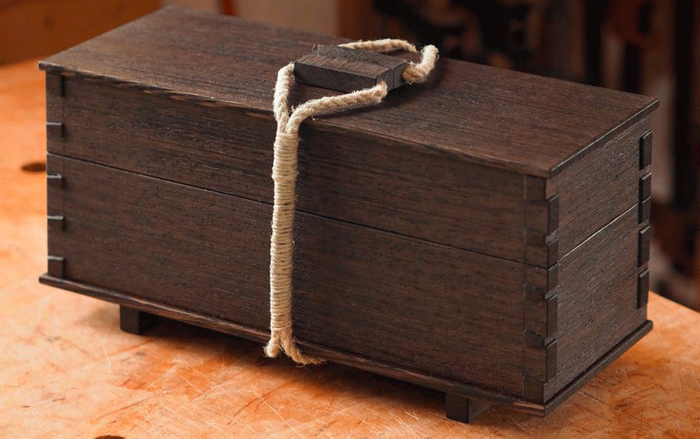
After spending hours building a dovetailed box, you need a clasp for the finishing touch. A search through your hardware catalogs turns up nothing distinctive. Why not create your own clasp of matching or contrasting wood, with a hand-turned pin? They’re easy to make, in whatever wood and size you choose.
The wooden clasps I often make are nothing more than locking finger joints. Start by selecting your wood. I’ve found that tight-grained woods such as cherry, maple, hornbeam, dogwood, or apple work best. After choosing the wood, decide what size to make the clasp. Remember to keep it in proportion to the box size. For jewelry, keepsake, or presentation boxes, the smaller the better. Most of the clasps I’ve made have been between 1/4 in. and 3/8 in. thick. For larger, wall-mounted cabinets, you could use 1/2-in. or even 3/4-in. stock. It may help to experiment first with a scrap of pine or some cardboard to see what looks right.
With a little creativity, a simple clasp can take on a variety of appearances. The single-prong clasp, a simple tenon into an open mortise, is the fastest and easiest to make, but with a little more time and effort, you can customize the design. With a dovetail saw, you can cut triangular teeth that fit together like a finger joint.
Cut the joints in larger pieces
Start by milling the stock to the appropriate thickness. Leave plenty of extra width and length so that you’ll have something to hold onto while machining the workpieces. For example, I often start by milling a couple of pieces 5/16 in. thick by 2 in. wide by 6 in. long.
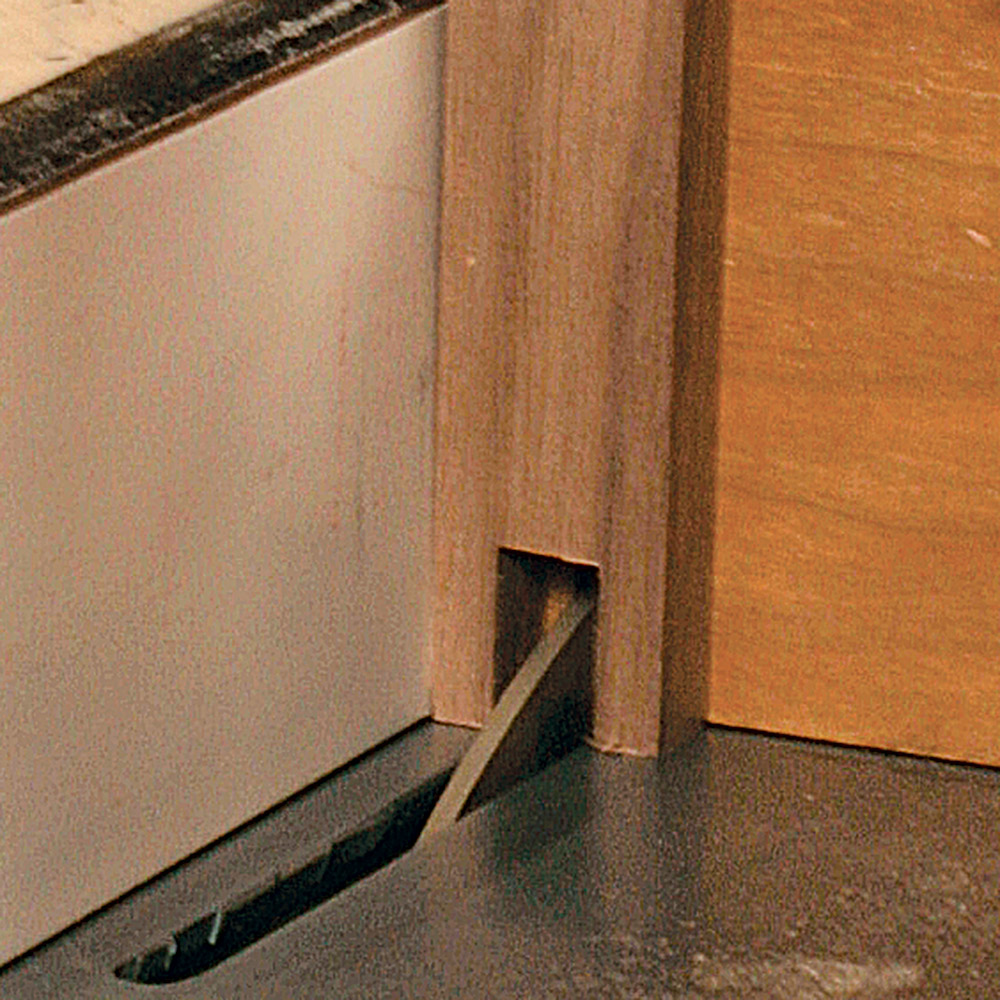
For simple single-prong clasps, I use the tablesaw to cut the open mortise and the tenon pieces. I cut the open mortise first. Then I butt the second piece against the one just cut, making sure they are flush side to side, and mark the location of the matching tenon with a sharp knife. I use the knife marks to cut the tenon piece. To get a good, tight fit and clean up the tablesawn surfaces, it’s sometimes necessary to shave the mating surfaces with a chisel.
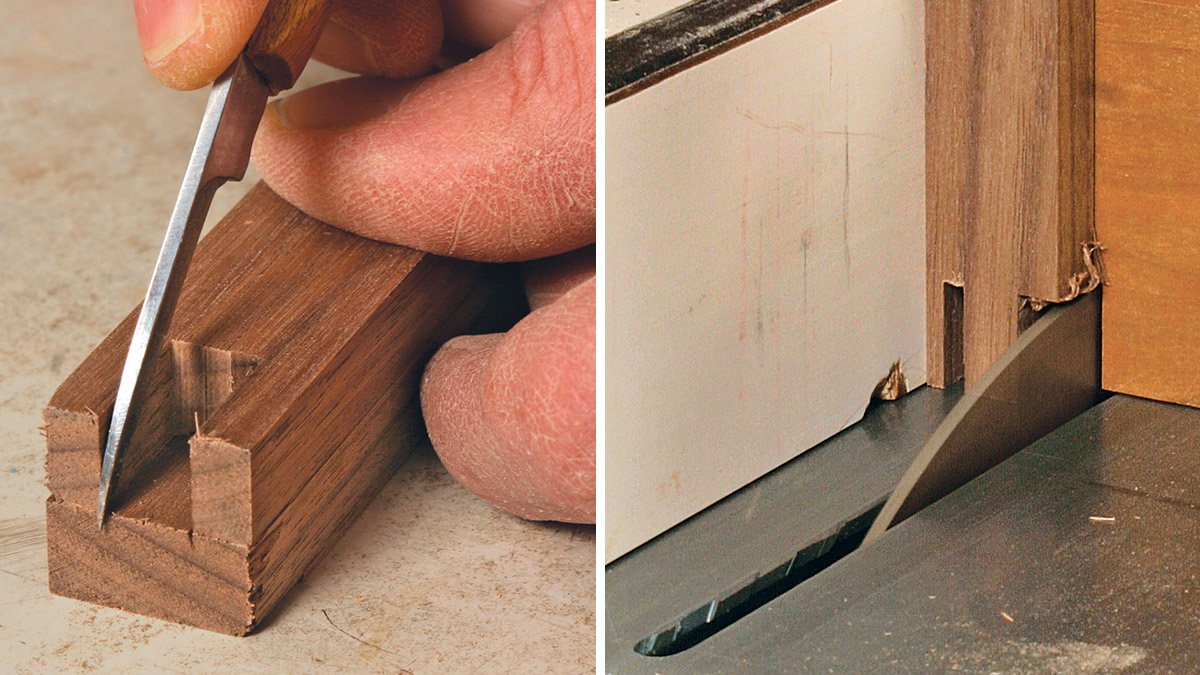
For clasps with triangular teeth, use a dovetail saw to cut two pieces of stock into mating rows of teeth, making sure that you’ve cut several more teeth than you’ll need in the finished clasp. Then choose the best-fitting ones and rip the parts to their final width.
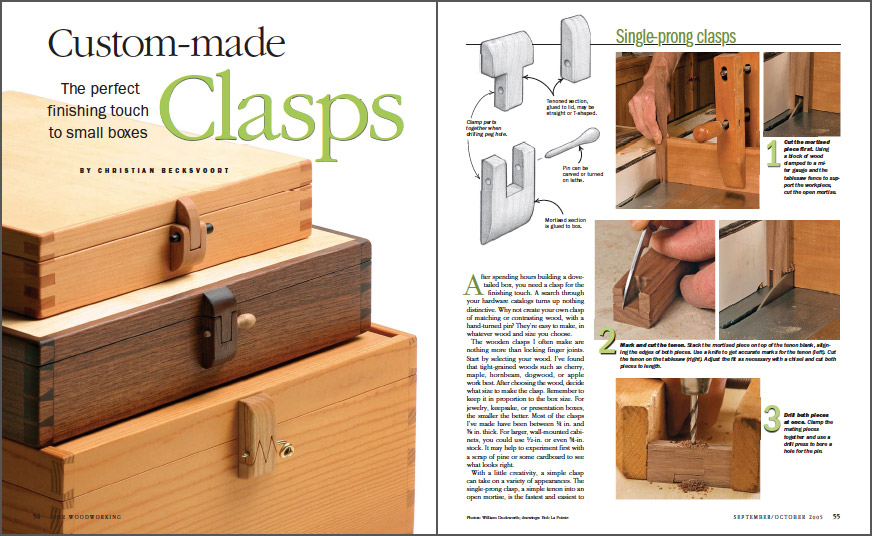
From Fine Woodworking #179
To view the entire article, please click the View PDF button below.


Log in or create an account to post a comment.
Sign up Log in