Coopered Containers
Peter Lutz demonstrates the jigs he uses to make stackable trays that are handsome, light, and strong.
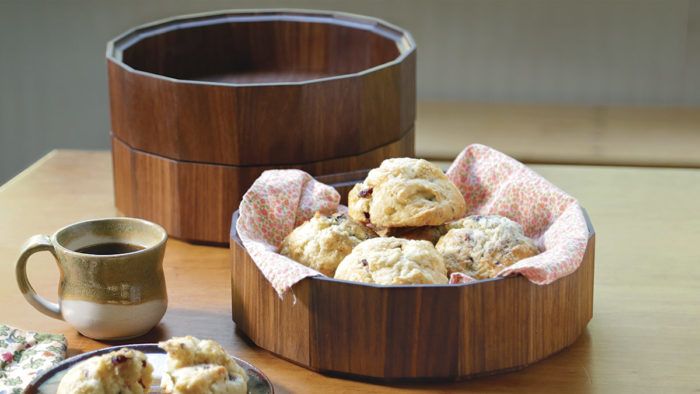
Synopsis: Light and graceful but quite strong, coopered containers combine elegance with approachable construction. Whether you make a design with vertical sides or sides that angle outward, one of the challenges is figuring out how best to cut, joint, and rout the small parts. Here, Peter Lutz demonstrates the jigs he uses so that he can work safely and accurately. The technique is for a group of three stackable trays with vertical sides.
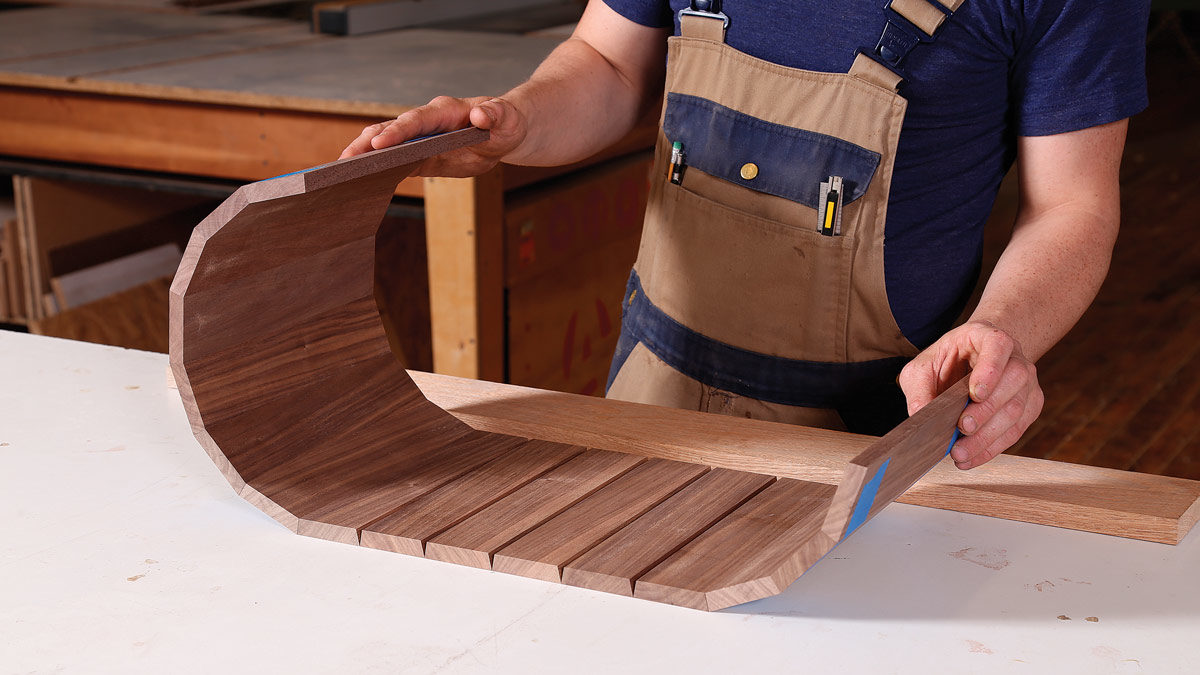
Recently I’ve been exploring coopered forms. I find the shapes elegant, yet the woodworking involved is very approachable. Because all the coopered parts are edge-joined, the whole vessel goes together without mechanical joinery or hardware. And though coopered work is light and graceful, it’s quite strong.
In the first half of this article, I’ll explain the techniques I use for making coopered trays with vertical sides. You could make a set of three, as I did, or just one. In a separate article, I describe making a coopered basket whose sides are canted outward. There are formulas you can use to ascertain the angle for the appropriate compound bevel, but the technique I use for creating the splay removes the mathematical hurdle.
See Lutz’s math-free technique for making
a coopered container with angled sides
A Trio of Trays
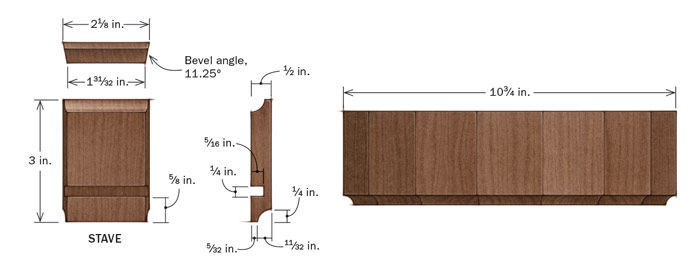
I designed the trays to be made in a batch of three partly because it would be safer and simpler to machine the staves in long blanks, then crosscut them after I had the bevels just right. Since I was going to have multiple trays, I decided to shape the top and bottom edges of the staves with coves—the top one inside, the bottom one outside—so the trays would stack neatly.
Stave Making
Coopered containers have far more potential for cross-grain seasonal movement than traditional boxes, and this makes quartersawn stock the logical choice for the staves. I often make quartersawn stave blanks by sawing up thick flatsawn planks. Using 12/4 or 16/4 stock and taking 1⁄2-in. rips, I get very stable blanks, and the straight grain looks attractive in this application.
After milling the blanks, I rip them to about 1⁄8 in. over their final width. Then I crosscut the blanks to 10 in.—long enough to yield three 3-in. staves—and begin beveling at the tablesaw. To calculate the bevel angle, divide 360° by twice the number of staves you’re using. Since I wanted 16 staves, I divided 360° by 32 and arrived at a bevel angle of 11.25°.
The bevels have to be spot-on to bring your pieces together without gaps. Accuracy is especially important since any error will be compounded by both sides of each joint, a factor of 32. I find a digital angle gauge very useful. These tools are inexpensive (around $30 online and at hardware stores) and they’re also highly accurate, up to 0.02°. I like the iGaging angle cube. It has magnets on three sides, which are helpful when setting blade angles.
After cutting the bevels at the tablesaw, I very lightly dress them at the jointer. You could skip the jointing (assuming the surface quality of your tablesawn bevels is excellent), but I do it to ensure the best possible glue joint. Using the digital angle gauge, I set the jointer’s fence to the same 11.25° bevel angle and take a whisper-thin pass on each bevel.
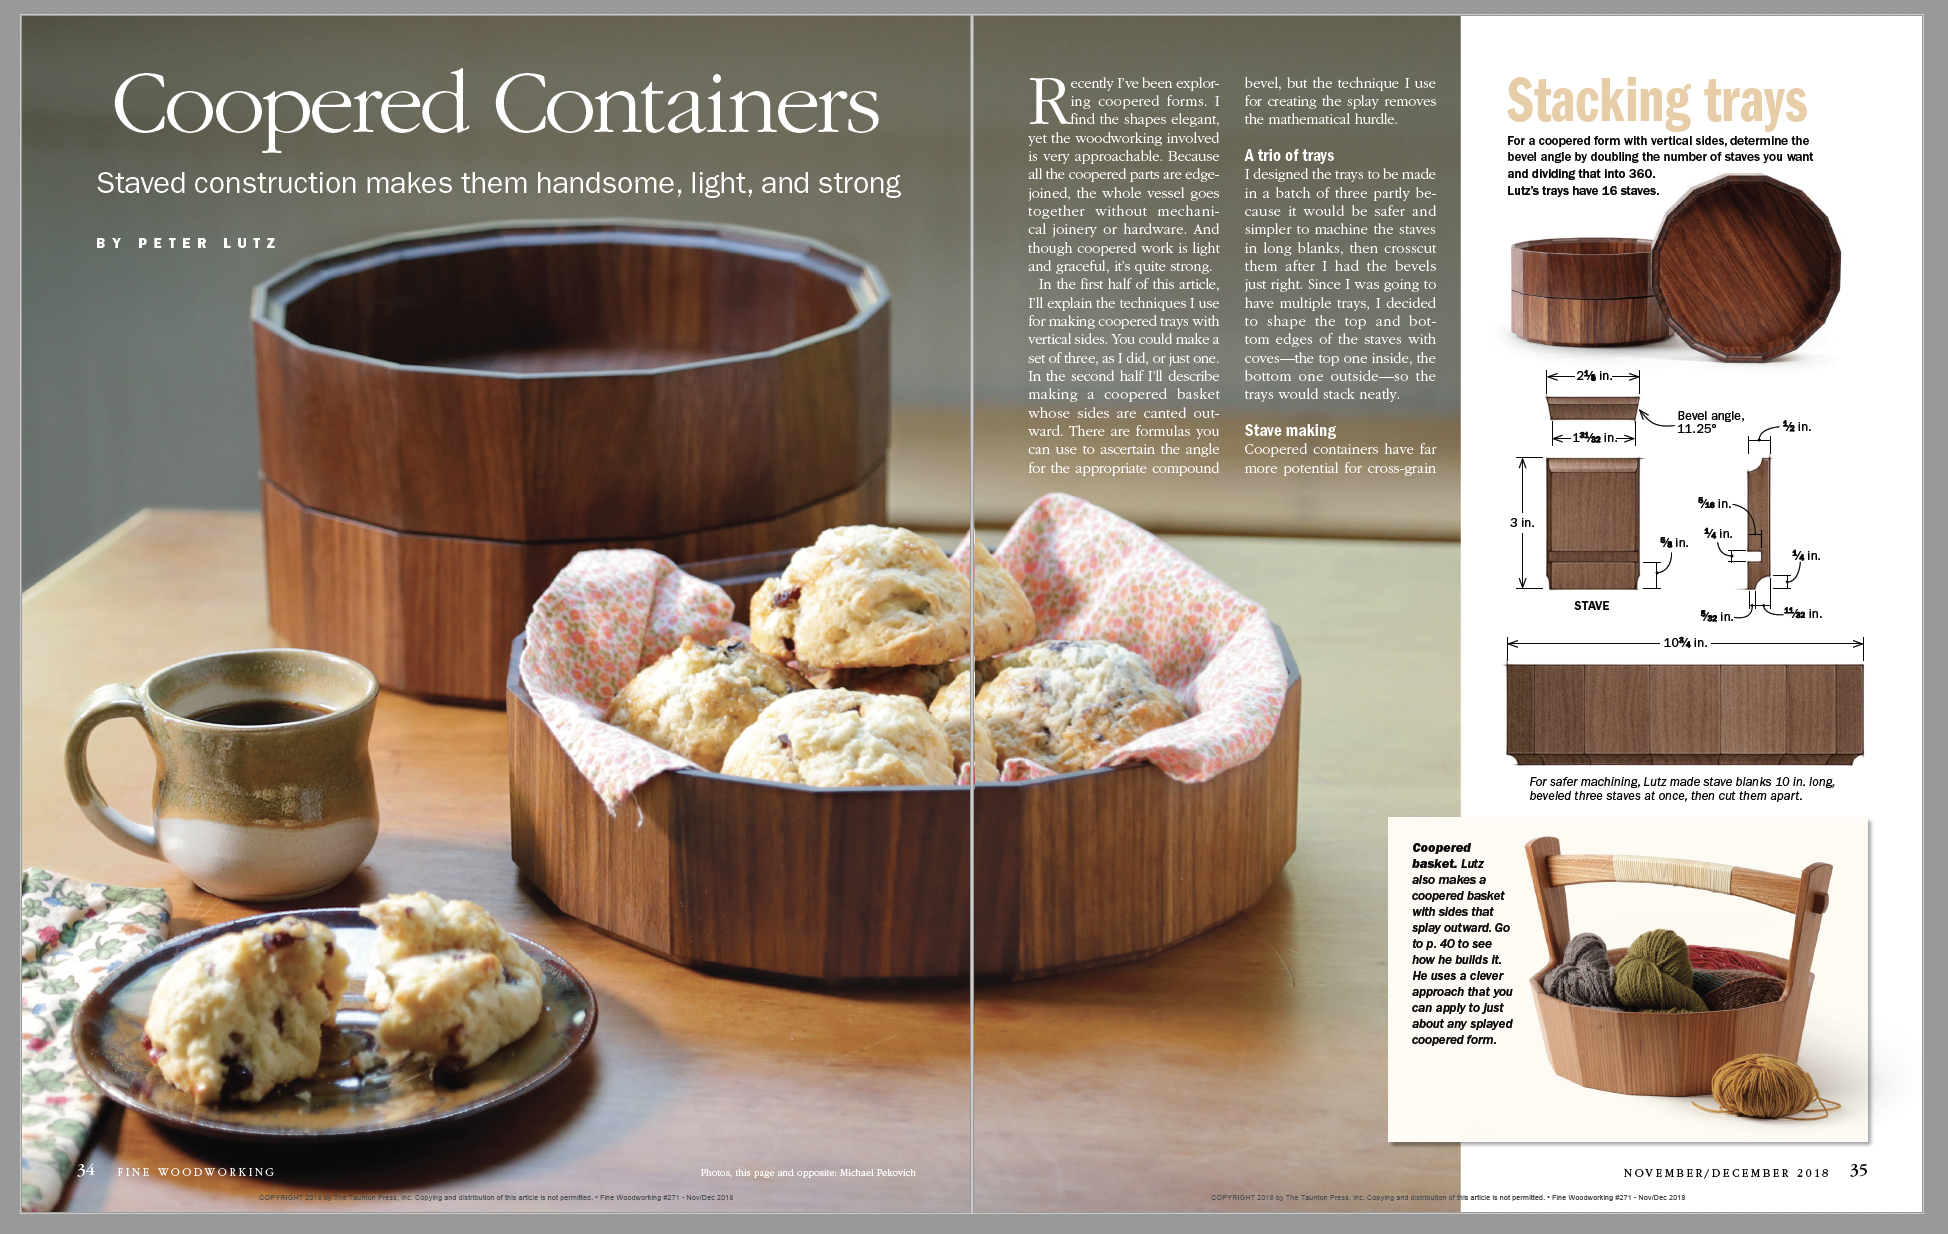 From Fine Woodworking #271
For the full article, download the PDF below.
More on FineWoodworking.com:
- The Craft of Coopering – Staves and a hoop make a watertight vessel by Carl Swensson and Jonathan Binzen #248–July/Aug 2015 Issue
- Coopering a Door – Accurately beveled staves produce a graceful curve by Garrett Hack #126–Sept/Oct 1997 Issue
- Small Stand is a Lesson in Curves – Cut joinery first, then saw the curves by Stephen Hammer #163–May/June 2003 Issue



Comments
What species of wood was used for the coopered bowls?
As per Jon Binzen: The stacking trays were walnut and the basket with the handle was English elm.
Log in or create an account to post a comment.
Sign up Log in