Build a Shaker hanging cabinet
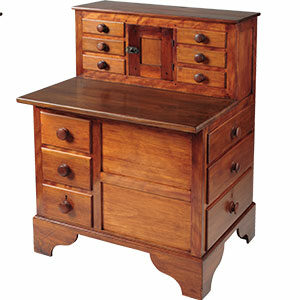
This lovely wall cabinet is diminutive in size but large on techniques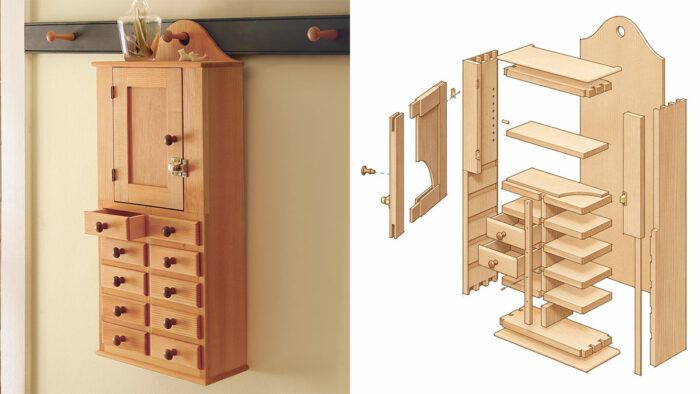
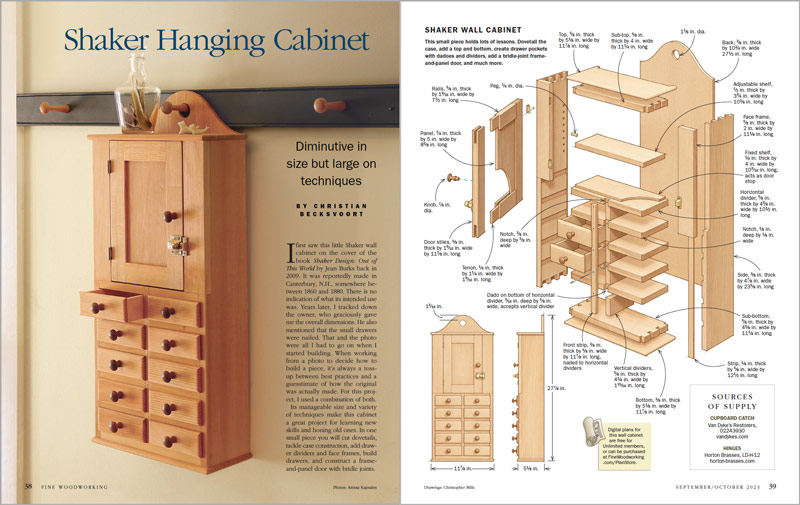
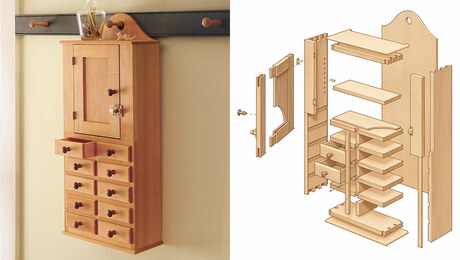
Synopsis: This small Shaker cabinet packs a lot of different techniques into a small project. While building it, you’ll cut dovetails, tackle case construction, add drawer dividers and face frames, build drawers, and construct a frame-and-panel door with bridle joints. Not only that, but when you are done, you’ll have a fine-looking Shaker reproduction to enjoy.
I first saw this little Shaker wall cabinet on the cover of the book Shaker Design: Out of This World by Jean Burks back in 2009. It was reportedly made in Canterbury, N.H., somewhere between 1860 and 1880. There is no indication of what its intended use was. Years later, I tracked down the owner, who graciously gave me the overall dimensions. He also mentioned that the small drawers were nailed. That and the photo were all I had to go on when I started building. When working from a photo to decide how to build a piece, it’s always a toss-up between best practices and a guesstimate of how the original was actually made. For this project, I used a combination of both.
Its manageable size and variety of techniques make this cabinet a great project for learning new skills and honing old ones. In one small piece you will cut dovetails, tackle case construction, add drawer dividers and face frames, build drawers, and construct a frame-and-panel door with bridle joints. Finally, I glued the carcase together and glued thin face-frame strips on the lower half of the sides to cover the dadoes.
Five horizontal and five vertical dividers
After sanding and assembling the case, I milled the five horizontal dividers (taking final dimensions directly from the case), dadoed them for the vertical dividers, and notched them for the front strip. On all five, both front corners were notched for the face-frame strip. I slid the horizontal dividers into position and installed the front strip over them.
Next, I measured for the five short vertical dividers. Then I cut and installed them from the back. For both the horizontal and vertical dividers I used a friction fit. Feel free to use glue if the parts are a bit loose. I drilled and pinned the horizontal divider to the verticals. Then I glued on the two wider, upper face frames, and planed and sanded the entire front.
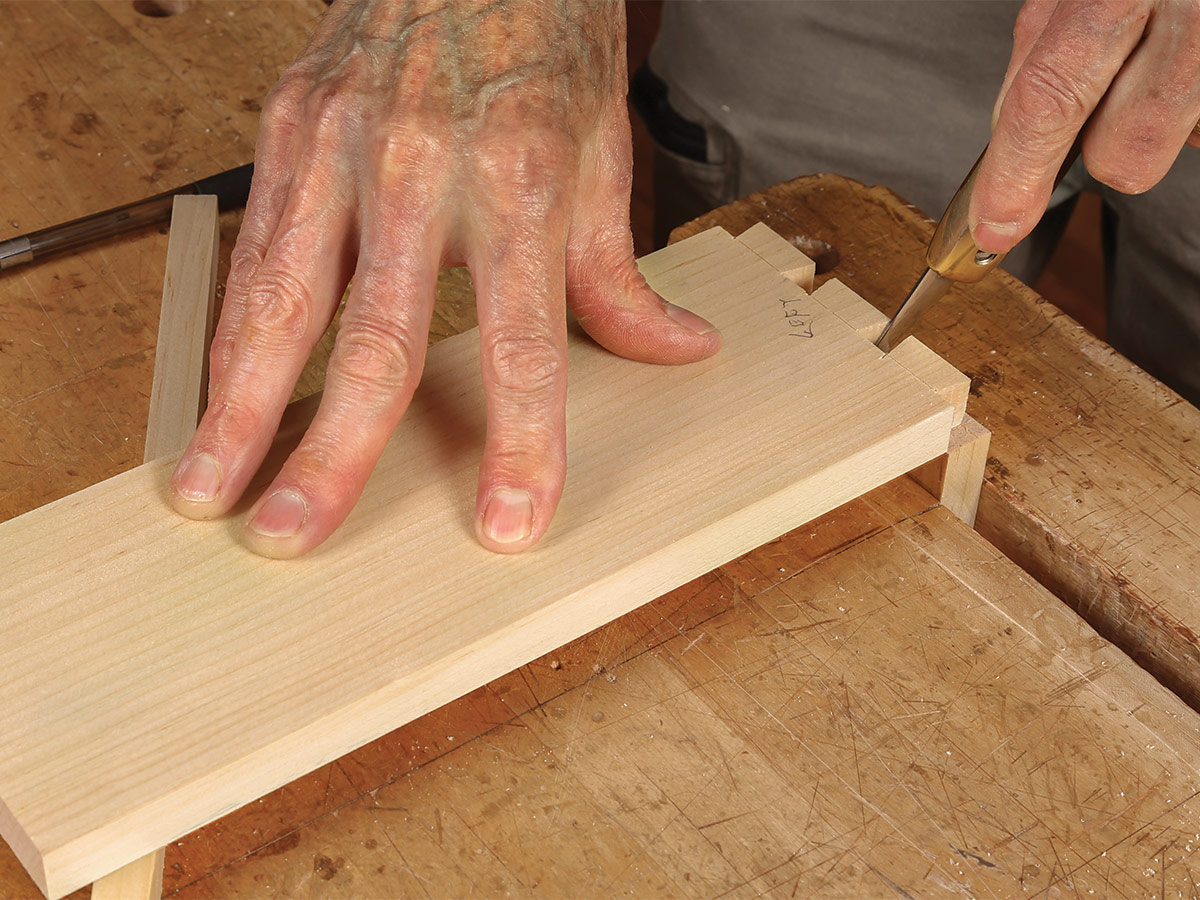
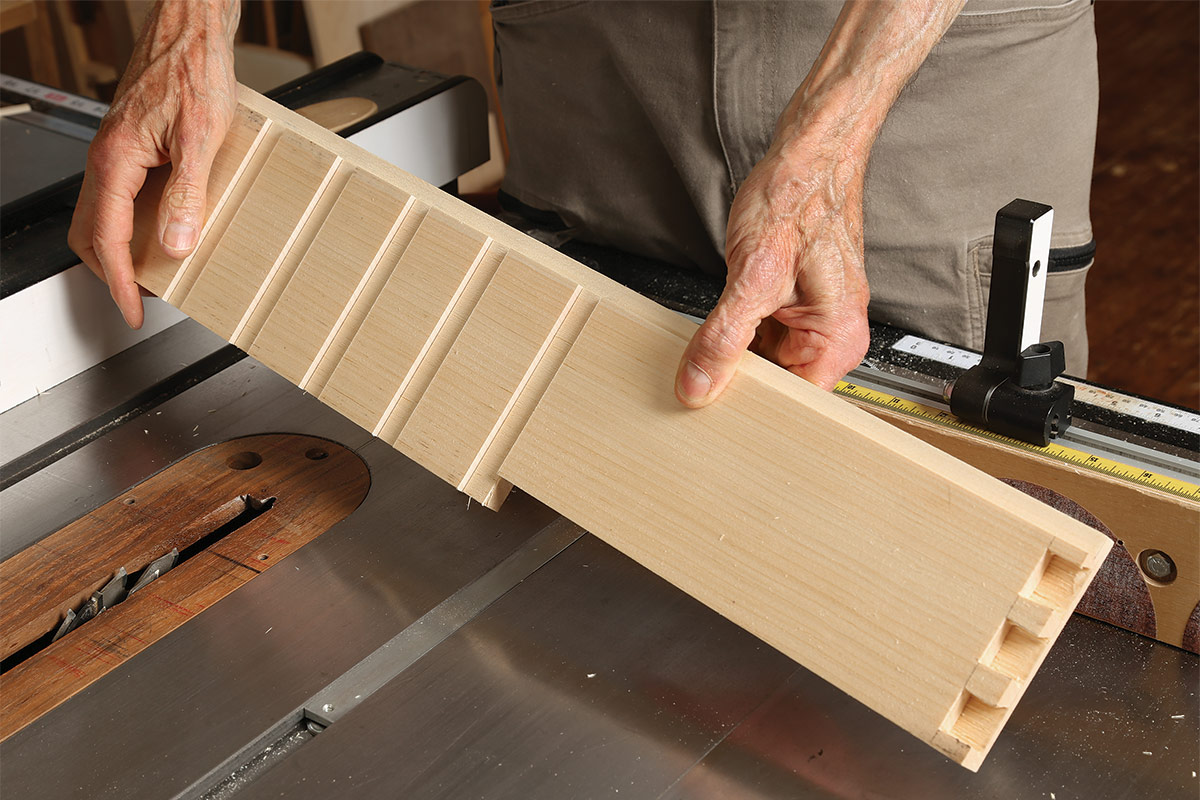
Add the top and bottom
The actual top and bottom both get a roundover profile on the front and sides. I shaped the profile by hand with a block plane and sandpaper. You also could cut the profile at the router table with a roundover bit. Glue the top and bottom onto the sub-top and sub-bottom. The way the cabinet is built, the sub-top acts as a door stop. For the bottom door stop, I glue a fixed “shelf” to the top of the top horizontal divider.
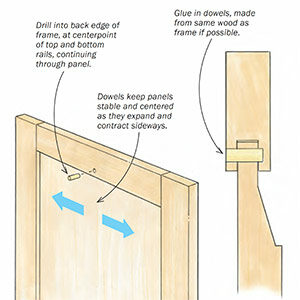
Bridle joint your way to a frame-and-panel door
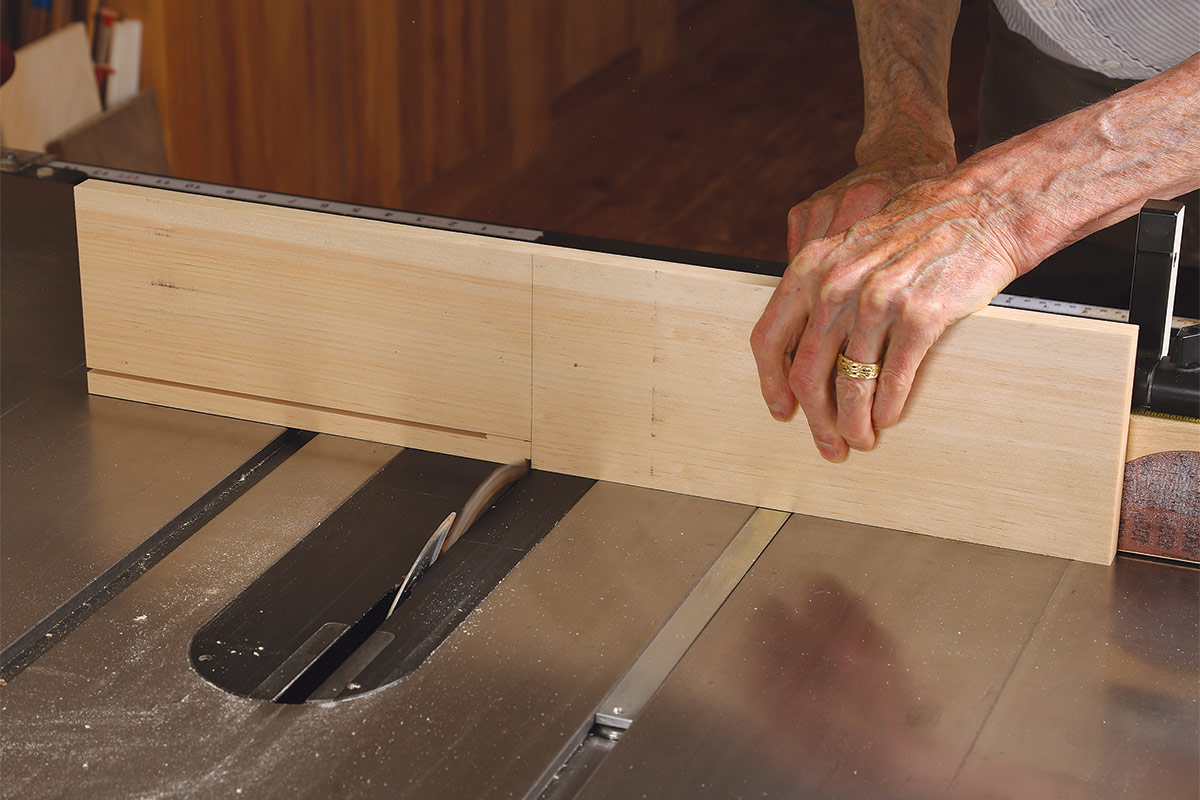
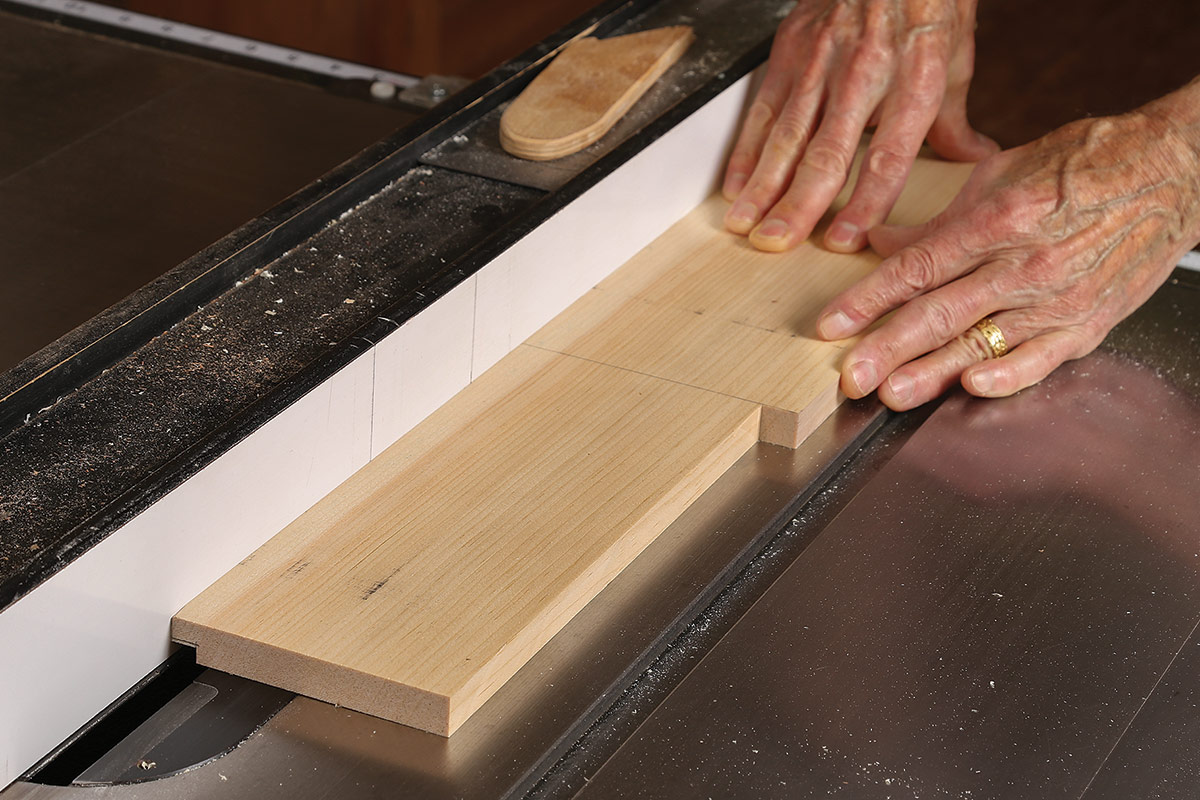
The small door at the top of the cabinet is frame-and-panel. I decided on full bridle joints in all four corners and cut them on the table saw. Once the door was glued, fitted, sanded, and hinged (Horton Brasses, LD-H-12), I added the small cupboard catch (Van Dyke’s Restorers, 02243930). I had to remove the clear coat finish on the catch, and, as I did with the hinges, darken it with Antiquing Solution (Constantine’s Wood Center).
Christian Becksvoort is a longtime contributing editor and expert in Shaker furniture.
Photos: Anissa Kapsales
Drawings: Christopher Mills
To view the entire article, please click the View PDF button below.
More from Christian Becksvoort
 |
Shaker hanging shelfHanging shelves were a staple in Shaker homes, created in a range of sizes, materials, and techniques. |
 |
Video workshop: Shaker candle stand with Christian BeckvoortHe’s built dozens of round Shaker stands over four decades, so there is no one more qualified than Christian Becksvoort to demonstrate making this classic. |
 |
Shaker Chest with a side drawerManageable size and smart techniques make this a fun and rewarding project |







Log in or create an account to post a comment.
Sign up Log in