Batching out boxes
Simple spacers lead to repeatable proportions and adaptable design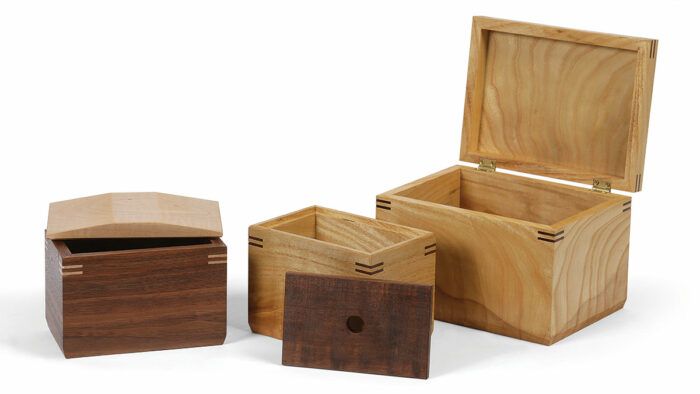
Synopsis: When making multiple boxes, you can streamline the job by using a fixed stop block and a removable spacer. The removable spacer, used for the short box sides, also helps you to batch out multiple lids and bottoms, in solid wood or plywood, without changing your tablesaw setup. Doug Stowe demonstrates how to use his stop-and-spacer system on a variety of different box designs.
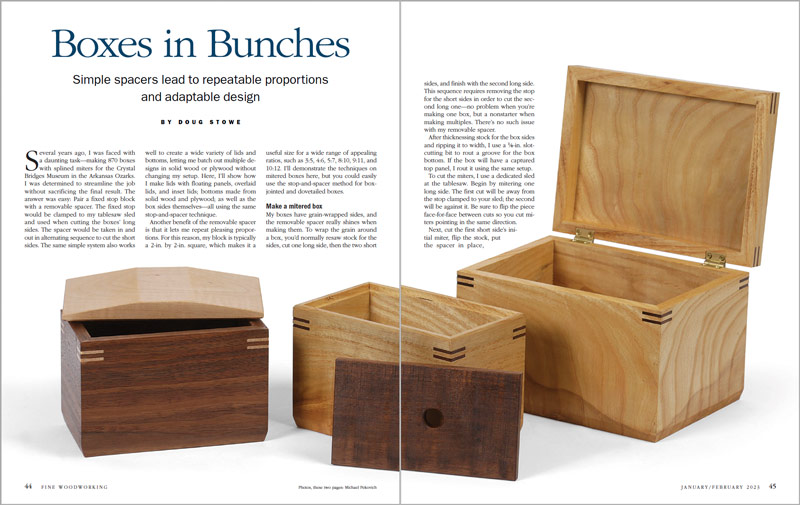
Several years ago, I was faced with a daunting task—making 870 boxes with splined miters for the Crystal Bridges Museum in the Arkansas Ozarks. I was determined to streamline the job without sacrificing the final result. The answer was easy: Pair a fixed stop block with a removable spacer. The fixed stop would be clamped to my tablesaw sled and used when cutting the boxes’ long sides. The spacer would be taken in and out in alternating sequence to cut the short sides. The same simple system also works well to create a wide variety of lids and bottoms, letting me batch out multiple designs in solid wood or plywood without changing my setup. Here, I’ll show how I make lids with floating panels, overlaid lids, and inset lids; bottoms made from solid wood and plywood; as well as the box sides themselves—all using the same stop-and-spacer technique.
Another benefit of the removable spacer is that it lets me repeat pleasing proportions. For this reason, my block is typically a 2-in. by 2-in. square, which makes it a useful size for a wide range of appealing ratios, such as 3:5, 4:6, 5:7, 8:10, 9:11, and 10:12. I’ll demonstrate the techniques on mitered boxes here, but you could easily use the stop-and-spacer method for box-jointed and dovetailed boxes.
Make a mitered box
My boxes have grain-wrapped sides, and the removable spacer really shines when making them. To wrap the grain around a box, you’d normally resaw stock for the sides, cut one long side, then the two short sides, and finish with the second long side. This sequence requires removing the stop for the short sides in order to cut the second long one—no problem when you’re making one box, but a nonstarter when making multiples. There’s no such issue with my removable spacer.
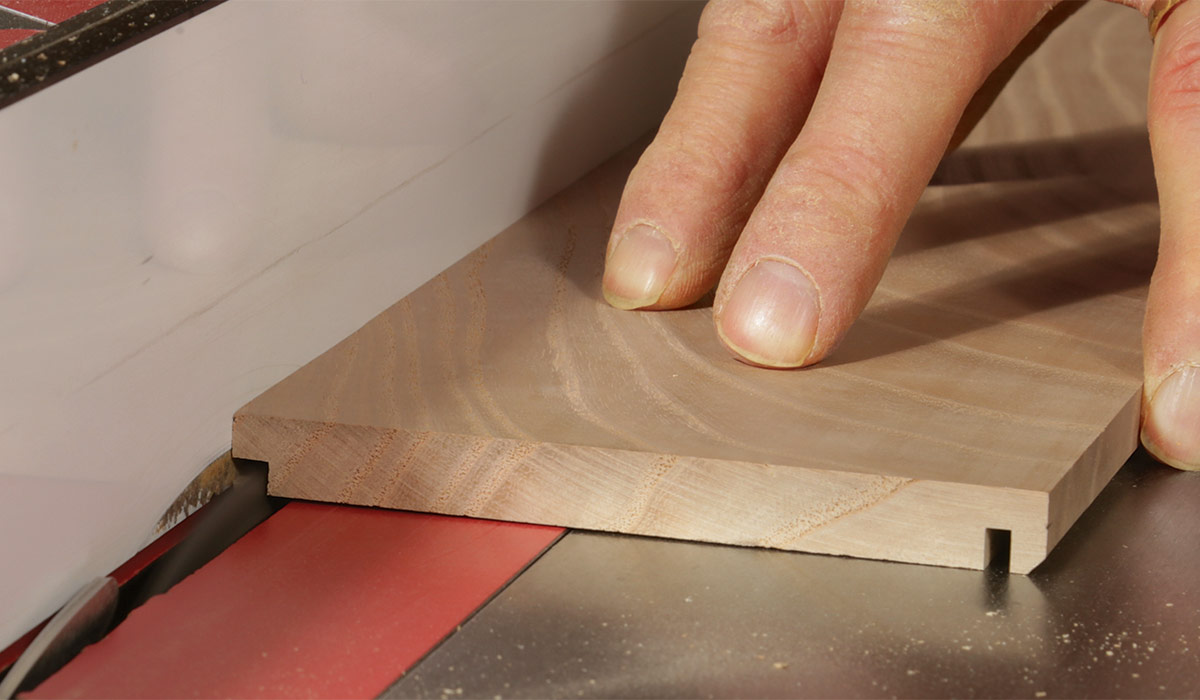
After thicknessing stock for the box sides and ripping it to width, I use a 1/8-in. slot-cutting bit to rout a groove for the box bottom. If the box will have a captured top panel, I rout it using the same setup.
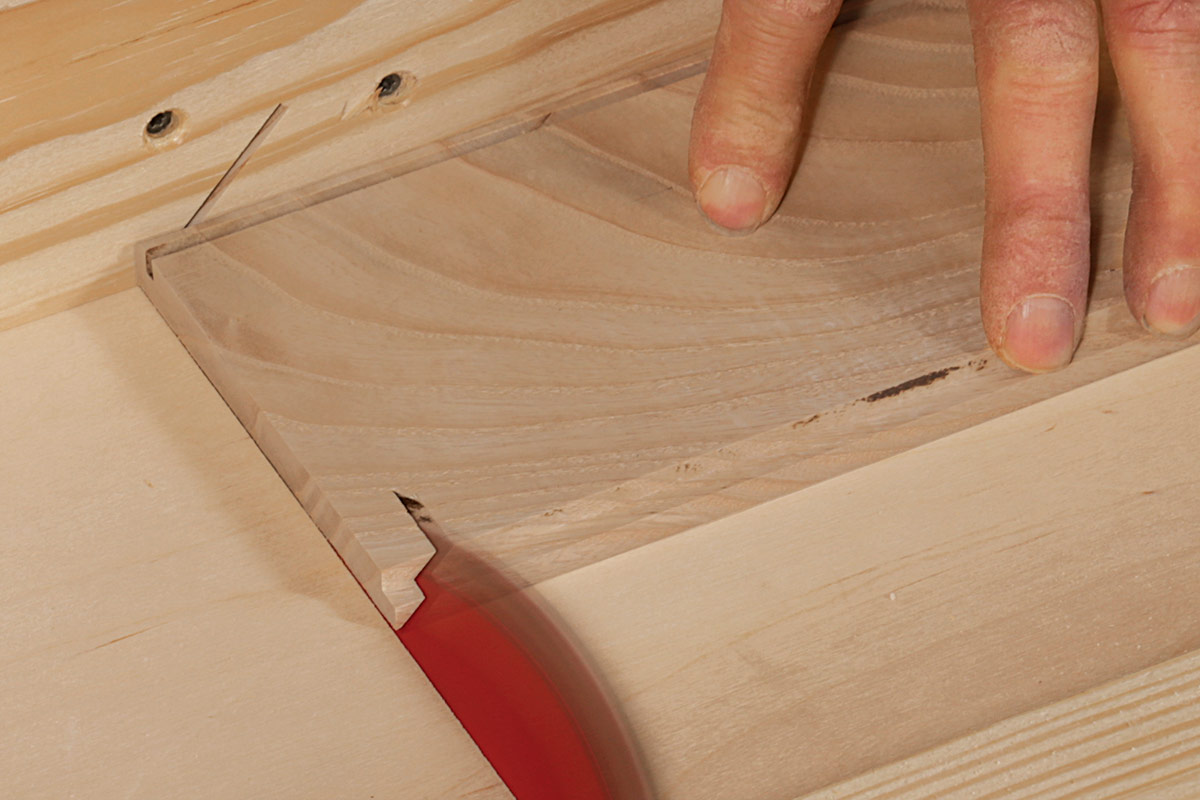
To cut the miters, I use a dedicated sled at the tablesaw. Begin by mitering one long side. The first cut will be away from the stop clamped to your sled; the second will be against it. Be sure to flip the piece face-for-face between cuts so you cut miters pointing in the same direction.
Next, cut the first short side’s initial miter, flip the stock, put the spacer in place, and cut the opposite miter. Cut the other short side next, following the same procedure. I miter this piece’s first end on the opposite side of the sled, letting me keep the fixed stop in place. To cut the second long side, remove the spacer and cut the remaining miters as you did for the first long side.
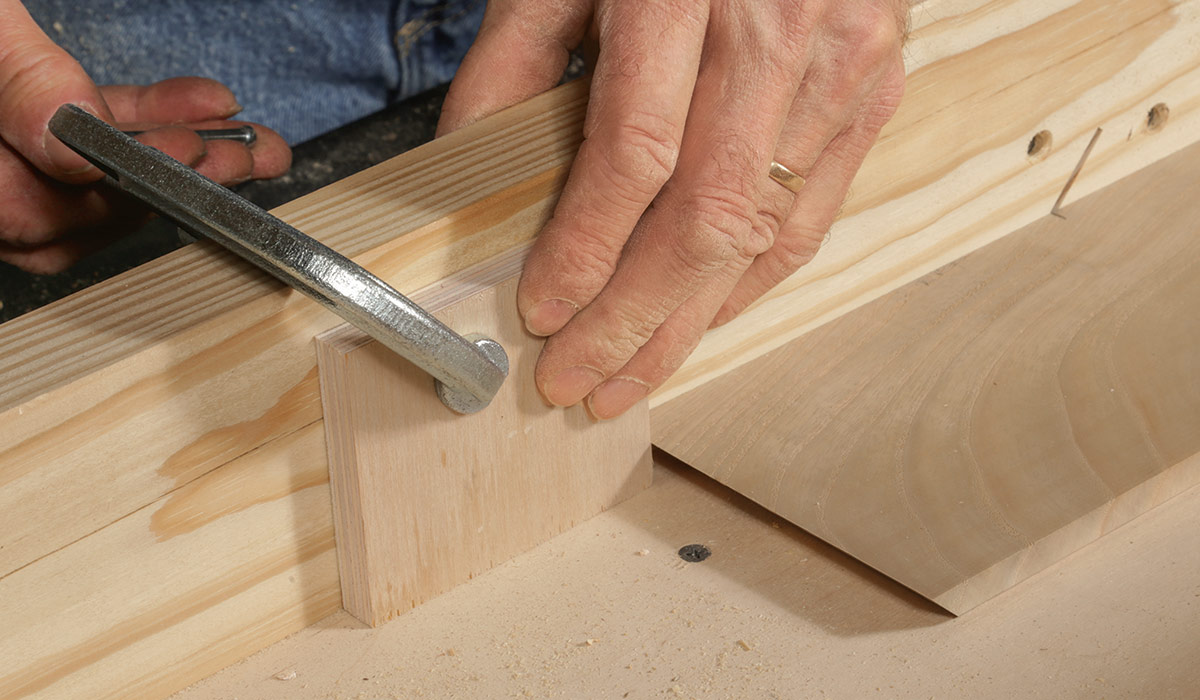
Now it’s time to cut the lid and bottom. However, don’t move the stops even though the sides are cut. Keep the spacer handy too. After all, you’ll use the same setup to cut these workpieces as well, cutting them to length against the stop before rotating the workpieces 90°, inserting the spacer, and then cutting them to width.
From Fine Woodworking #301
To view the entire article, please click the View PDF button below.
 |
Inspiring Bandsawn Boxes |
 |
Making Mitered Boxes |
 |
How to Add Splines for Stronger Box Miters |







Comments
Thanks! Fantastic tip about utilizing spacers and a fixed stop. Definitely a time-saver. In the past I utilized the stop block when cutting the long sides, then re-adjust it to cut the short. Using one length and spacers just never occurred to me as often find what is the easiest/obvious is the most allusive. Thanks again!
Log in or create an account to post a comment.
Sign up Log in