All About Tongue-and-Groove Joints
Any long-grain joint greater than 48 in. long would benefit from the use of a tongue-and-groove joint. It provides a mechanical means of registering and joining the edges of narrow boards when forming a wider panel.
The Basics:
- Anatomy of the joint: A long on the edge of one workpiece joins to a groove cut into the edge of another workpiece
- Where used: Make a wide panel from narrow boards
- By hand or machine: Make a tongue-and-groove joint with matching wooden planes or with modern machinery
Anatomy of the joint
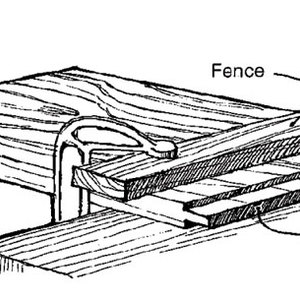
Along one edge, a short tongue is cut, usually centered on the thickness of the material. On the other, a corresponding groove runs the length of the edge of the board. One advantage is the edges are registered, requiring little planing or cleaning up later. Another advantage is the increased glue surface. The single disadvantage might be that the joint is visible from the end of the panel.
Where used
The tongue-and-groove joint is often used to form wider panels from narrower boards, such as when forming table tops, doors, or architectural paneling. It’s also widely used for strip flooring.
Historically, the tongue-and-groove joint was also used to register and align the edges of vertical paneling in early homes. In this application, the joint allowed for seasonal expansion and shrinkage of the individual boards while creating an airtight wall.
By hand or machine
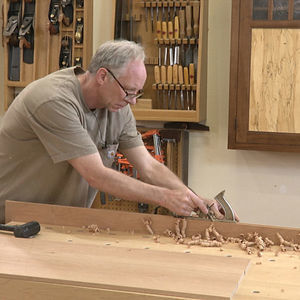
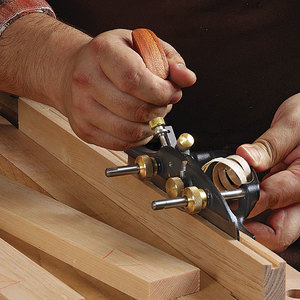
Historically, the joint was cut with matched wooden planes. These planes were sold in pairs (in sizes designed to work material ranging from 1/4 in. to 1-1/2 in. in thickness). One plane would cut the groove, and the other would cut the tongue.
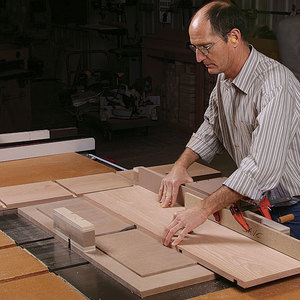
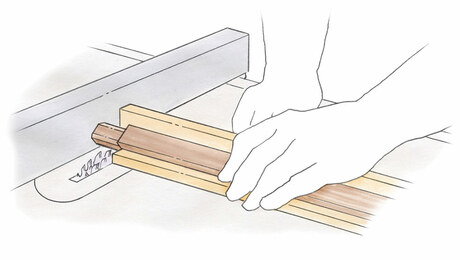
In today’s small shop, the tongue-and-groove joint is most often milled with a router or router table fitted with a pair of matched bits. The matched bits work much like the old wooden planes, only faster and with less effort. This joint can also be produced on the table saw.






Log in or create an account to post a comment.
Sign up Log in