How to Build a Desk Gallery
Christian Becksvoort shows you how to build a gallery that's full of functionality and eye-catching details.
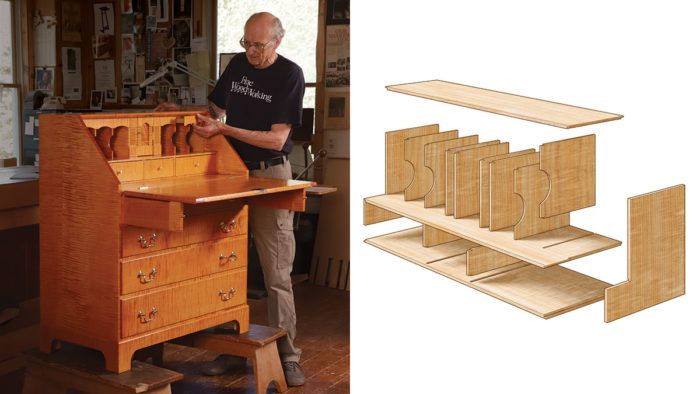
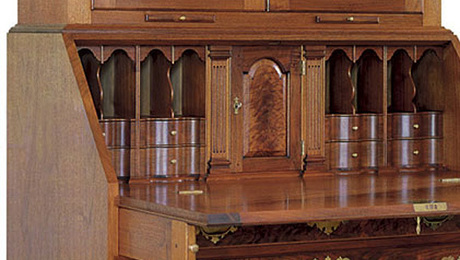
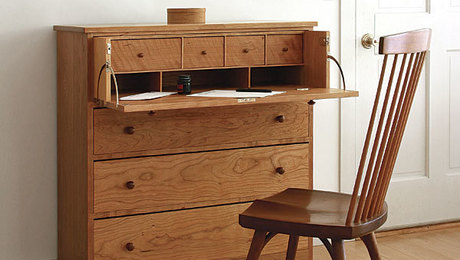
Synopsis: Add customized storage to a desk with a gallery of shelves, drawers, doors, and compartments. Chris Becksvoort shows you how to make the gallery case, add the sections, and fit it perfectly inside your desk. Also included is a look at some of the extras he adds to his desk galleries—drawers, doors, and secret spaces.
A slant-top desk is a classic and beautiful piece of furniture. Adding a gallery elevates the desk into a customized storage center with shelves, tiny drawers for pens and stamps, larger drawers for stationery, plus doors and secret compartments. Fitting the gallery case into a slant-top desk can be a challenge. Usually made of thin stock, it needs to slide into place without buckling, yet be tight on all sides. In this article I focus on building and fitting the gallery case and its dividers. While you may see desks with visible galleries, the gallery in the desk shown here can be concealed with the drop-down front, which becomes the work and writing surface. You can also modify the design and use the same techniques in a different-style desk.
Start with the case parts
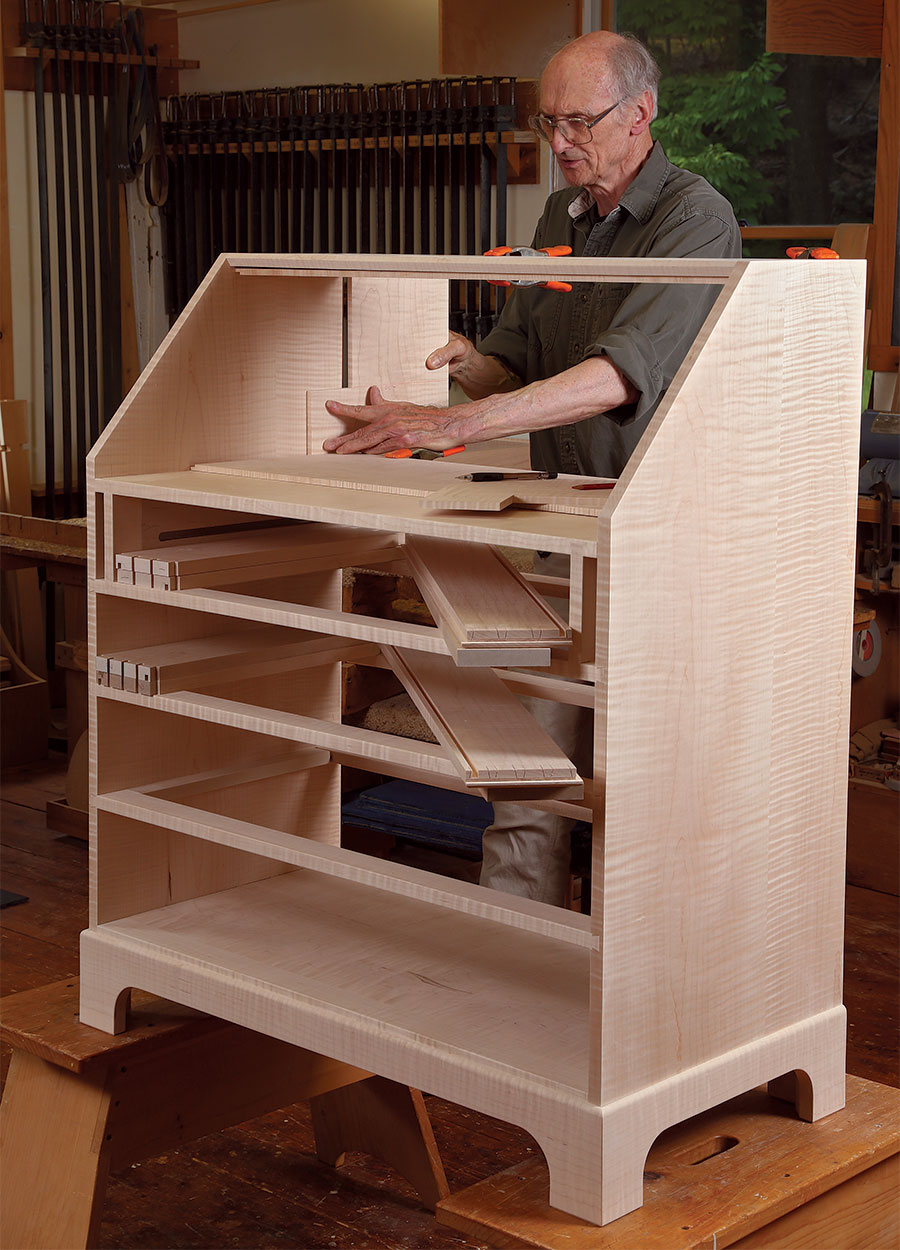
I make the gallery case before the back of the desk has been attached but after the desk has been glued up. This allows me to slide in the structure from the back, avoiding potential scratches on the writing surface.
The joinery in the case is simple. I use rabbets and dadoes cut on the tablesaw. For assembly I use glue and brads. None of this will show, since only the front edges of the gallery will be visible. All the grain runs in the same direction in the gallery case so that all the wood movement will be front to back.
To start, I cut the case top and bottom to length. Both should fit tightly, but still have enough room to slide into position. Then I cut rabbets on their ends to accept the two sides. The sides are L-shaped. I cut the shape with two stopped cuts on the tablesaw. This does leave sawmarks where the cuts meet, but I orient the side pieces so those marks go against the desk sides and are never seen. To determine the exact height of the sides, I clamp the bottom and top of the gallery inside the desk. I then use a knife to mark the height of the sides so they’ll fit between the top and bottom rabbets, and I cut the sides to size. I also cut the dado in the sides for the gallery shelf.
After dry-fitting all the case parts in the desk, glue and nail the case together. Recheck the fit after assembly to make sure it slides in tightly and without much effort.
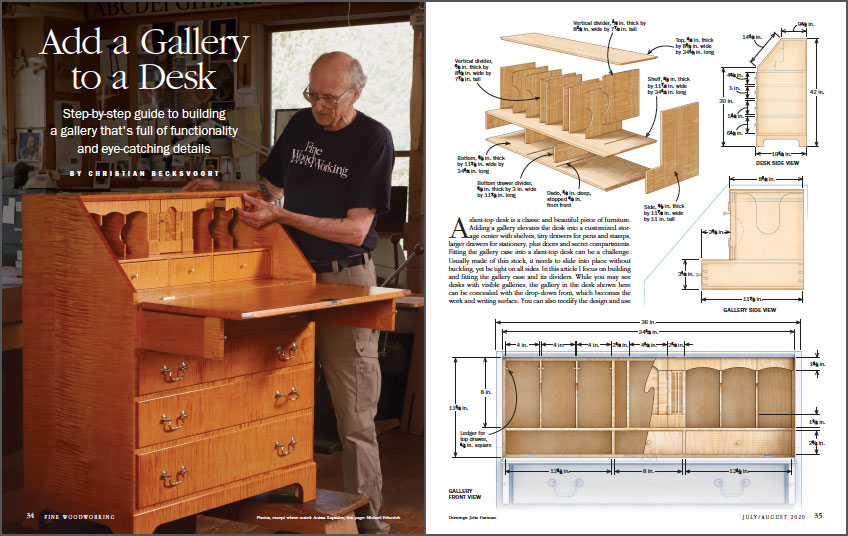
From Fine Woodworking #283
To view the entire article, please click the View PDF button below.
 |
|
 |
|
 |


Log in or create an account to post a comment.
Sign up Log in