A riff on the faceted glass door
Improv with some classic Krenovian techniques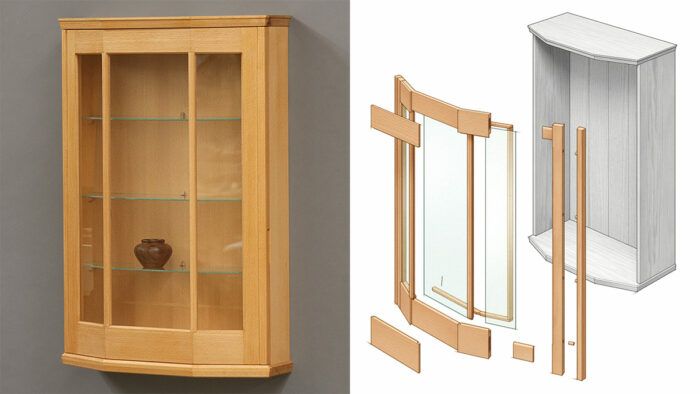
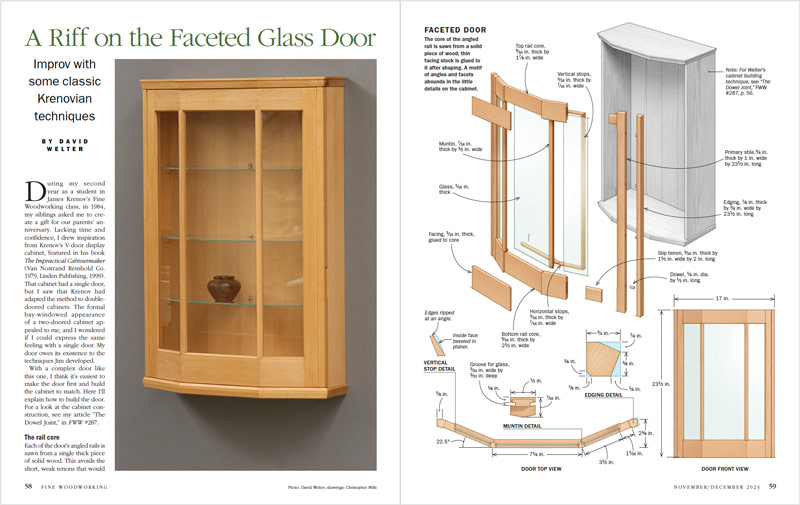
Synopsis: This bay-window type cabinet door has a complicated structure of angled rails, made up of a solid-wood core with shopsawn facing. This structure, which eliminates the need for short tenons joining angled pieces, contains a lot of angles and facets, and some interesting clamping challenges.
During my second year as a student in James Krenov’s Fine Woodworking class, in 1984, my siblings asked me to create a gift for our parents’ anniversary. Lacking time and confidence, I drew inspiration from Krenov’s V-door display cabinet, featured in his book The Impractical Cabinetmaker (Van Nostrand Reinhold Co. 1979, Linden Publishing, 1999). That cabinet had a single door, but I saw that Krenov had adapted the method to double-doored cabinets. The formal bay-windowed appearance of a two-doored cabinet appealed to me, and I wondered if I could express the same feeling with a single door. My door owes its existence to the techniques Jim developed.
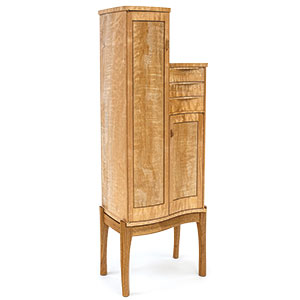
With a complex door like this one, I think it’s easiest to make the door first and build the cabinet to match. Here I’ll explain how to build the door. For a look at the cabinet construction, see my article “The Dowel Joint,” in FWW #287.
The rail core
Each of the door’s angled rails is sawn from a single thick piece of solid wood. This avoids the short, weak tenons that would result if the rail were made by joining three pieces end to end. However, unless you use quartersawn stock, the grain pattern revealed by the angled sawing isn’t pleasing. Jim’s solution was to laminate facings (thin stock) onto a solid core.
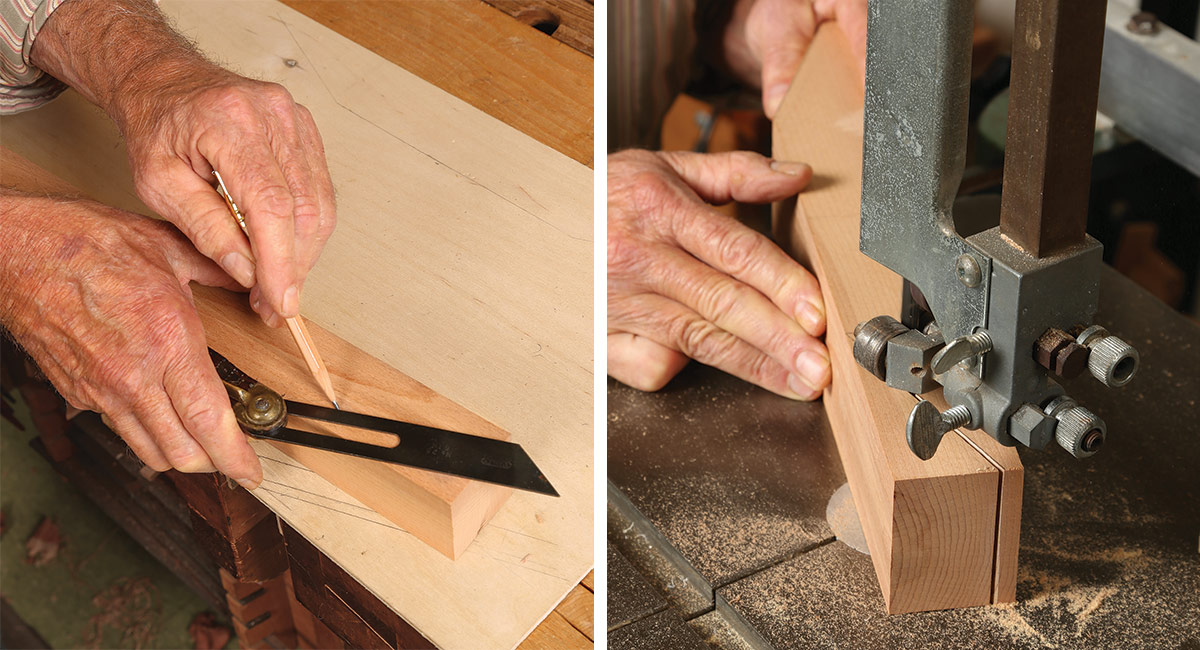
Begin with shaping the front of the double-V core stock. Lay out and bandsaw away the waste on both rails. Clamp the two pieces side by side and plane the bandsawn surfaces.
Using a marking gauge or combination square, lay out lines parallel to the front surfaces, then cut to the lines on the bandsaw to remove the interior waste.
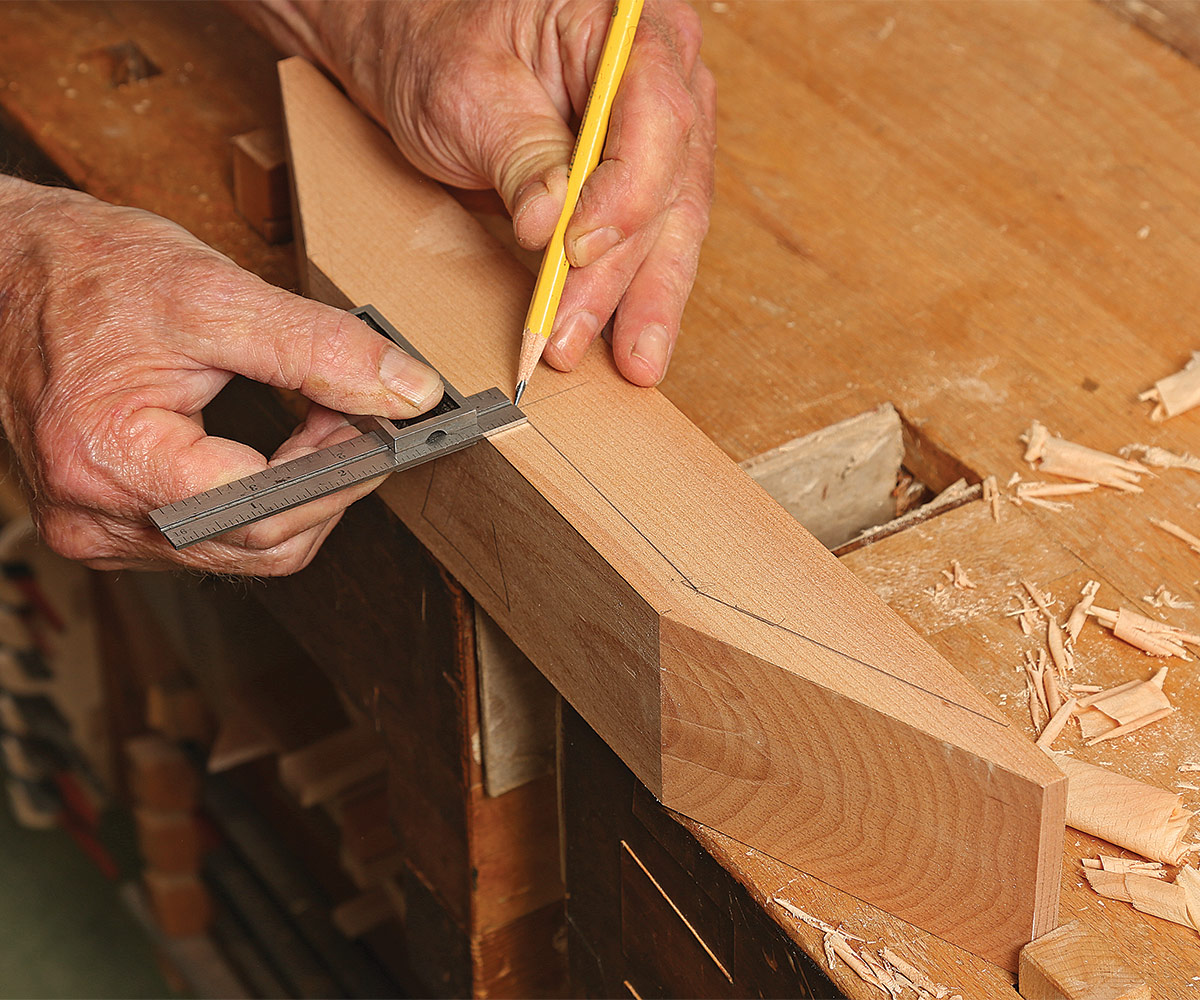
Start the cleanup of the interior of the rails by running a rabbet plane crossgrain at the inside corners. Broaden the initial cleanup by cross-planing with a block plane. Finish the interior by planing toward the cross-planed surfaces. Use a hand scraper and sandpaper to refine the inside corners.
Facing out
The joints of the facings are butted miters. Find the miter angle by setting a bevel gauge to a line that connects the core’s exterior and interior vertices. Cut the facings to that angle on a table saw. Refine one miter on the center facing with a plane and shooting board.
Clamp one of the end facings to the core, aligning the facing’s mitered end with a vertex of the core. To determine the exact length of the center facing, butt its cleaned miter to the clamped end piece. Mark the other end of the center facing from the core’s second vertex. Cut and shoot that miter.
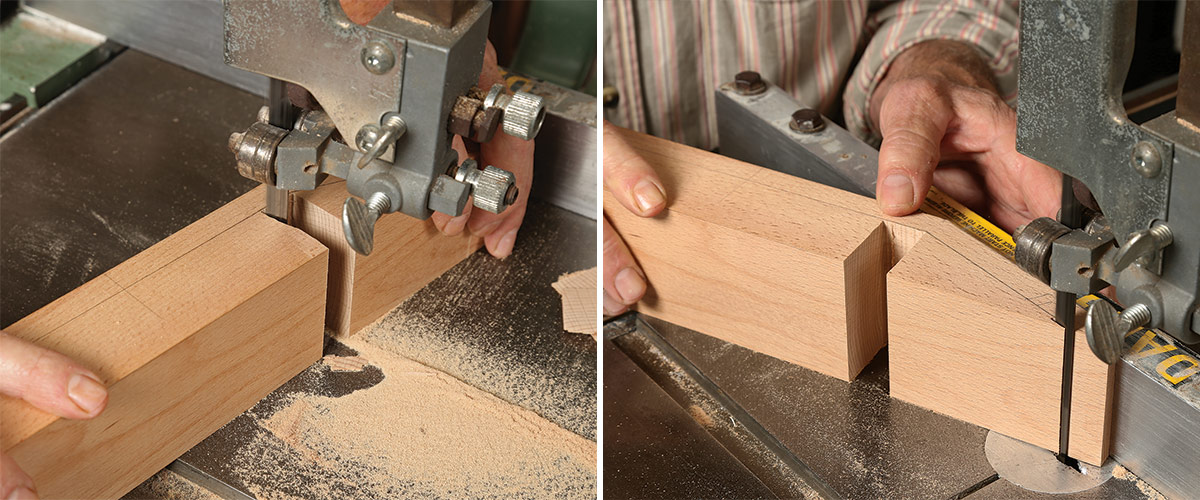
Put the center facing in place and push the second end facing up to it. There should be no gap between the inside of the facing pieces and the outside of the core.
Clamp the center facing and the second end facing in place. Pinched between the two end facings, the center now has nowhere to go when being glued. Unclamp the center facing and spread glue on it, taking care to avoid the miters; then clamp.
When the glue cures, turn to the end facings. Shoot the miter of each facing again, shimming as necessary to match the mating miter of the center facing. Once you have satisfactory joints, you’re ready to glue up the side facings.
After a 30-year career at The Krenov School, David Welter is enjoying retirement in his home shop.
Photos, except where noted: Anissa Kapsales
To view the entire article, please click the View PDF button below.
 |
James Krenov’s dowel jointUse a simple shopmade doweling jig to create cabinets that stand the test of time. |
 |
Curved door with flat glass planesA straightforward technique for setting straight panes into curved rails |
 |
Glass doors made easyYou can do it all on the tablesaw |










Log in or create an account to post a comment.
Sign up Log in