A Comfortable Craftsman-style Side Chair
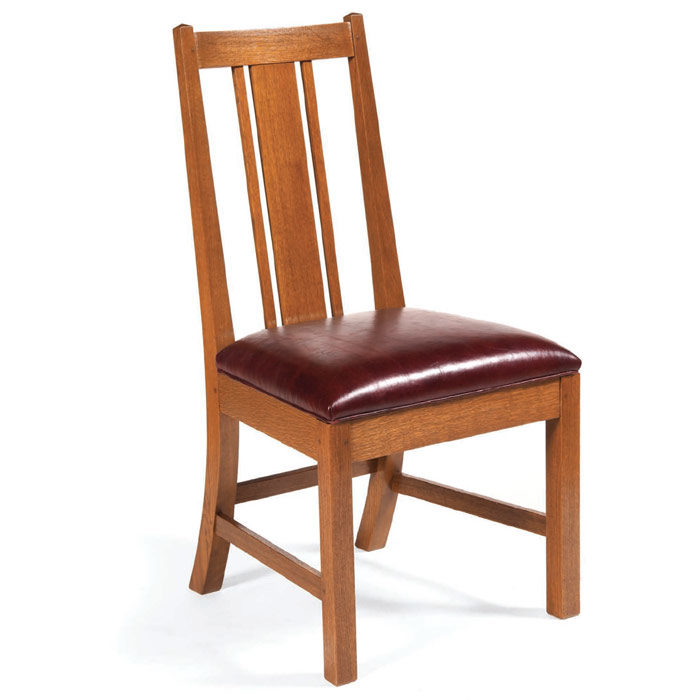
Tom McLaughlin builds a Craftsman-style side chair with a reclined backrest, curved crest rail, and angled mortise-and-tenon joinery.
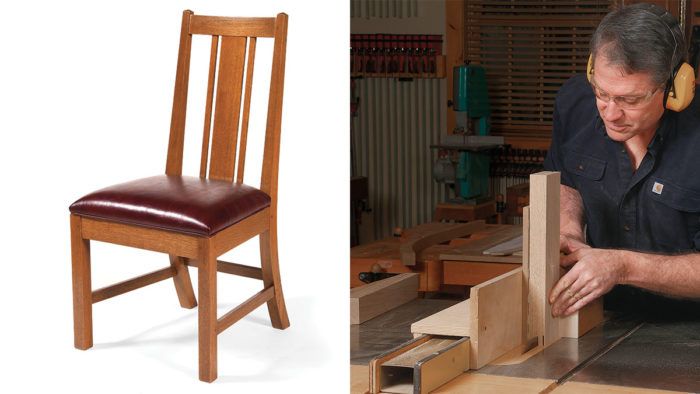
Synopsis: Build a Craftsman-style side chair with a reclined backrest, curved crest rail, and angled mortise-and-tenon joinery. The key to the challenge of chairmaking is to make detailed drawings of the chair from the side, front, and top views, clearly mapping out the chair’s shape, joinery, and dimensions. If you stick to the drawing, angled joinery and other complexities will not thwart you.
During my apprenticeship with P.A. “Pug” Moore, he sometimes said, “If you can build a chair, you can build anything.” After all, chairmaking presents the ultimate challenge in woodworking. There’s the complexity of the construction, which almost always involves angled joinery. Plus, there’s designing a chair to be appealing from any viewpoint while, at the same time, being comfortable. Add in shaping, and it’s no wonder so few attempt making chairs of their own. But take it from me, building chairs is tremendously satisfying. It takes a certain set of skills and a particular kind of planning, but nothing that’s impossible to tackle.
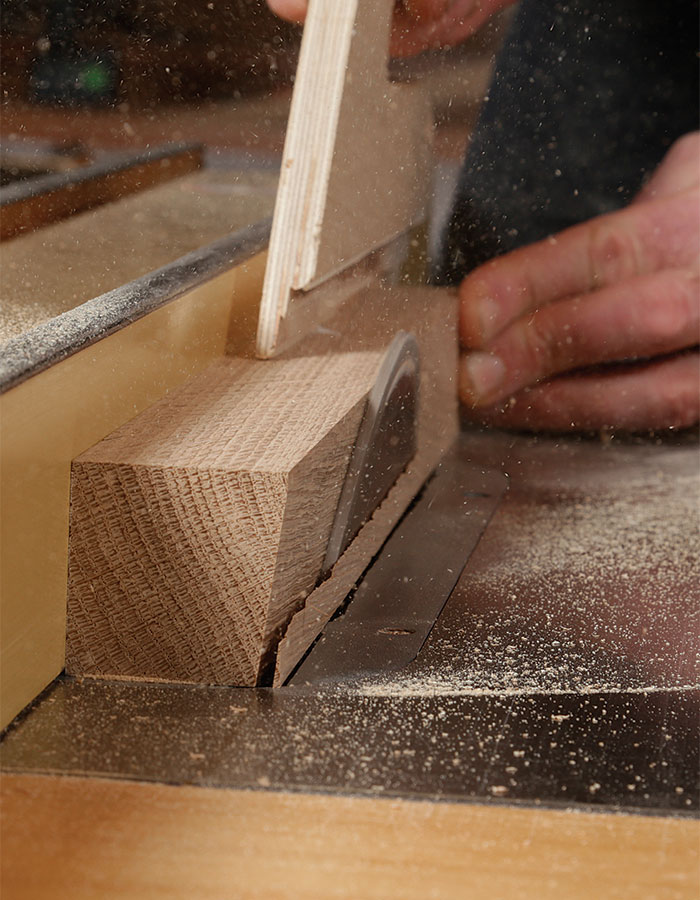
This Craftsman-style side chair provides an ideal entry point. Constructed in white oak (cherry works, too), it has a straightforward, sturdy design consisting of a reclined backrest, curved crest rail, and angled mortise-and-tenon joinery. Built correctly, this chair can last 200 years or more. In this article, I focus on key strategies for building a chair— whether this chair or another— that will aid you in the process and leave you with a handsome piece of furniture.
Start with a full-size drawing and templates
You can demystify the entire chairmaking process by simply drawing the chair from three different perspectives: the side, front, and plan (top) views. with these three views, the chair’s key elements—its shapes, joinery, and dimensions—become clear and easily accessible. This benefit becomes immediately apparent when dealing with angles and curves. Because they’re drawn at full scale, there won’t be any need for complex math. Whether you’re laying out mortises or need to set your bevel gauge, just reference off the drawing.
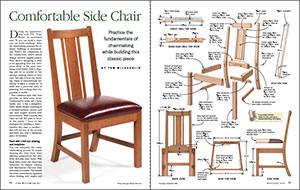
From Fine Woodworking #282
To view the entire article, please click the View PDF button below.
 |
|
 |
|
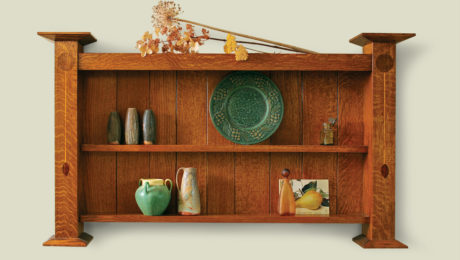 |
How To Build An Arts and Crafts Wall Shelfby Nancy Hiller |
 |
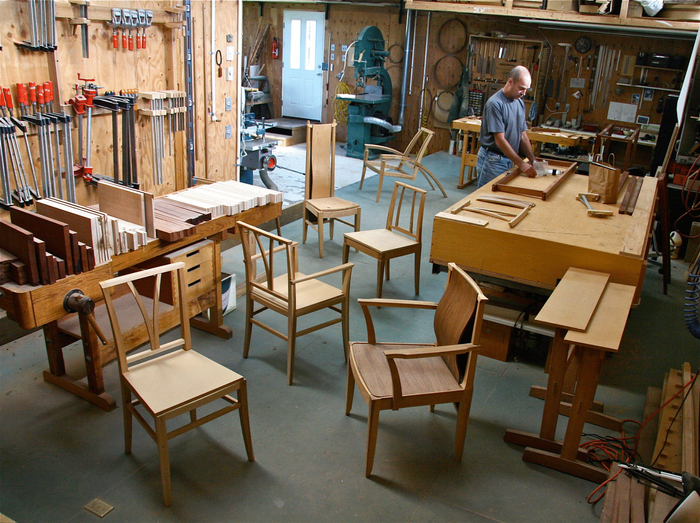
Classic Woodworking: Episode 9with Tom McLaughlin |


Comments
Very nice thank you
Got the plans and videos from Epic woodworking last summer. Recommend both to get you through some details of the process. By building a prototype I learned to pay attention to the left and right side lower stretchers. Made a few mistakes with before I got the angled joinery and lengths correct. I look forward to building the rest of the six piece set.
Isn't this the same chair shown in issue #204 of Wood Magazine back in 2011? https://www.woodmagazine.com/project-plans/furniture/seating/step-by-step-elegant-chair-downloadable-plan
good find. It sure looks exactly like the one I am making.
How many hours does it take to make a chair like this (excluding seat cover)?
Any estimates welcome!
Hi, I built a set of 8 of these chairs. Bought the plans and videos from Epic woodworking which I highly recommend. I did keep track of my time in the shop which came in at 112 hours to build the jigs, templates and chairs. I did hire out the upholstery work done at a local shop.
Log in or create an account to post a comment.
Sign up Log in