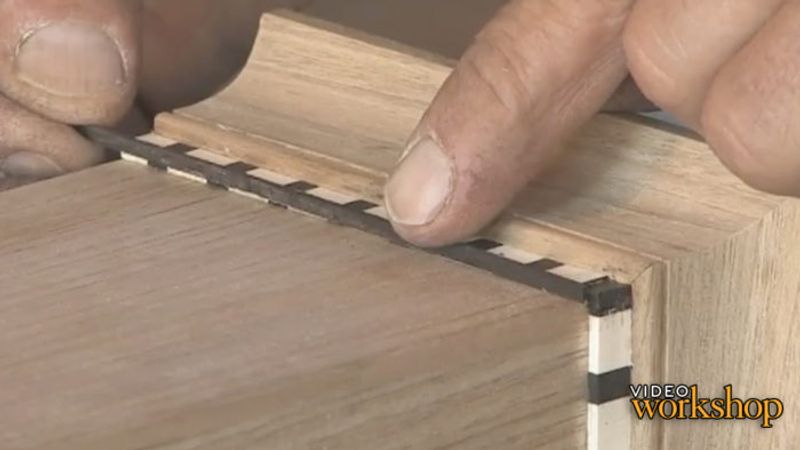
5. Decorative Details: Molding and Banding
Videos in the Series
-
Introduction: Build a Small Tool CabinetAugust 7, 2012
-
1. Sturdy Case with Sliding DovetailsAugust 7, 2012
-
2. Face Frames, Grooves, and DadoesAugust 7, 2012
-
3. Low-Stress Glue UpAugust 7, 2012
-
4. A Sturdy BackAugust 7, 2012
-
5. Decorative Details: Molding and BandingAugust 7, 2012
-
6. A Traditional DoorAugust 7, 2012
-
7. Hinge and Hang the DoorAugust 7, 2012
-
8. A Dovetailed DrawerAugust 7, 2012
-
9. Small Tool Cabinet Finishing TouchesAugust 7, 2012







Comments
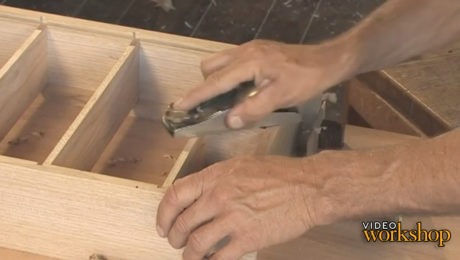
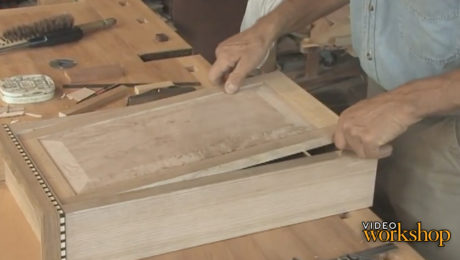
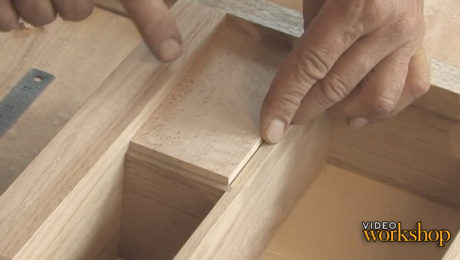
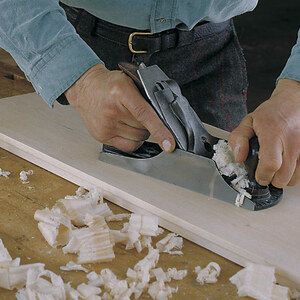
I like the way Garrett works some details 'on-the-fly'; grab that molding, tuck one end in your belly while using your other hand to run a bead; hold the ebony strip in one hand and plane it with the other. No bench. No dogs. No clamps to hold the work. Truly hand work by feel. Simple methods giving you the desired results. We've all worked like this at one time or another, but for some reason we are led to believe working in this manner is not proper technique.
Loved all the hand work in the banding work
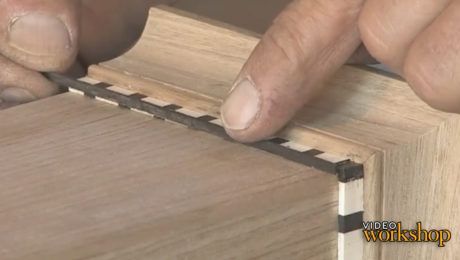
It's amazing how effortlessly Garrett makes the banding and installs the finished product on the cabinet. I've been a woodworker for many years and I know how difficult it is to do this work as well and as easily as he does, getting the desired final result. Makes me want to add something special like this to the next project I do.
Notice how the banding works out perfectly, as it should, with matching ebony at each end of the face. Now that took a bit of figuring to get the widths of each little holly/ebony piece to be just the right length so that the ends would match with a full size little piece of ebony. Very nice.
Suburbanguy, I couldn't agree more. It would have been nice if he talked about how he figured out the widths for the banding pieces for them to fit so nicely. It really set off the cove molding and is a beautiful look for the cabinet.
Inspiring video.
Log in or create an account to post a comment.
Sign up Log in