3d-printed transfer bevel
A handy little tool that costs pennies and makes transferring angles off of printed plans a breeze.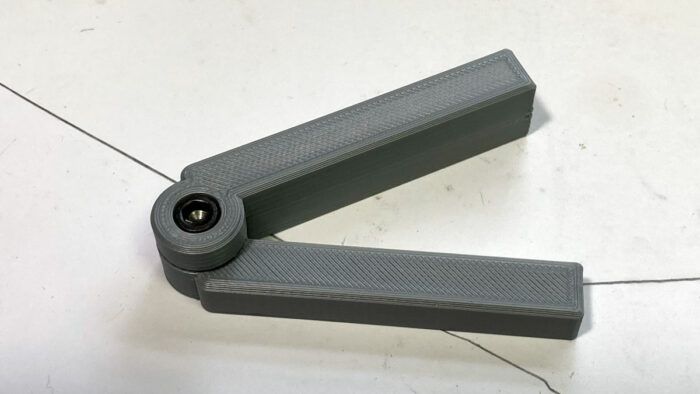
Oftentimes, I find myself frustrated with a tool and wished it functioned a different way. It usually ends there—being frustrated and dealing with it. After having a 3d printer for about a year, something switched in my mind and I started asking myself how I wanted the tool to function—and then, if possible, I’d fire up a CAD program, get the 3d printer warmed up, and before long I’d have the tool extracted from my imagination and in my hands.
Do all of the tools I make work better than those commercially available to me? HA! No way!
Do all of the tools I make even work? Nope.
Do I learn something from the process each and every time? Absolutely.
Today I’m going to share a really quick tool I dreamed up. The concept seemed simple enough to me, so simple that I figured there were dozens of options commercially available. But I have come to find out it’s actually a somewhat novel concept—a transfer bevel. The idea is a bevel gauge-like tool that allows you to easily transfer angles off of a 2d object like a set of printed plans.
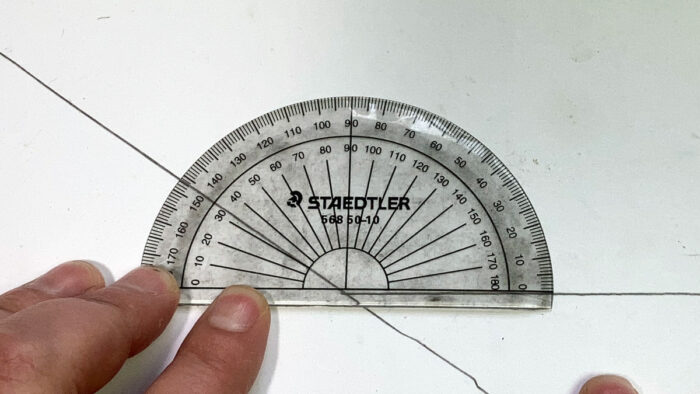
In the past, when I needed to capture an angle from a printed plan, I could borrow a $1 protractor from my kid and get close. In reality, this method would be just fine.
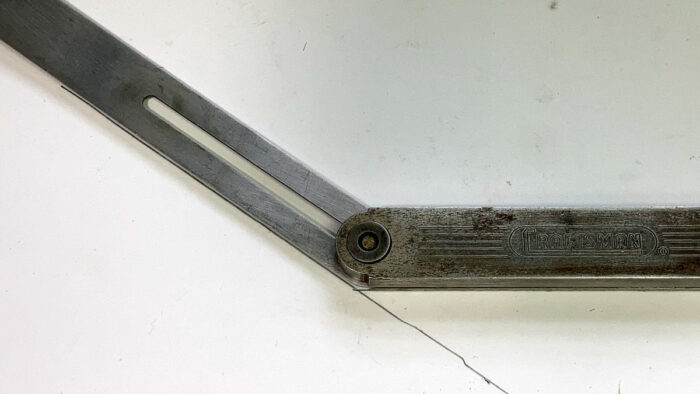
I could also use a bevel gauge and try to sight straight down hoping parallax doesn’t mess me up too much. This method would be just fine too.
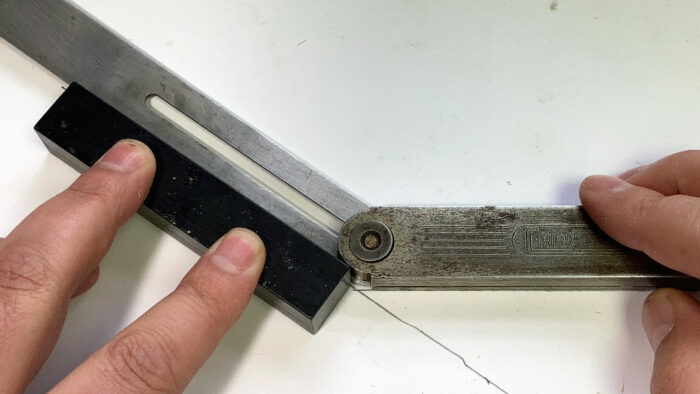
I could hold a setup block and use that same bevel gauge and likely nail it, but that’s pretty clunky. This method is better than fine, but most of the time my plans are hung on a wall, no bueno.
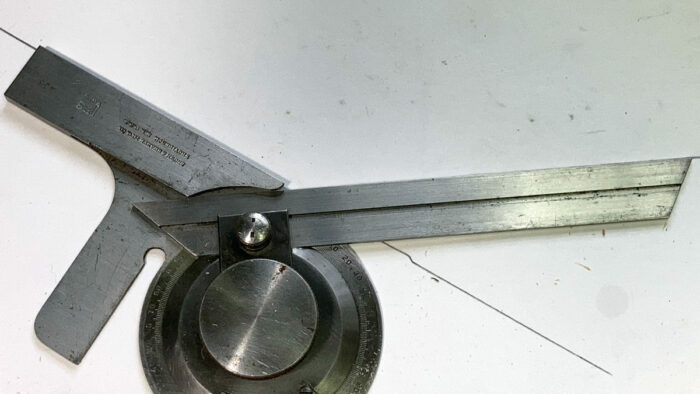
I could use my fancy Brown and Sharpe 495 protractor. The blade on that is really only a 1/16 in. above the anvil, surely that would get me close enough! (Yes, it would have. I don’t think I had it at the time, and very few people have fancy protractors like I do!!)
Gee whiz! I wish I had a bevel gauge where the whole thing laid flat and I could easily capture the angle off a printed plan!
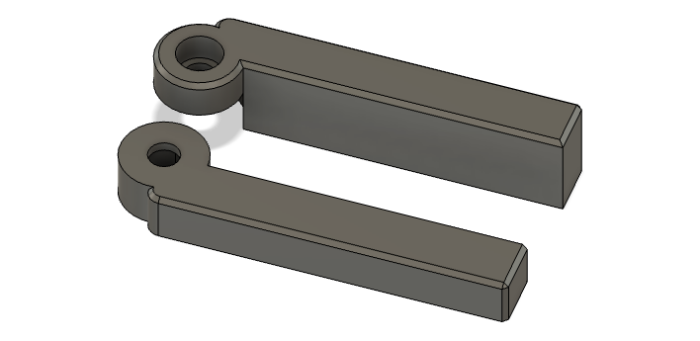
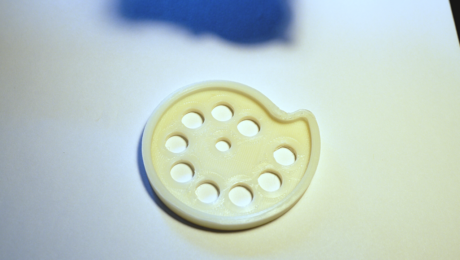
This little two-part print took me very little time to model (so little I don’t remember doing it), and prints in less than an hour on my Ender 3. A 1/4-in. socket-head screw and a stop nut hold everything together and since the stop nut keeps the hardware from rotating and loosening up, the blades stay tensioned. I keep mine just loose enough that I can move it a teeny tiny amount if needed, but tight enough that I’m not worried about accidentally moving a blade and losing the angle.
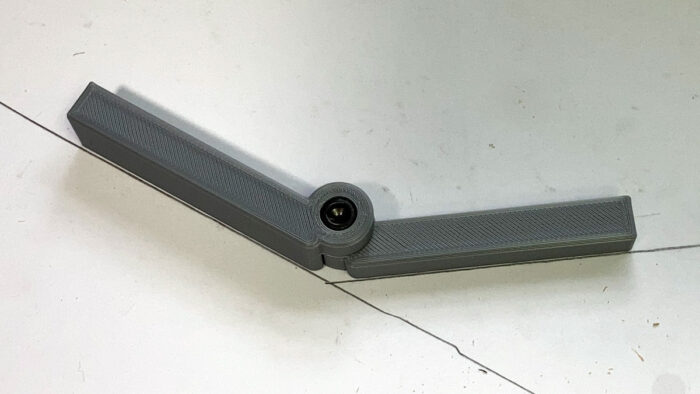
Do I use this little tool all the time? NO WAY! I will likely use it once a blue moon, but considering I have less than a dollar invested in it, I’m happy to keep it in my toolbox and giggle at how cool it is when I do use it.
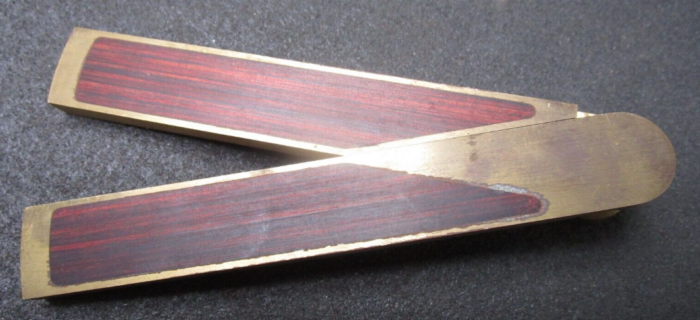
While on a shoot at Dan Faia’s I noticed a weird-looking bevel gauge on his wall. It was a Bridge City transfer bevel and according to Dan, is specifically made to transfer angles off of a drawing. They’re available on the used market for around $90. Also, Lee Valley sells a cool-looking thing they call an “angle transfer tool” for less than $25 that would do the same job. Still, I like mine!
Here is a link to an STL file of my tool. You’re more than welcome to download it and make one for yourself (or your friends), but I ask that nobody sell my design—the tool or the file. In other words. Have one, but be cool about it!
*It should be noted that we are going to be covering a lot more of the conventional “digital woodworking” tools in the new Fine Woodworking shop soon! We’ve created this blog collection, “Woodworking with Robots,” to share some of the more digital sides of woodworking on the site. While the information might not be for everyone, there is a place for it in many woodshops and we’re excited to start covering it here!
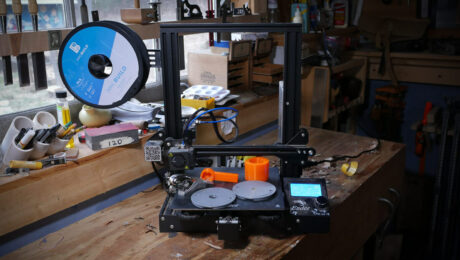 |
Do you need a 3D printer in your woodshop? |
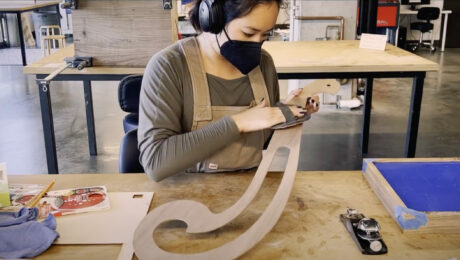 |
Video: Making a french curve |
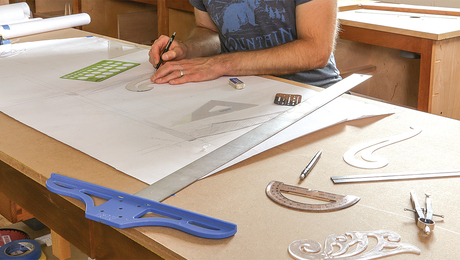 |
Assemble a drafting tool kit |






Comments
Thanks Ben. I'll print one up and see how it works.
cool 21st century problem solving
Nice work Ben. I bought a 3D printer recently. I printed up a small machinists jack from a 3D model I made a few years ago. The screw threads work perfectly. I only used 10% infill for this test but I'm thinking this thing could be useful if I reprint with more infill and a tougher material.
https://flic.kr/p/2ovBpPL
Showing my age but have used one of these for about half a century!! https://www.amazon.com/General-Tools-Square-Metal-Protractor/dp/B00004T7TB/ref=asc_df_B00004T7TB?tag=bngsmtphsnus-20&linkCode=df0&hvadid=80127027724202&hvnetw=s&hvqmt=e&hvbmt=be&hvdev=c&hvlocint=&hvlocphy=&hvtargid=pla-4583726553574306&th=1
I recently got a 3d printer (Creality Ender 3). My son is in an engineering class for junior high and they will be using designing and using 3d printers, so this was a great thing for us to do together. The woodworking applications for it are myriad. Jigs and tools can be made very precisely and relatively quickly. I agree with Ben's comment that a 3d printer is a great way to bring some digital precision to the shop without jumping down the CNC/laser/Shaper Origin rabbit hole.
Log in or create an account to post a comment.
Sign up Log in